
School hallway Christmas decorations in 2026 are having a serious Pinterest moment, and the reason is simpler than you’d think: teachers stopped decorating up high and started building scenes kids can actually walk into. We dug through Dollar Tree, Target, IKEA, and Amazon — plus more than a few school supply closets — to pull together the 39 ideas in this guide, and they run from about $20 in paper and tape to $2,000 worth of gold garland. You’ll find Whoville whimsy, candy-land doors, birch-and-snowflake winter wonderlands, and grand gold-and-blue elegance, with budget and luxury versions compared side by side. This year’s shift toward immersive vignettes and hallway photo booths is exactly why so many of these setups photograph as well as they decorate. And stay until the end — we break down the most common mistakes that can ruin these looks. 📌 Save this to Pinterest for later — you’ll want to revisit these ideas.
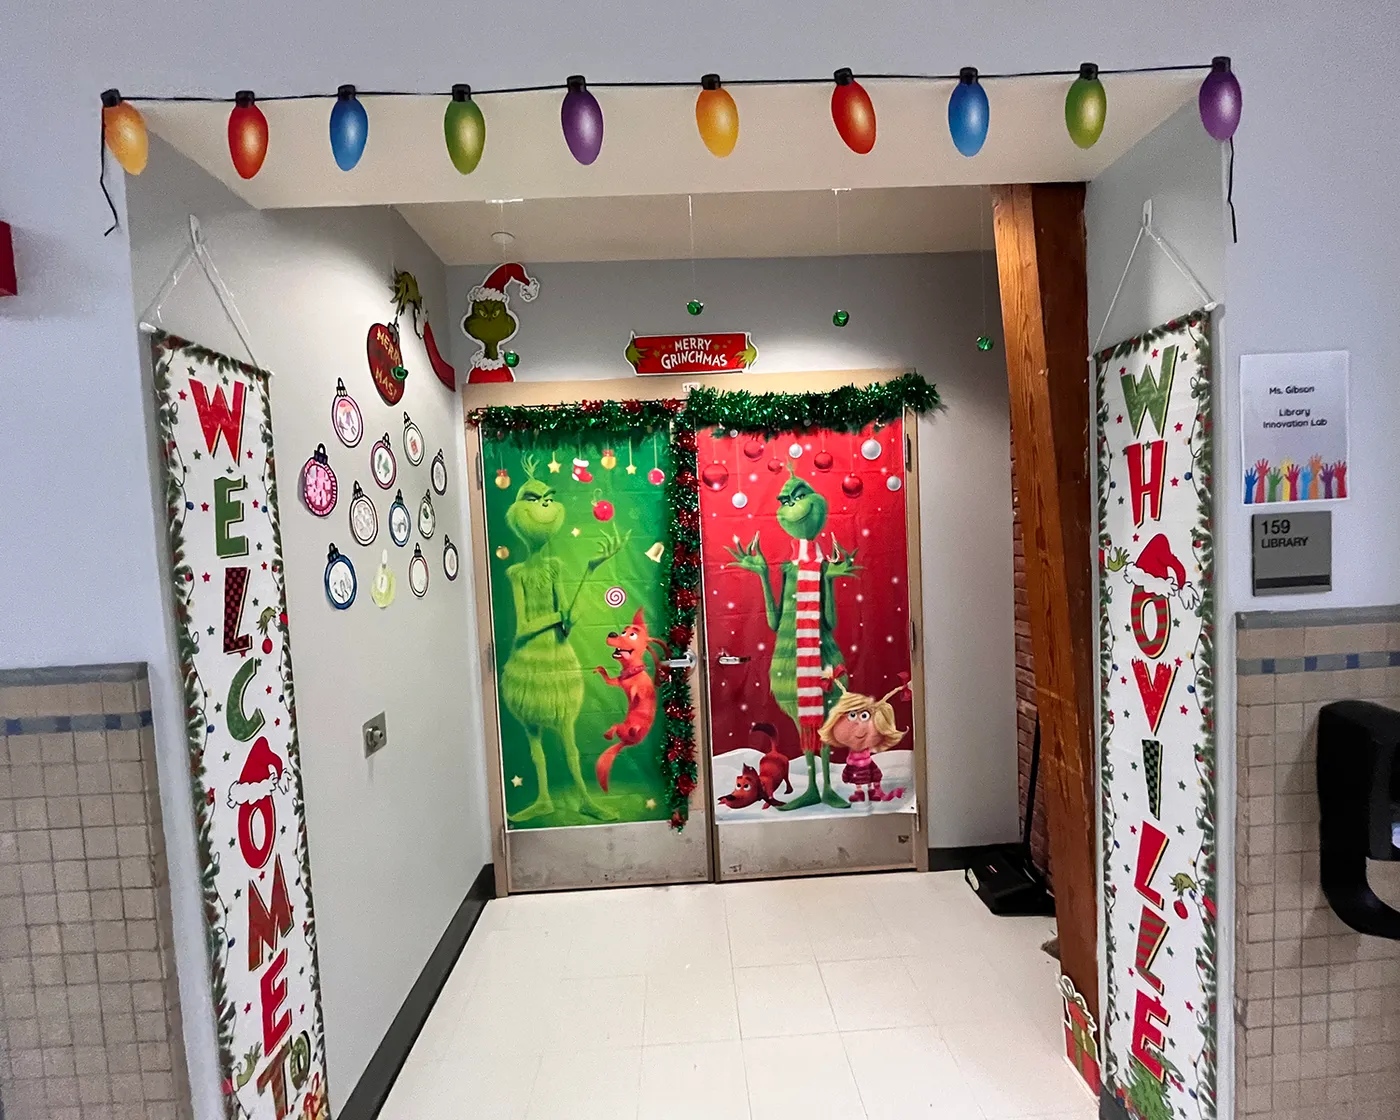
1. Whoville Archway Built From Oversized Light Bulb Cutouts
Strip everything back and the archway is doing the heavy lifting. Those oversized multicolored light bulb cutouts turn a plain opening into a threshold, which is why the green tinsel garland and the WELCOME and WHOVILLE banners read as one story instead of three separate crafts. Lose the arch and you’re left with two decorated doors and no entrance.
2. A Grinch Door With a Flat Brick Fireplace That Fools the Eye
- Cover the door in red paper, then layer the large green hand, ornament cutouts, and lettering on top.
- Cut foam board into a fireplace shape and print the brick texture, keeping it flat against the white wall.
- Hook five red stockings across the mantel and nestle a printed fire graphic inside.
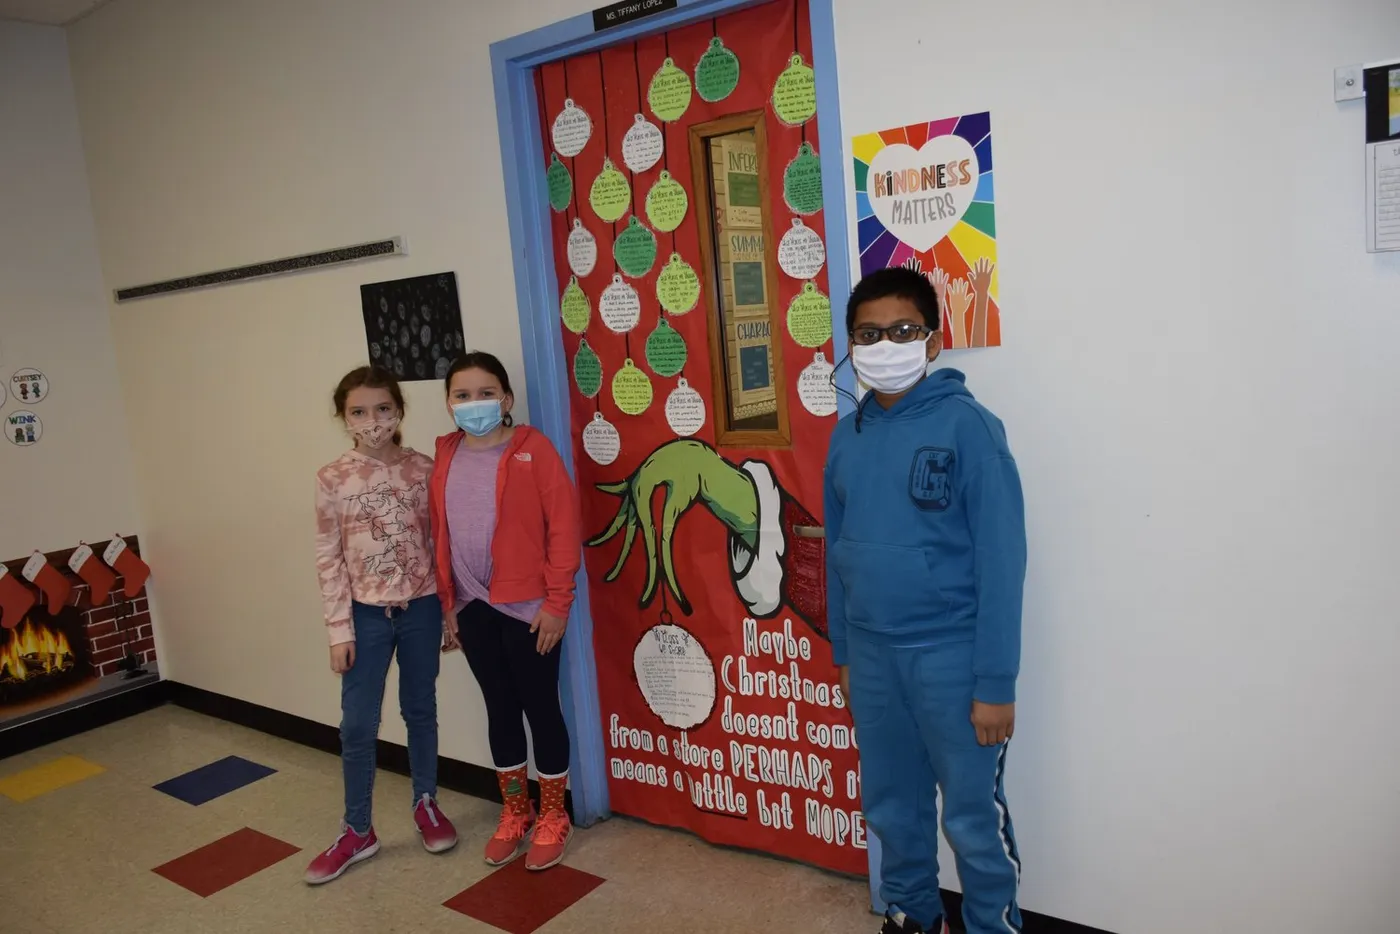
Roughly 3 hours and $40 in paper goods.
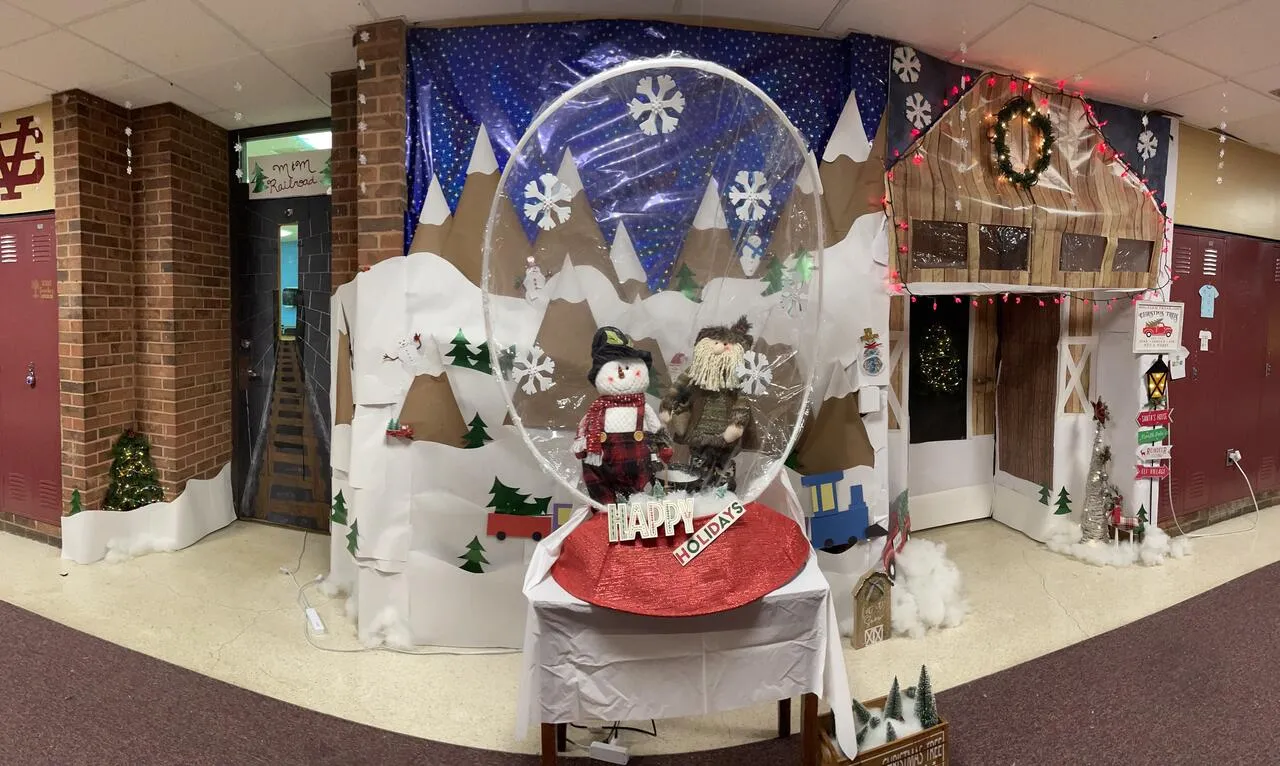
3. Snow Globe, Paper Mountains, and a Barn Backdrop at Eye Level
Build the backdrop before you build the snow globe. Stretch the blue starry fabric over a lightweight frame and set its center at 42–48 inches — the natural eye line for K–2 kids, who are your actual audience. Layer the paper mountains in three depths so the globe reads against a real horizon rather than a flat wall.
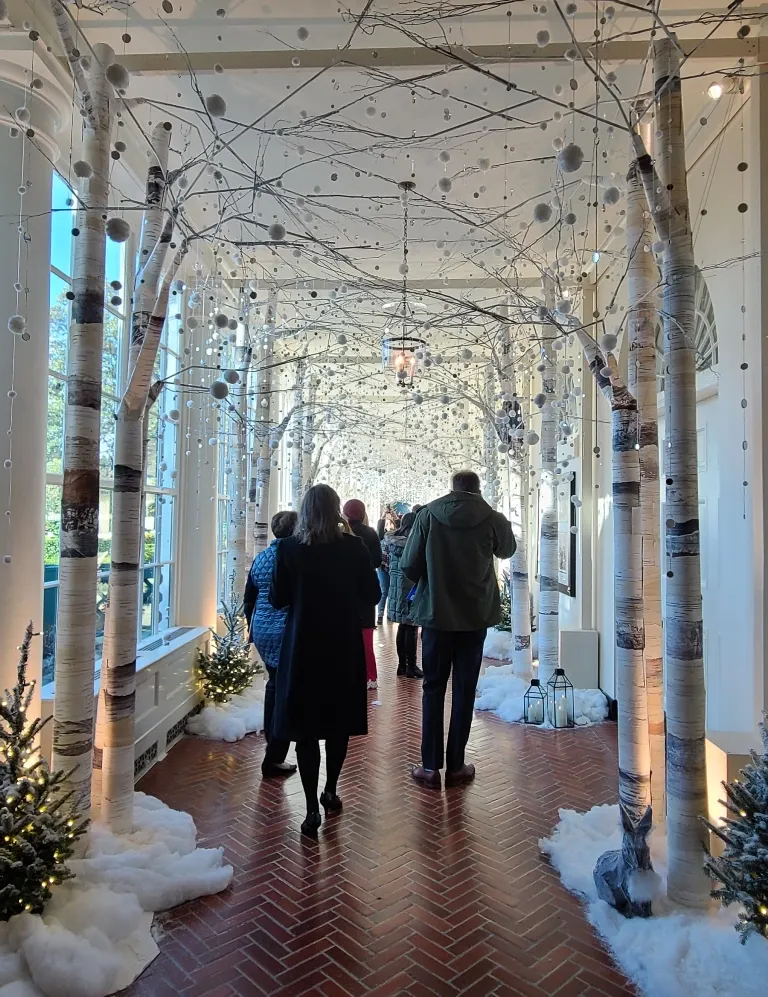
4. Faux Birch Forest With a Canopy of White and Silver Spheres
Birch trunks plus a dense ornament canopy need room to breathe: at least 8 feet of hallway width and a 9-foot ceiling, or the branches start to feel like they’re closing in. Under a standard 8-foot ceiling, wrap the ornaments onto the trunks and skip the overhead hang entirely — a trick worth borrowing from Idea #24, where the height is used by snowflakes instead.
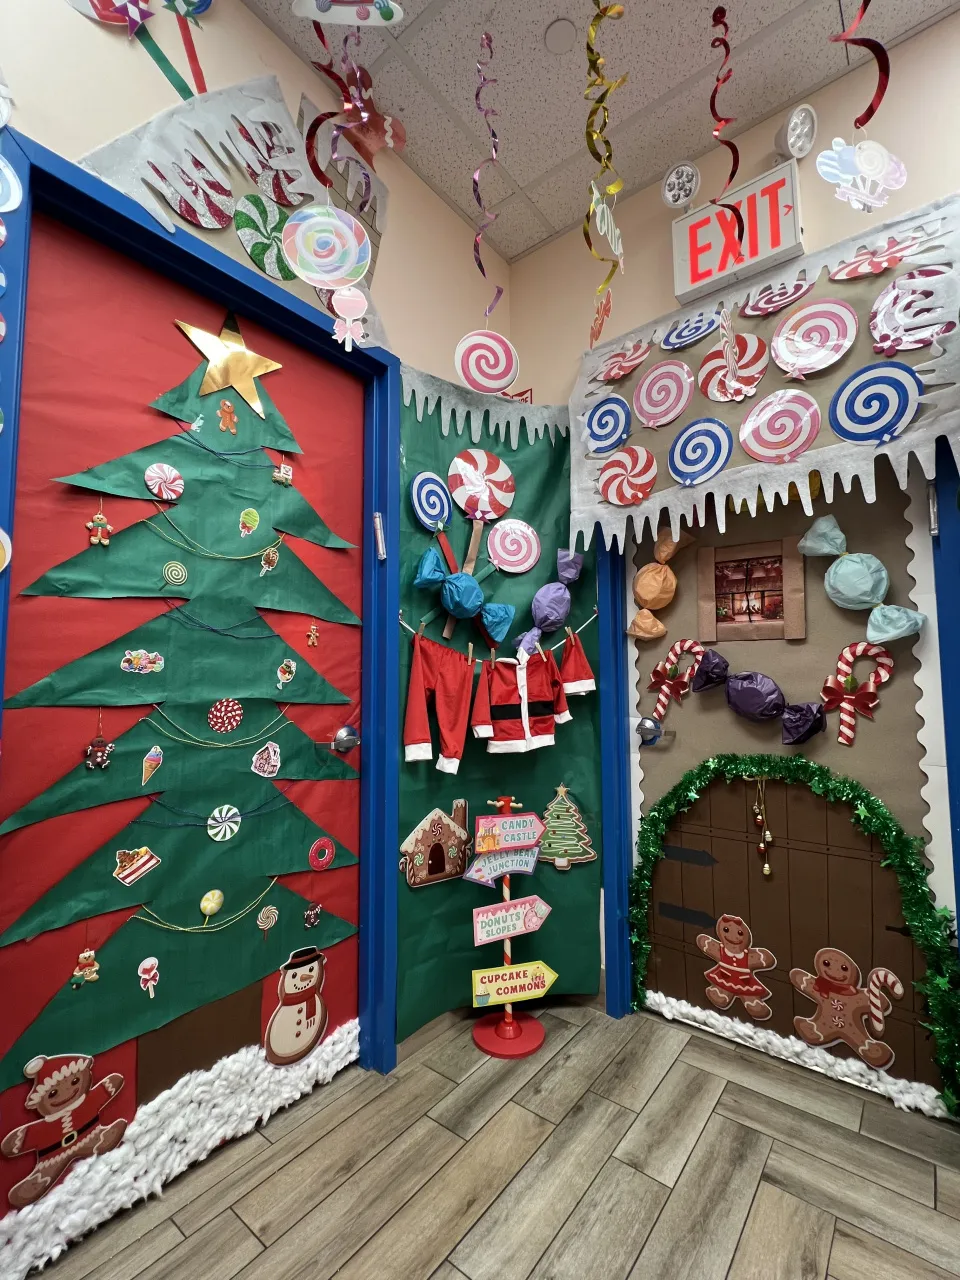
5. Candy Land Street: Tree Door, Gingerbread Door, Candy Wall
Three doors, three different jobs: a Christmas tree, a gingerbread house, and the in-between wall carrying oversized candy swirls and a Santa suit on a clothesline. That middle zone is what most hallways forget, and it’s the reason this reads as a candy street rather than three unrelated doors in a row.
6. Snowman Door With Student Photos in Snowflake Frames
- Cover the door in light blue paper, then layer white circles into a snowman with a black top hat, blue scarf, and mittens.
- Cut snowflake frames and tape one student photo inside each.
- Repeat the red-and-white candy stripe on the wall panels beside the door.
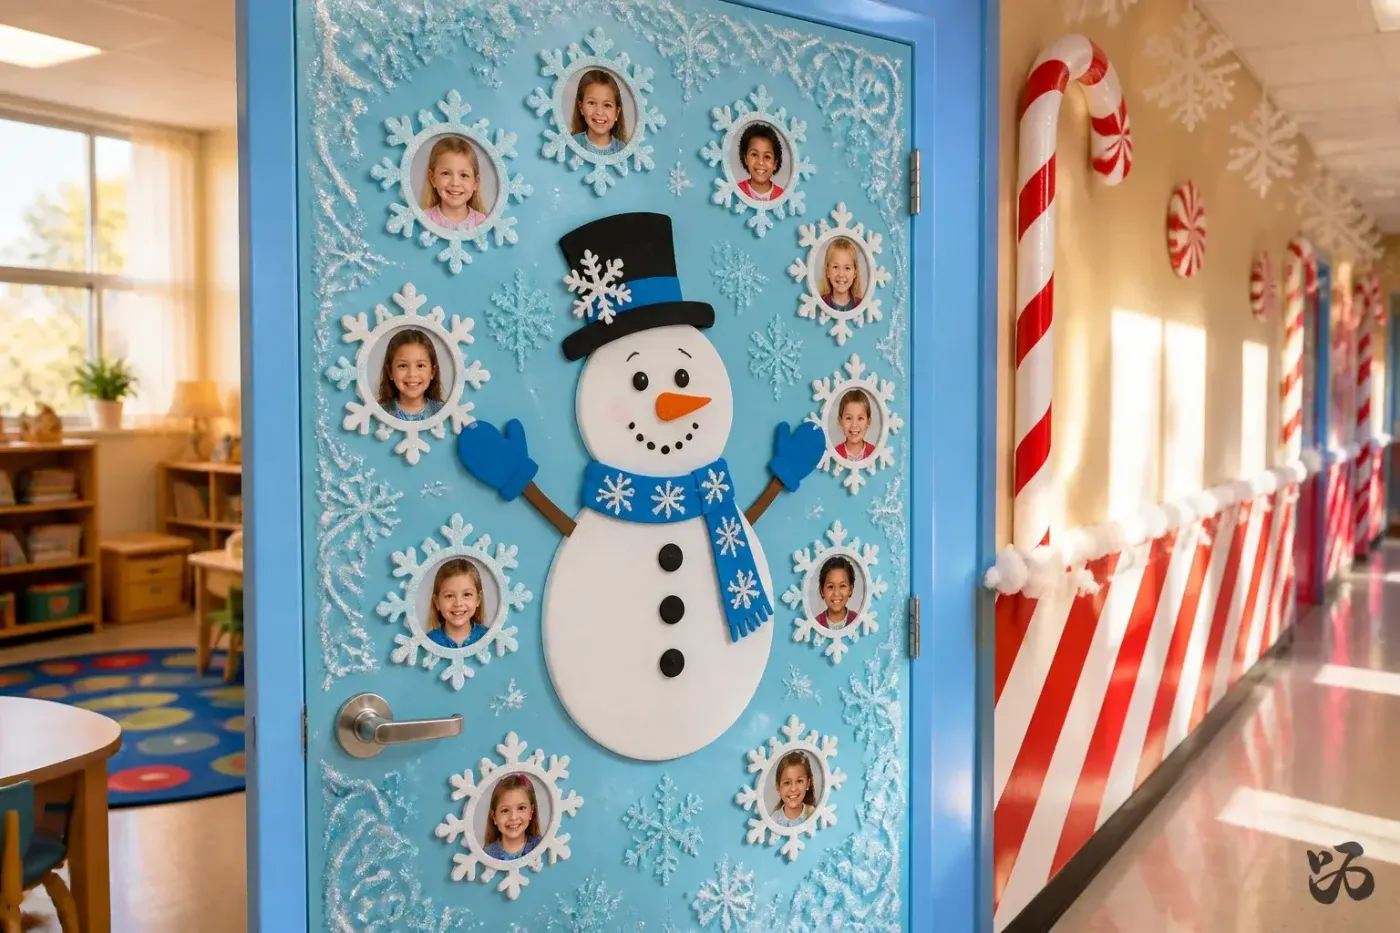
About 90 minutes and $25 in paper.
7. Nutcracker Hallway Under Blue and White String Lights
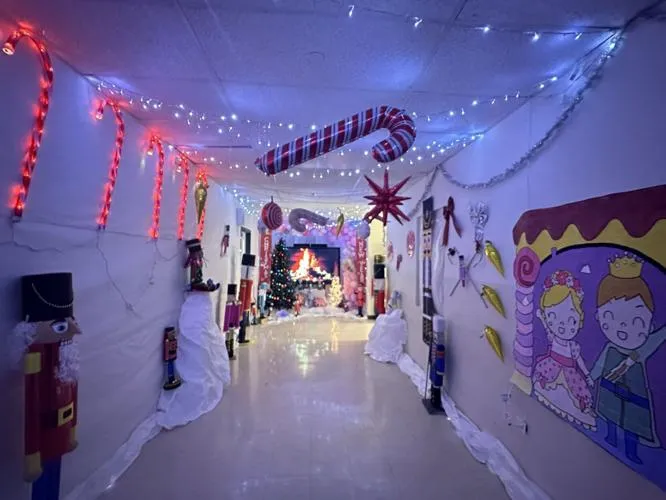
White drape runs $3–6 per yard and a 40-foot hall eats 20–30 yards. Blue-and-white string lights land at $25–40 per 100 feet, illuminated candy cane outlines $20–30 each, and large nutcracker figures $80–150 apiece — which is why most schools buy two and repeat them. A realistic total sits near $500, or under $200 if you reuse last year’s lights and borrow the figures.
8. One Tree Per Grade Beneath Balcony Garland
The “one tree per grade” hallway is peaking right now, and it’s easy to see why: it turns decorating into a shared project instead of a teachers-only sprint. Warm white lights and balcony garlands keep the overall look unified while each tree goes its own way — masks, superheroes, whatever the class votes for. It has staying power because it’s built on free labor and fierce pride.

9. A Twisted Light Tree and Paper Chains on Tile Ceiling
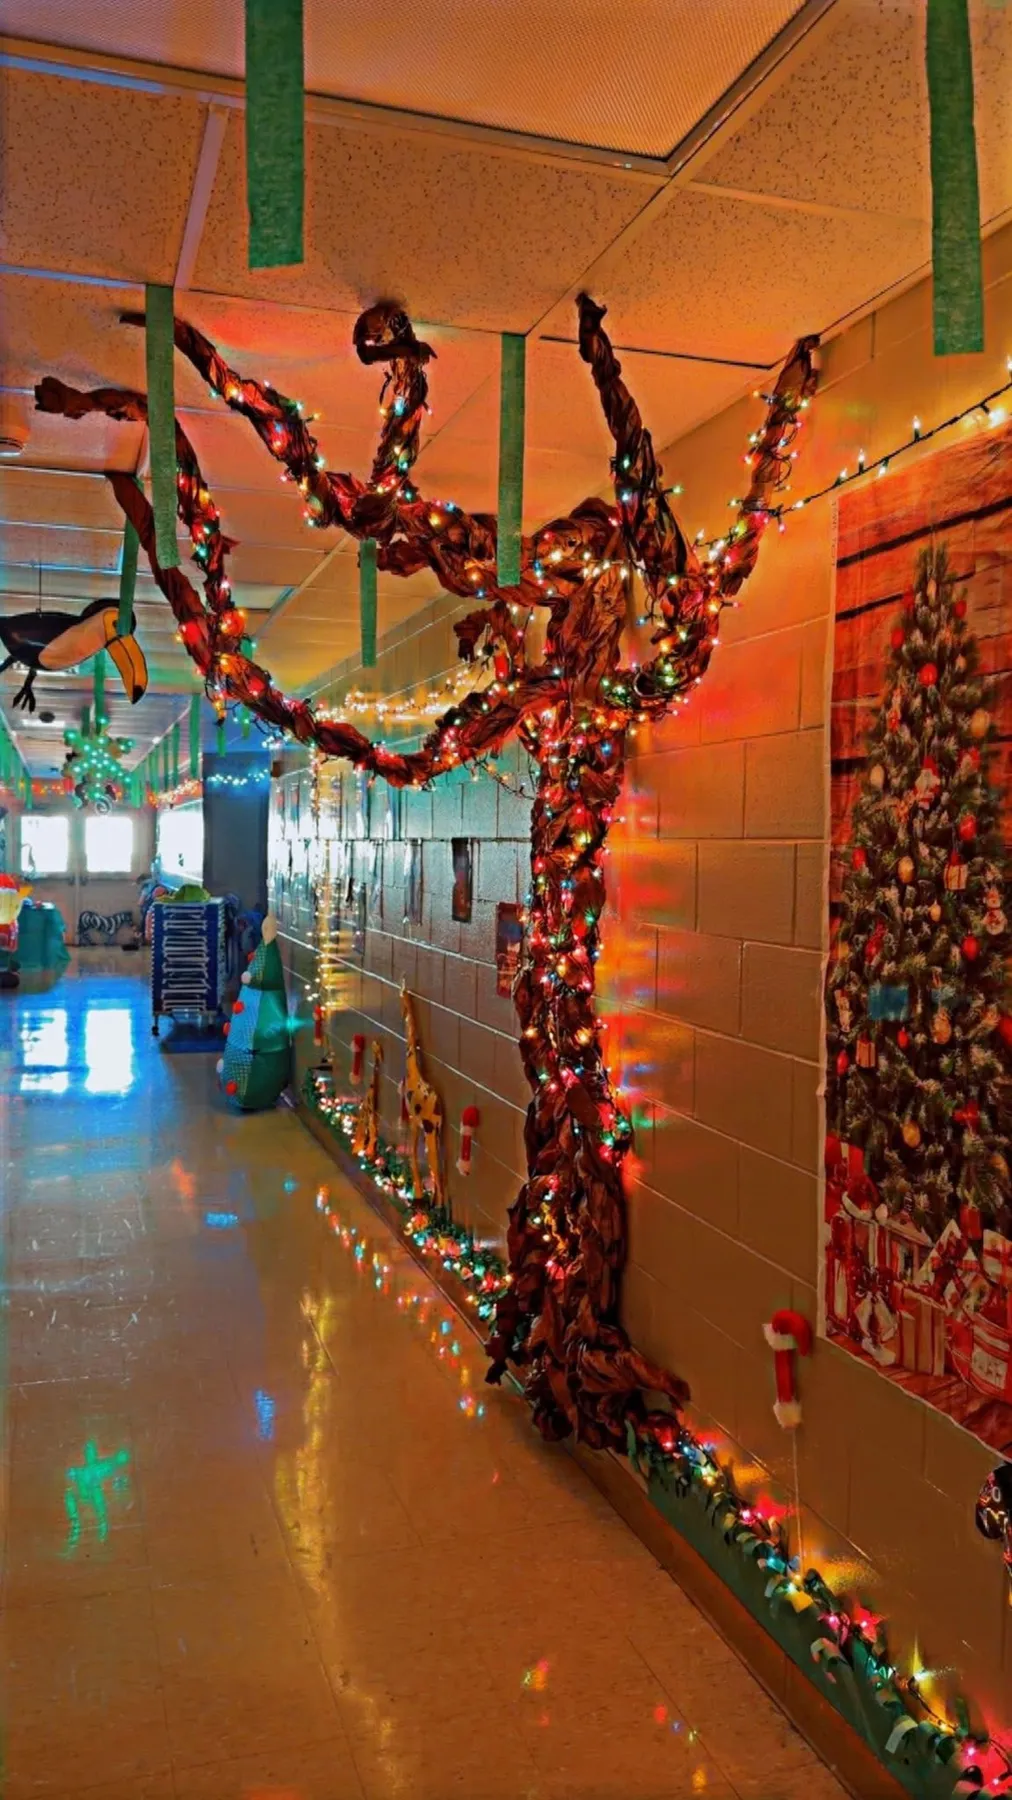
Green paper chains looped through an acoustical tile ceiling are cheap and fast, but those tiles crush easily — always hang from the grid, never tape into the tile face. And any lit structure belongs on a grounded power strip with the cord taped flat, not strung door to door where a kid can catch a foot. Clear it with your facilities lead first.
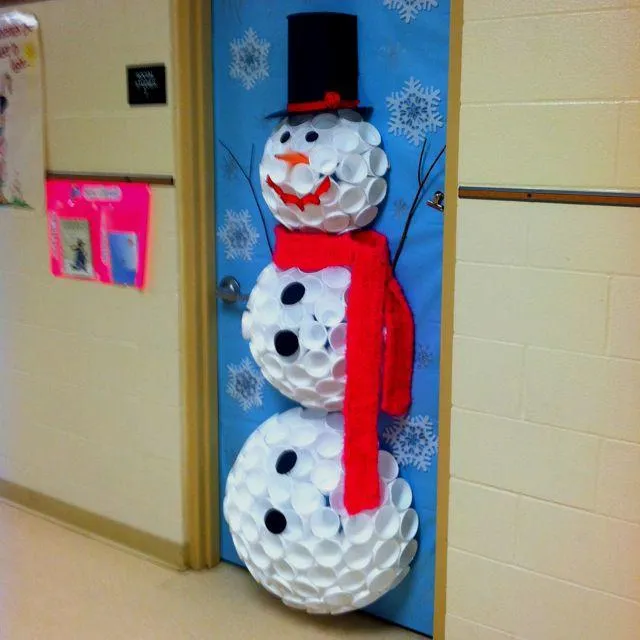
10. Plastic Cup Snowman: 250 Cups and a Red Scarf
That three-tiered snowman is roughly 250 white plastic cups at about $8 per 100, hot-glued rim to rim over a light blue door scattered with paper snowflakes. Total: under $30. The scarf is a scrap of red fabric and the carrot nose is a rolled orange paper cone, so nothing here can’t be rebuilt next December.
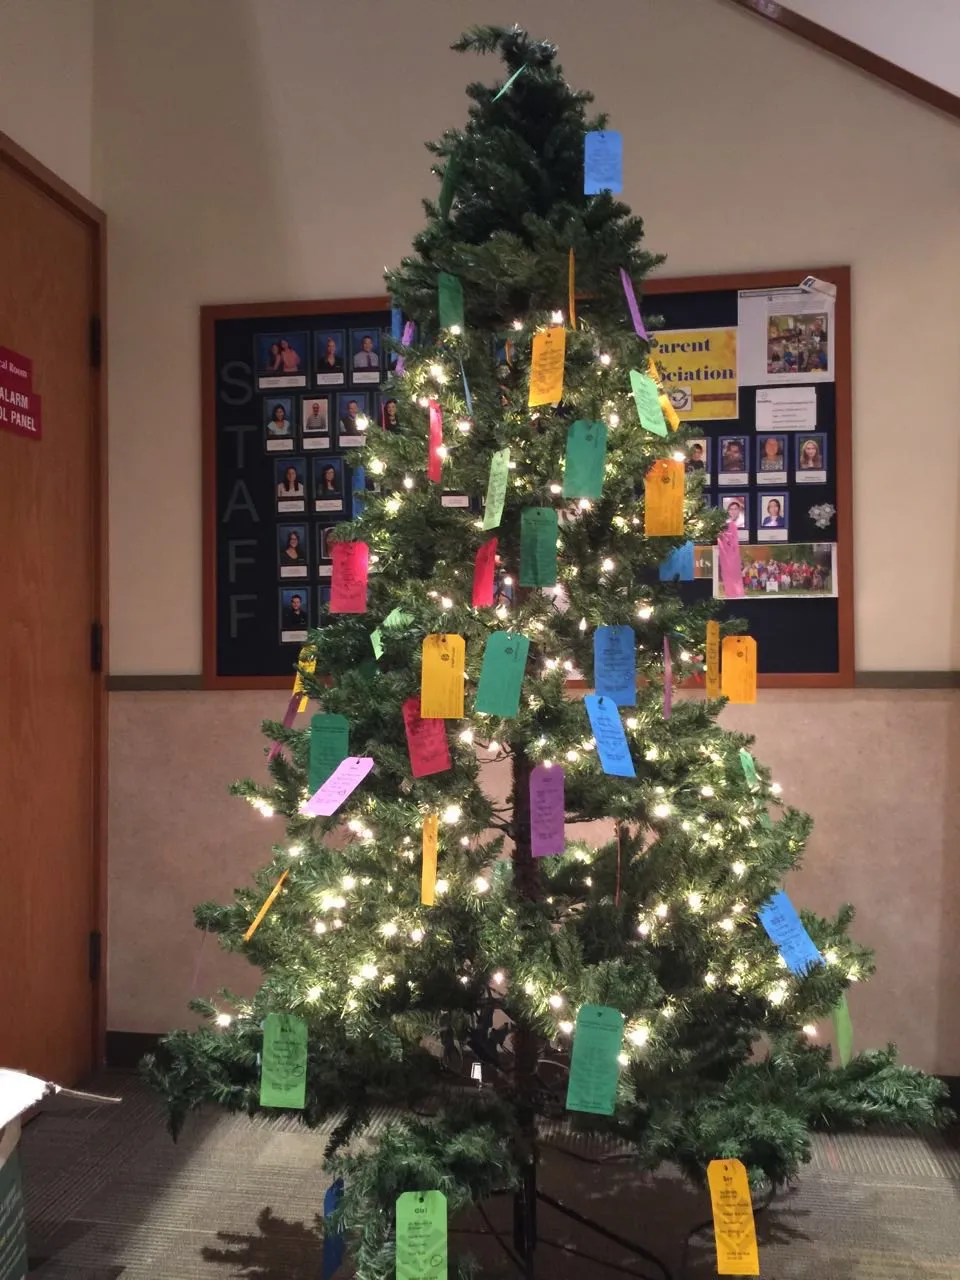
11. A Tree Dressed in Hundreds of Blank Colored Tags
The tags are the entire idea. A tree packed with hundreds of colorful rectangles looks intentional and graphic; the same tree with a dozen store-bought ornaments looks like someone gave up halfway. If you copy one thing, copy the density — buy 300 tags, write a name on each, and fill the branches until you can barely see green.
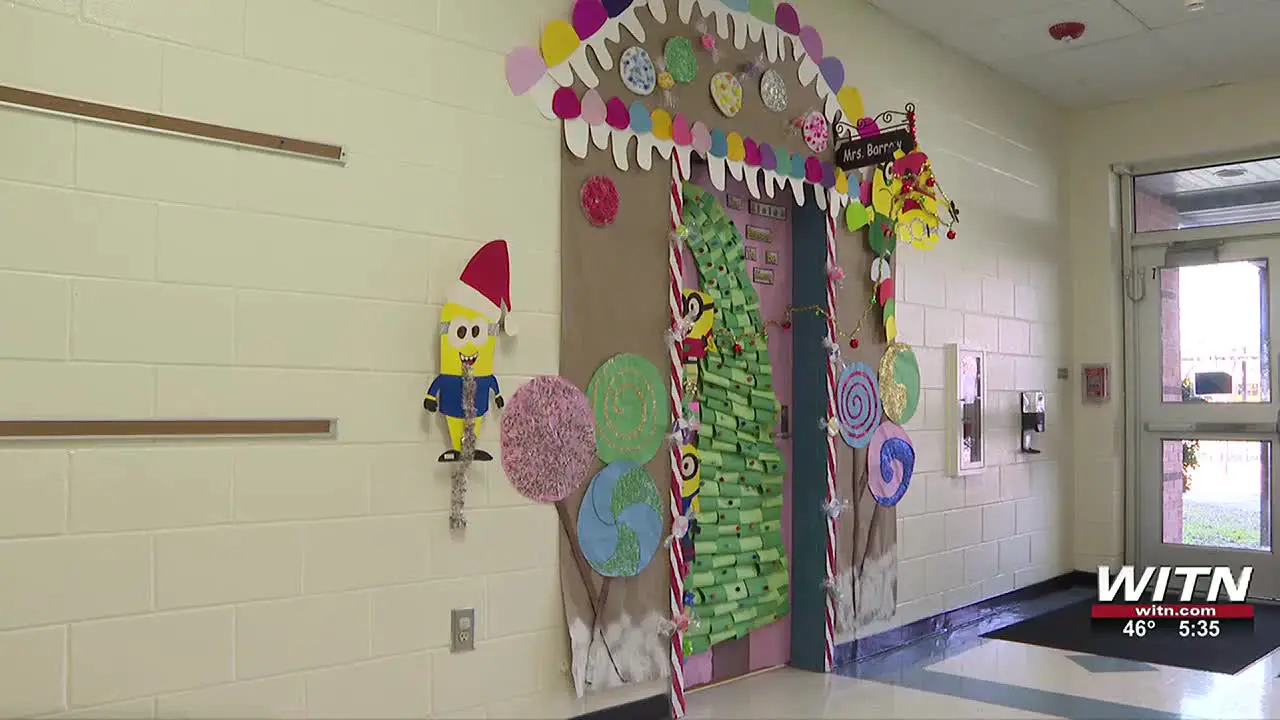
12. Gingerbread Door With Striped Columns Doing the Accent Work
The formula is roughly 50% brown paper structure, 40% bright candy cutouts, 10% red-and-white stripe. The stripe is the accent, and it’s what sharpens the whole door, so keep it to the flanking columns and the candy canes only. Swap the palette and the math holds: navy structure, silver cutouts, gold stripe reads just as crisp.
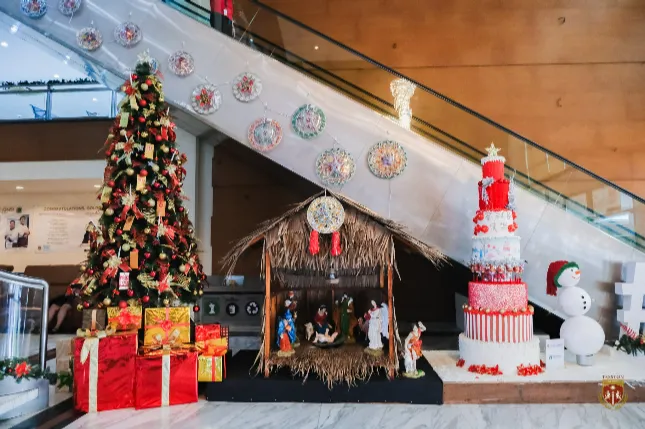
13. Four Vignettes Instead of One Enormous Centerpiece
Schools and malls are leaning into mixed vignettes — one tree, one nativity, one tiered red-and-white tower, one snowman — instead of a single giant centerpiece. Grouped against modern architecture, it reads as a curated scene rather than a pile of decorations. It also solves the committee problem: four small teams, four finished displays.
14. Zigzag String Light Canopy Above a Pair of Trees
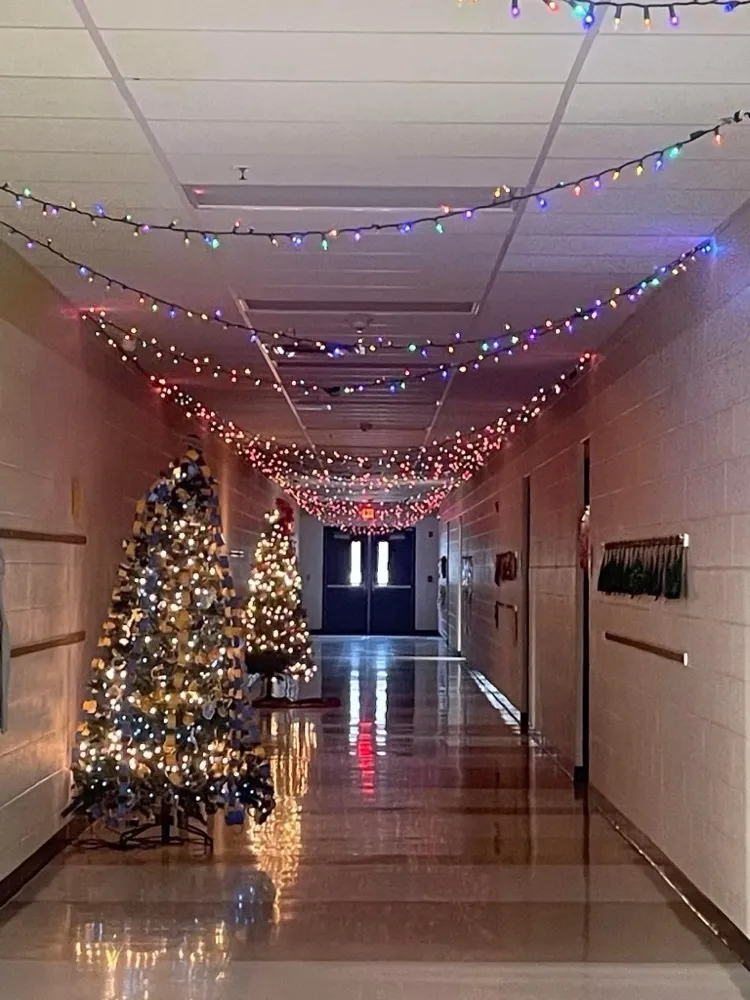
Hang those multicolored strands in a zigzag, not straight across. Straight runs create dark bands between them; a zigzag at 18–24 inch intervals gives full canopy coverage with roughly 30% fewer strands. Clip to the ceiling grid instead of stapling, and route every strand back to one point so the whole canopy goes dark with a single switch.
15. Rustic Photo Booth Wall With a Gold-Tinsel White Tree
- Clip the printed wood-plank backdrop against the brick wall, then tape warm white string lights across it in a loose zigzag.
- Set a small white tree beside it and wind gold tinsel in a spiral, spacing the wraps about 4 inches apart.
- Leave 4 feet of clear floor in front for the photo line.
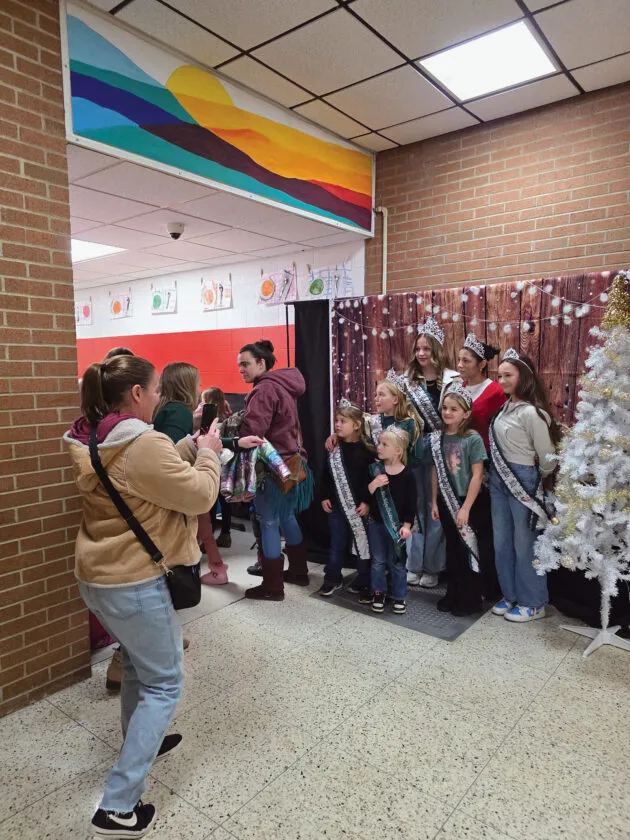
About an hour, under $60.
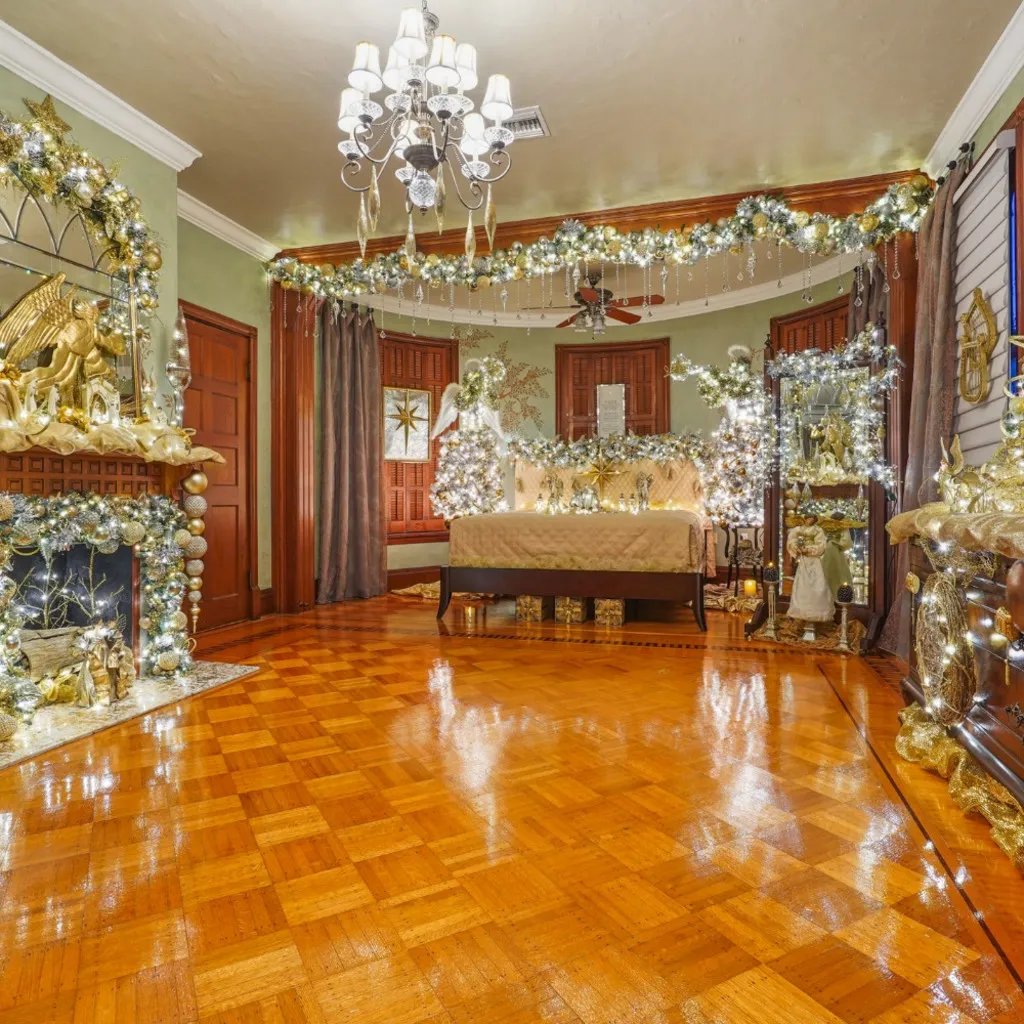
16. Ceiling Garland and Feather Angels in Gold and White
Full ceiling-to-floor gold garland is genuinely expensive: pre-lit garland runs $30–60 per 9-foot strand and a room like this uses a dozen. Gold angel figures land at $15–40 each, white artificial trees $60–200, and mantel candlesticks $10–25 a pair. Realistically $1,200–2,000 for the whole space. A convincing hallway version — two white trees, one garland run, gold ribbon — lands near $250.
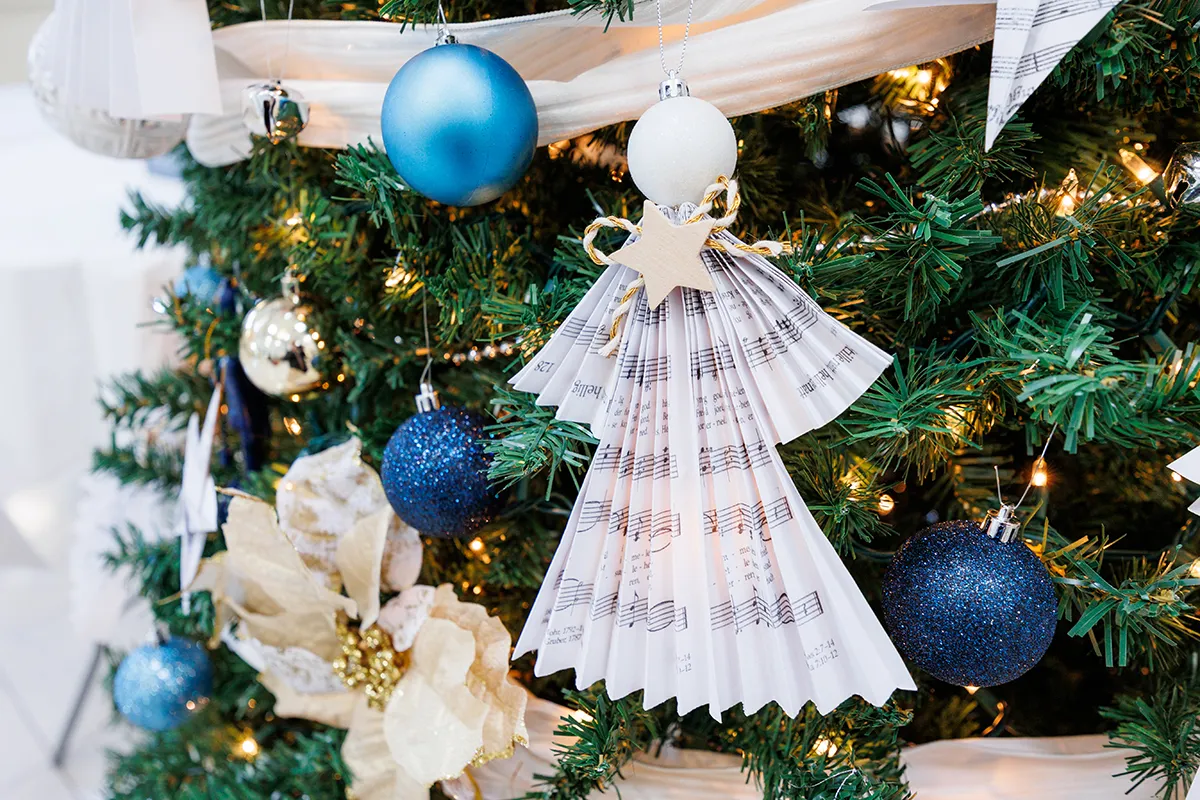
17. Blue Baubles, Sheet Music Angel, and a Cream Ribbon
Cluster ornaments in odd-numbered groups of three and leave deliberate gaps. A tree where every bauble sits alone reads as scattered; three blue, two gold, and a cream ribbon loop anchored at the same depth reads as a designed moment. Tuck the sheet music angel about two-thirds up the tree, angled slightly forward — it’s the piece people will photograph.
18. Balcony Garland That Requires a Three-Story Atrium
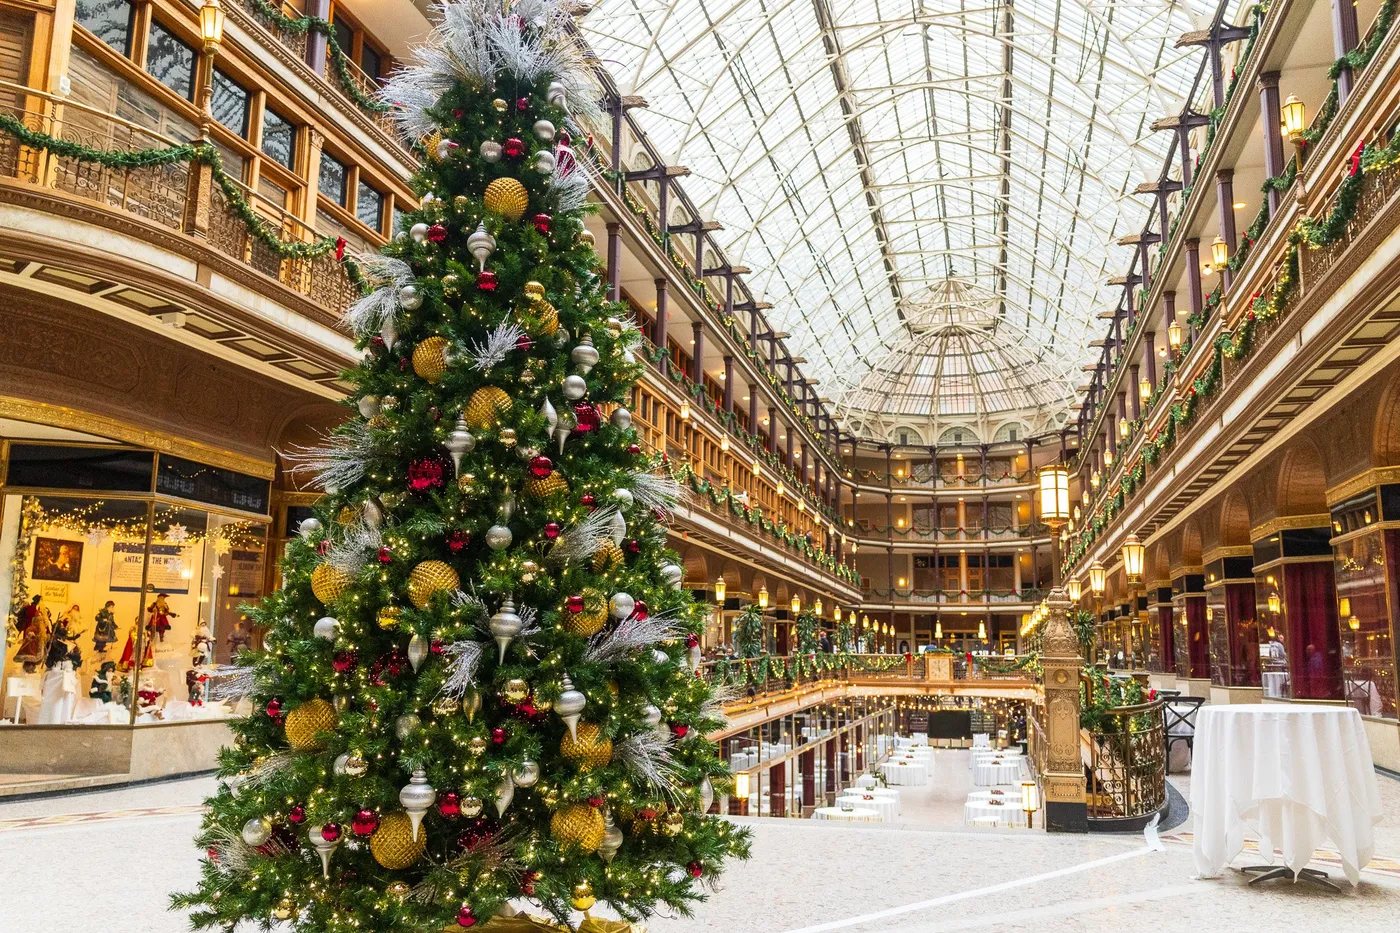
This is a three-story idea and it genuinely only works at three stories. Balcony garlands need railings at least 15 feet apart vertically to read as layered rather than cluttered, and the tree has to hold its own against a vaulted glass ceiling — 15 feet is the practical floor. In a single-story school, steal the palette (deep green, gold, red bows) and scale it to door frames.
19. Gingerbread House From Kraft Paper and Plastic Plates
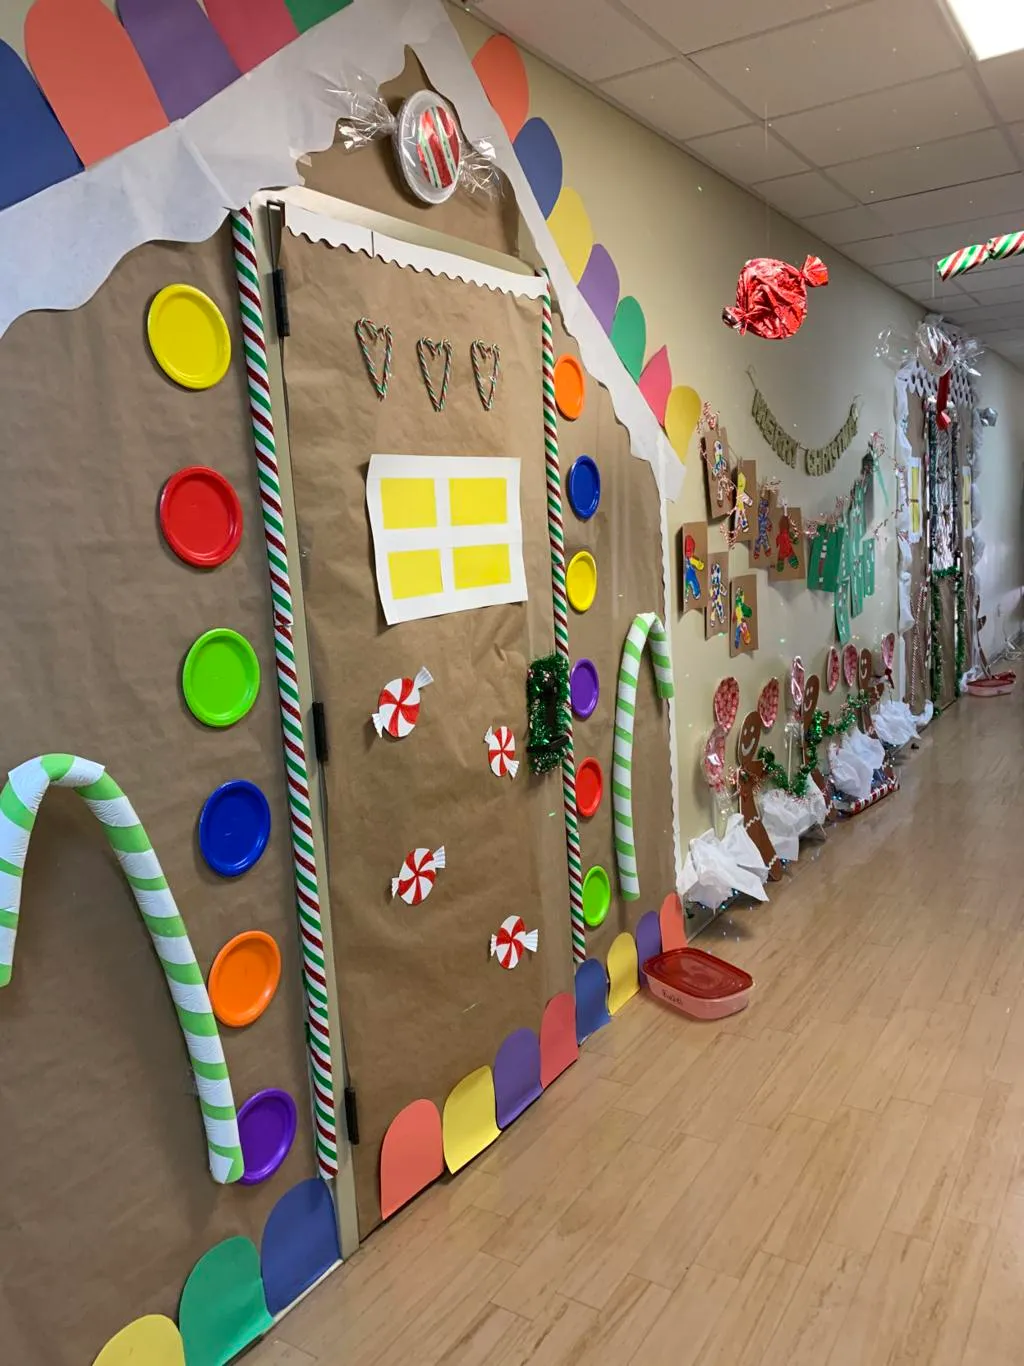
Brown kraft paper, scalloped roof shingles cut from construction paper, and plastic plates for the oversized candy buttons — that’s the entire build, and it runs about $60 for 30 feet of hallway. Buy plates in bulk at a dollar store and hot-glue them rim-side out. Swap plates for paper circles and you’re down near $25.
20. Floor-Run String Lights: Gorgeous and a Little Dangerous
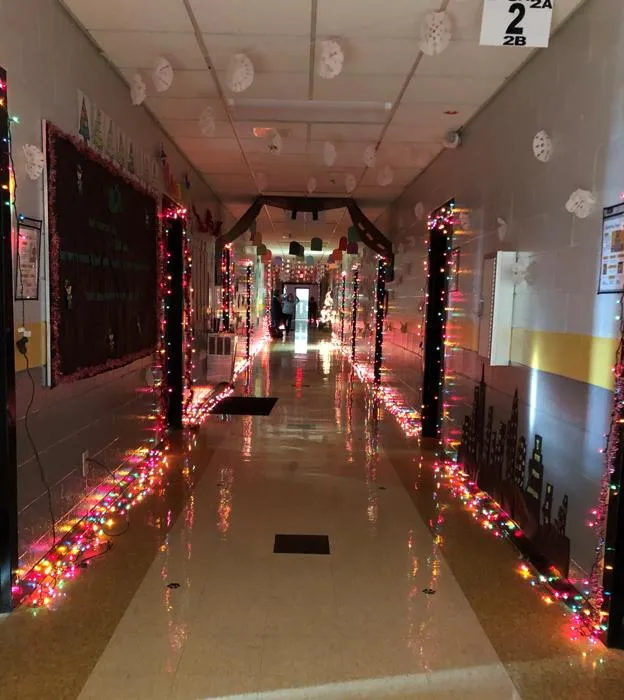
Lights running along the floor edge look incredible and are a genuine trip hazard. Tape every inch flat with gaffer tape, keep cords out of the walking lane, and never run more than three strands end to end on one outlet. If your hallway gets mopped, run the lights up the wall instead — floor runs and mop water are a bad combination.
21. Garland Archway With Hay Bales and a Reindeer Sign
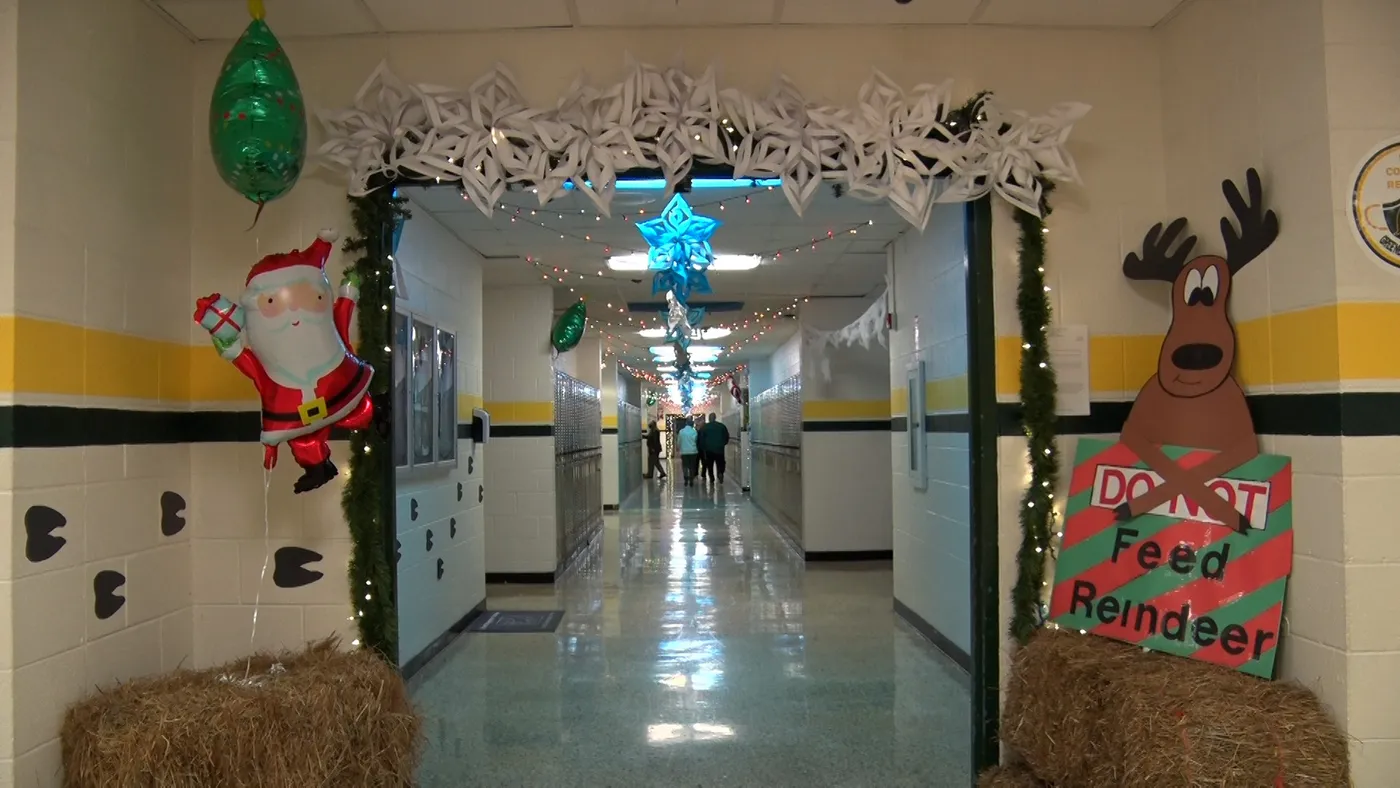
Decorating an archway is a sightline problem, not a decoration problem. Hang the paper snowflakes so their centers sit at 60–66 inches — above head height for elementary kids, below eye level for adults — and keep those hay bales within 6 inches of the wall so nobody clips a shin on a corner during a fire drill.
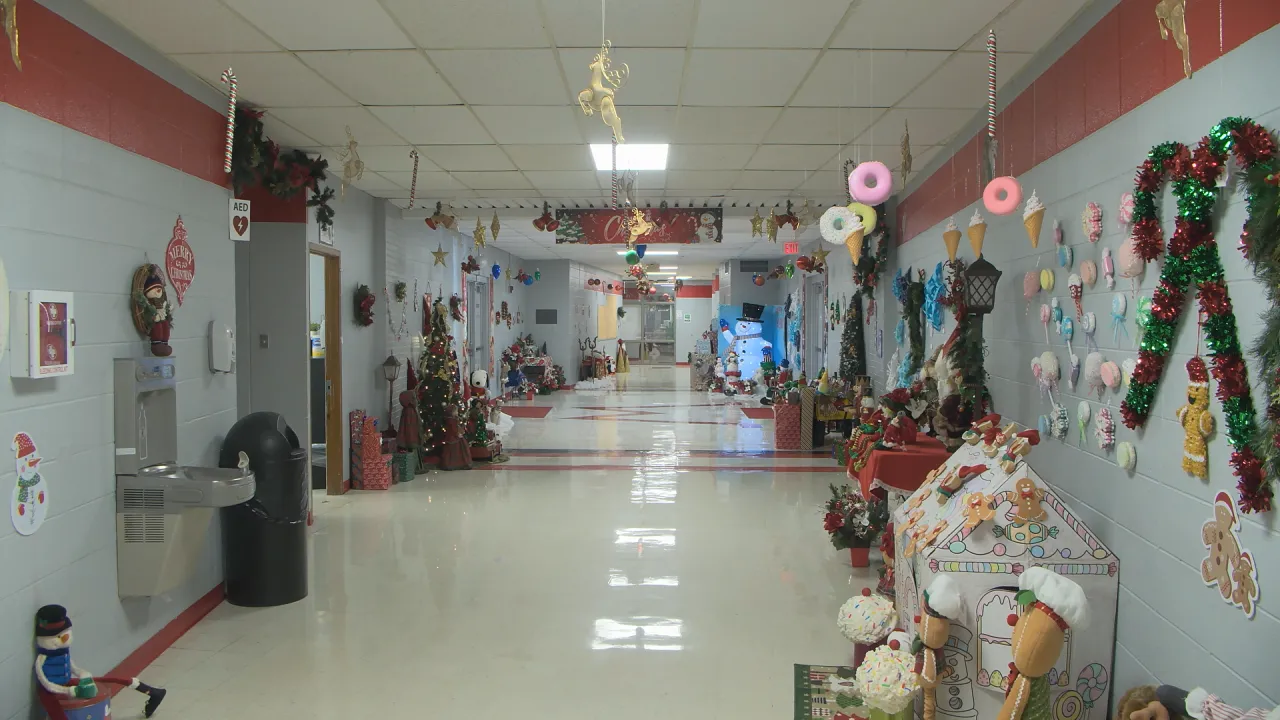
22. Repeating Round Candy Silhouettes Down a Long Hall
What makes an abundant hallway work is repetition of shape, not a rainbow of themes. Gingerbread men, donuts, and ice cream cones are all round-ish silhouettes, so they line up visually even when the subjects change. Repeat that silhouette at three sizes — small on the wall, medium on the floor, large overhead — and the eye keeps traveling down the hall.
23. Paper Poinsettias on a Faux Wooden Door
- Cover the door in brown kraft paper and draw plank lines to fake a wood door.
- Cut poinsettia petals in three sizes, layer smallest to largest, and back each with green leaves.
- Cover the surrounding wall in black paper and scatter yellow paper stars for contrast.
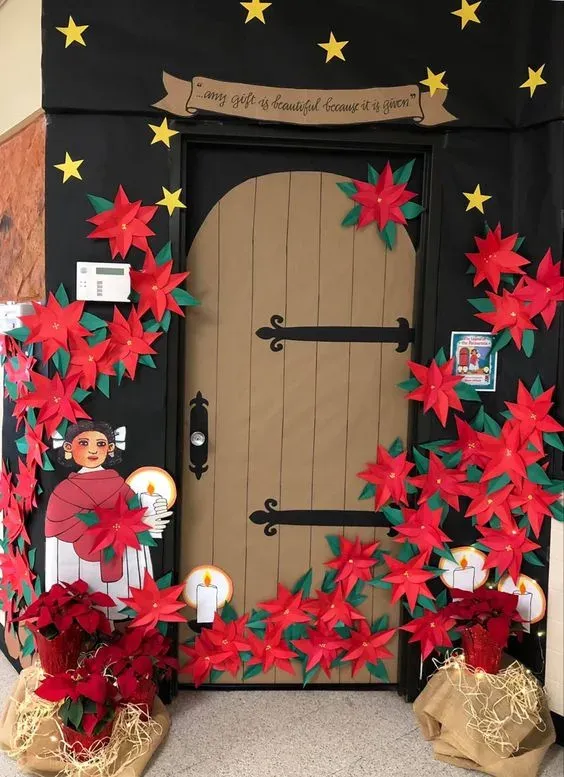
Add potted poinsettias and fairy lights at the base. About two hours, $35.
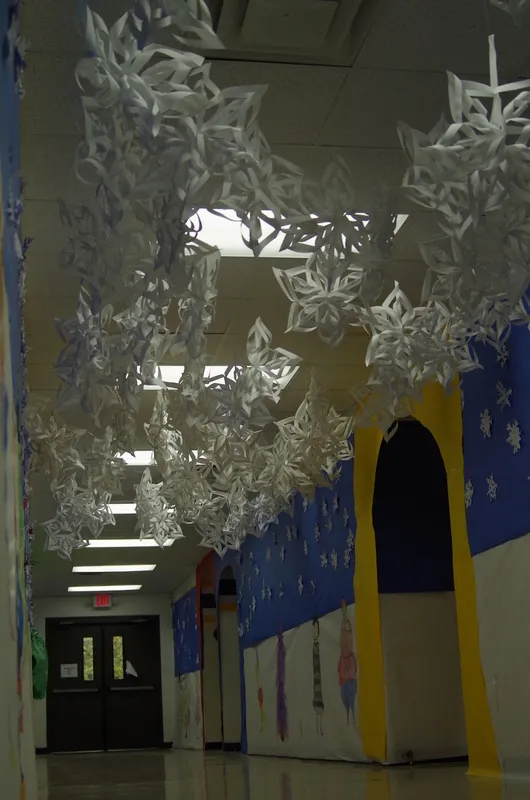
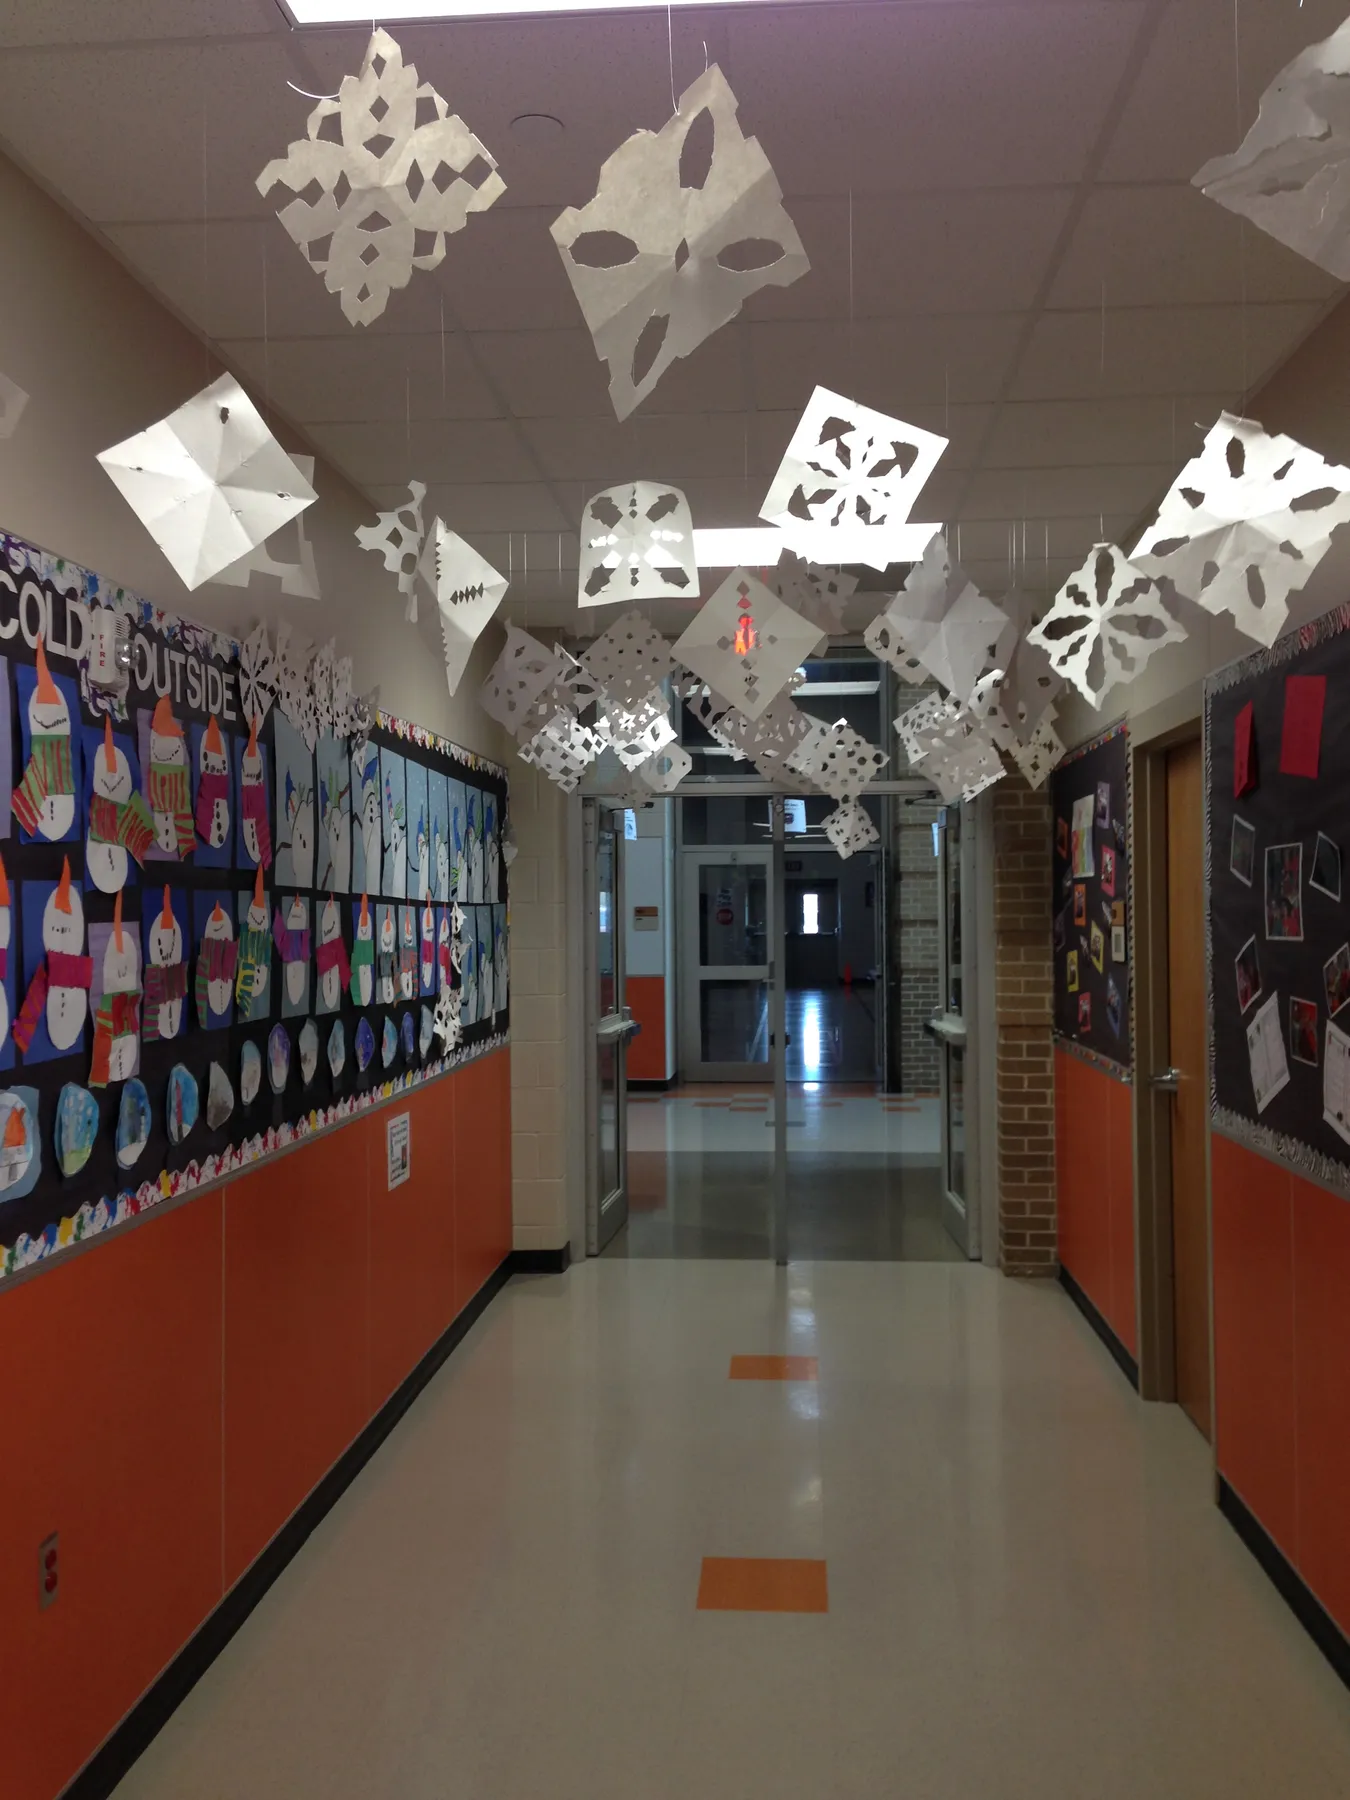
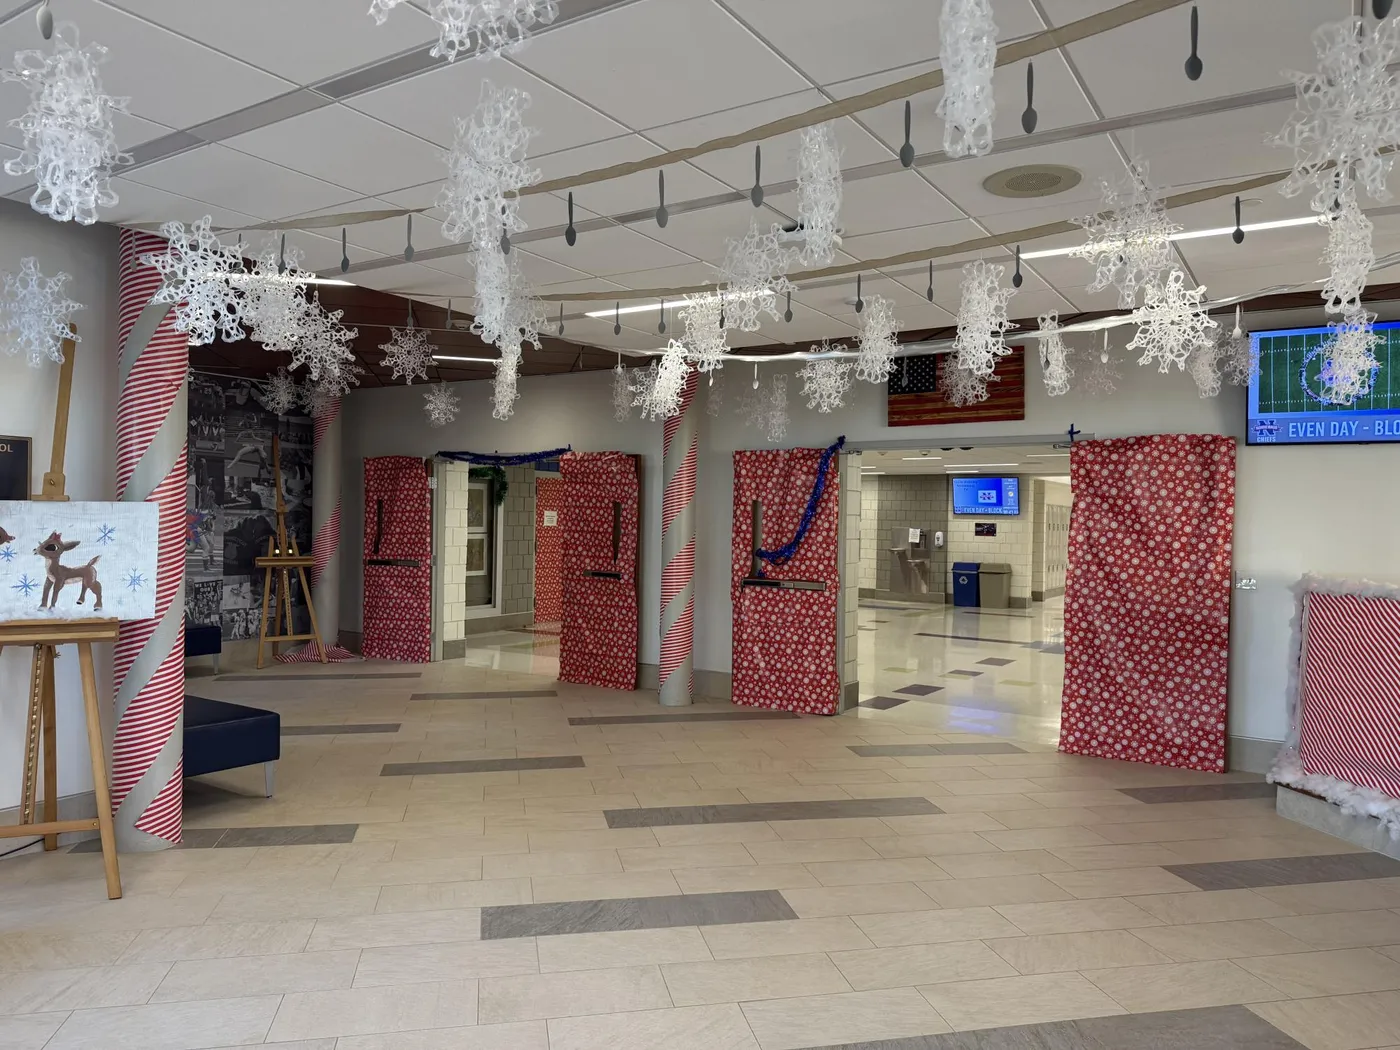
24. Forty Snowflakes Suspended Under a Classroom Ceiling
Ceiling snowflakes are volume-dependent: 40 to 60 pieces for a standard 40-foot hallway, suspended 8 to 14 inches below an 8-foot ceiling. Hang them at mixed heights and rotate each one so no two look alike from below. Ceilings above 10 feet need the flakes dropped on longer 24-inch lines, or they’ll simply vanish.
25. Green Garland and One Oversized Bow Per Arch
Simple formula, and it’s mostly restraint: 70% beige architecture, 25% green garland, 5% red. The bows are punctuation, so one oversized bow per arch beats four small ones every time. Trade the red for burgundy and the beige for warm white and you get a softer, more modern version of the exact same hallway.
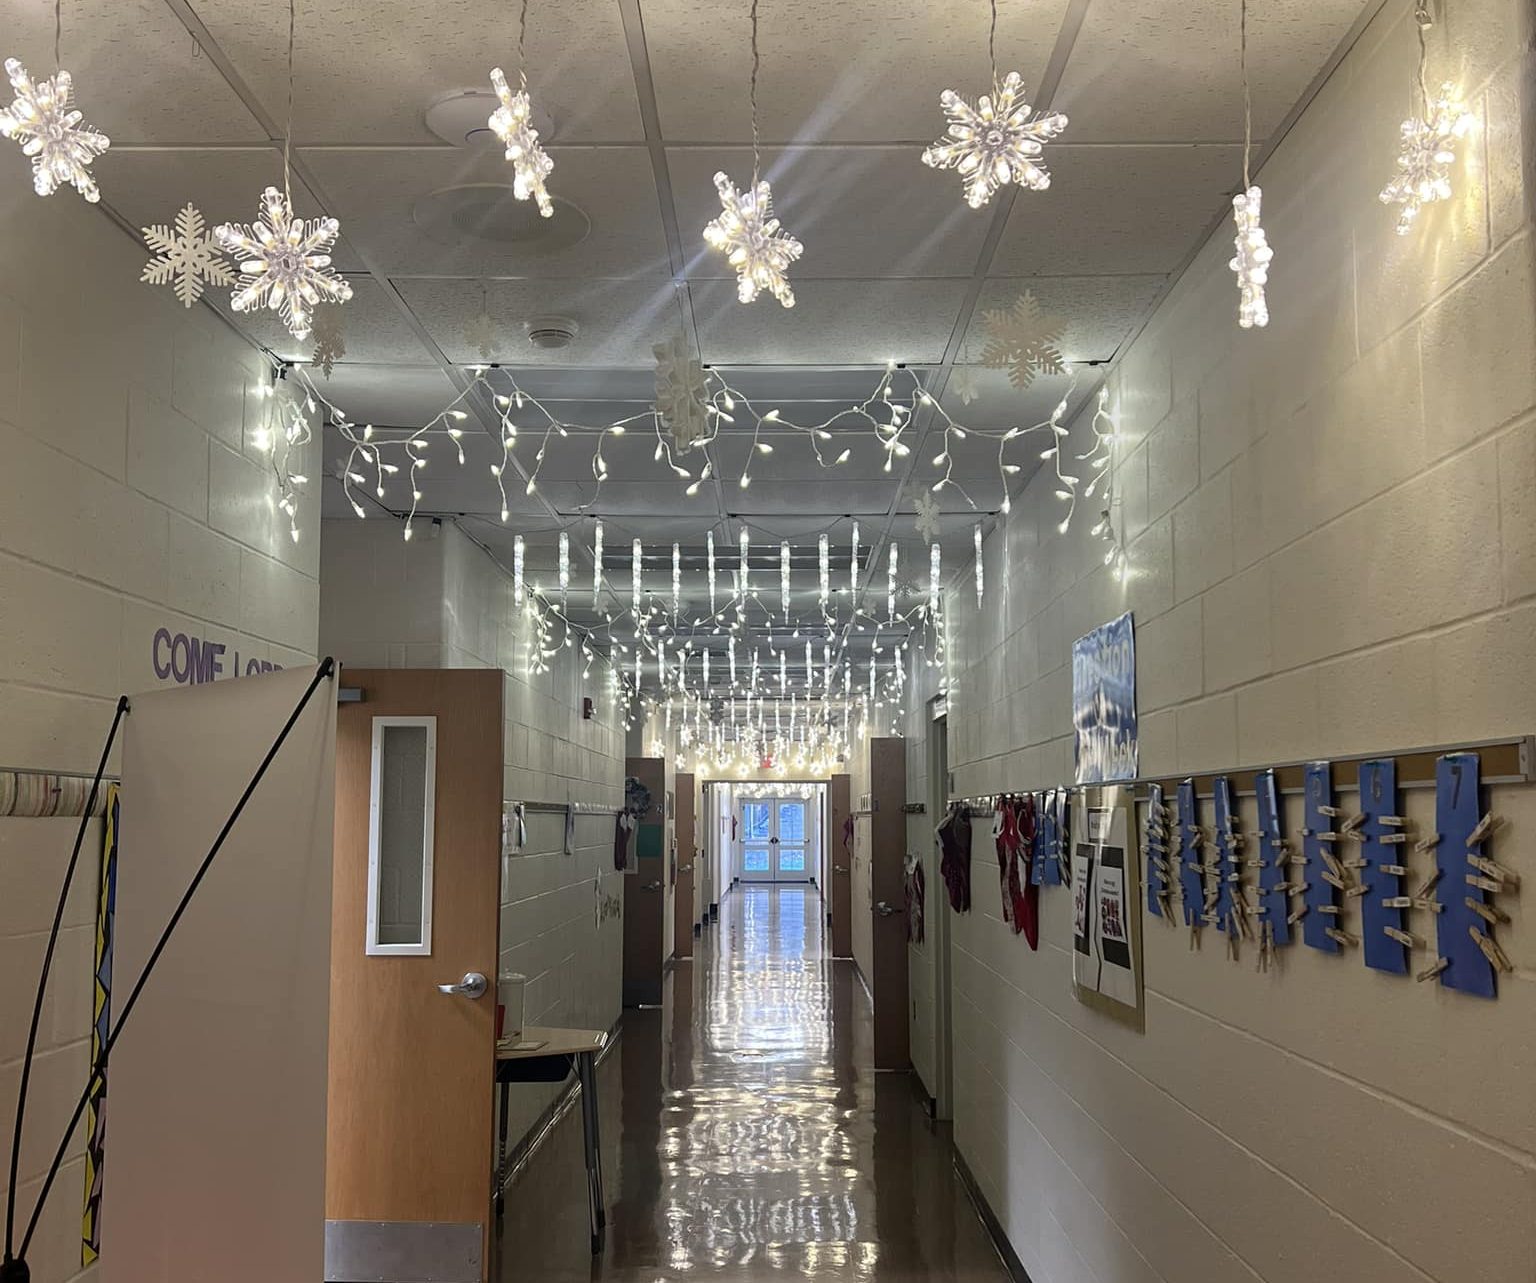
26. Same Garland, Same Bow, Every Single Door Frame
Consistency is the whole design. The same pine garland, the same red bow, the same spacing at every door frame — that repetition is what makes a plain beige hallway feel decorated rather than cluttered. Warm white lights woven into the garland add depth for free. Change one door’s treatment and the whole rhythm breaks.
27. A Gingerbread Door Built From Scallops and Paper Chains
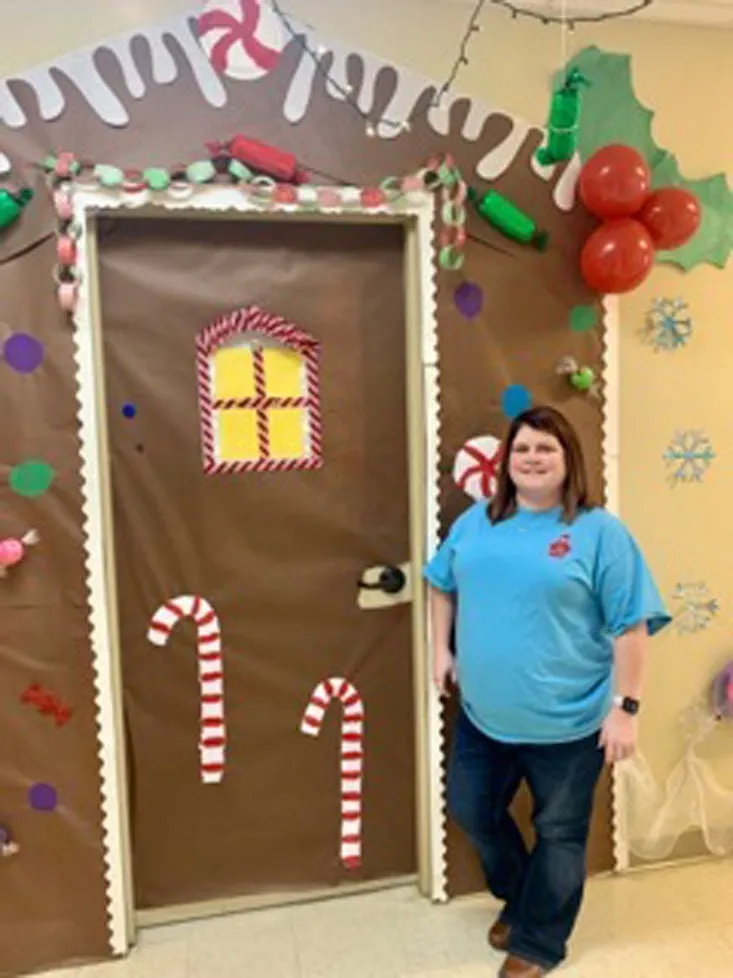
Brown kraft paper and white scalloped trim are the entire structure — roughly $20. Paper candy canes, peppermint swirls, and round candies cost almost nothing if you print and cut them yourself; plan on 60–80 pieces. Paper chains run about $5 in strips, and red balloons plus green holly leaves add $10. The whole door lands near $50, which makes it the scissors-and-paste cousin of Idea #12.
28. A Tree Where Every Ornament Is a Student Drawing
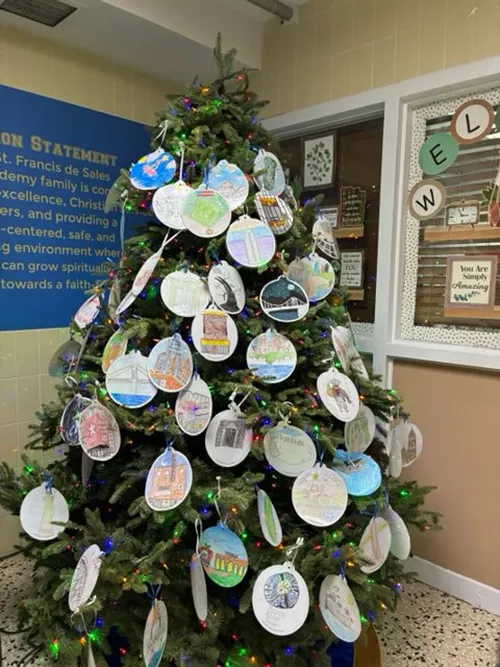
A tree decorated entirely with student-made ornaments does something store-bought never will: every kid finds their own artwork and points it out to whoever’s nearby. The circular format keeps it from tipping into chaos, and one shared tree gives the whole building a single focal point. Same effect, smaller scale: one tree per grade.
29. Handprint Trees and Footprint Reindeer Taped to a Wood Door
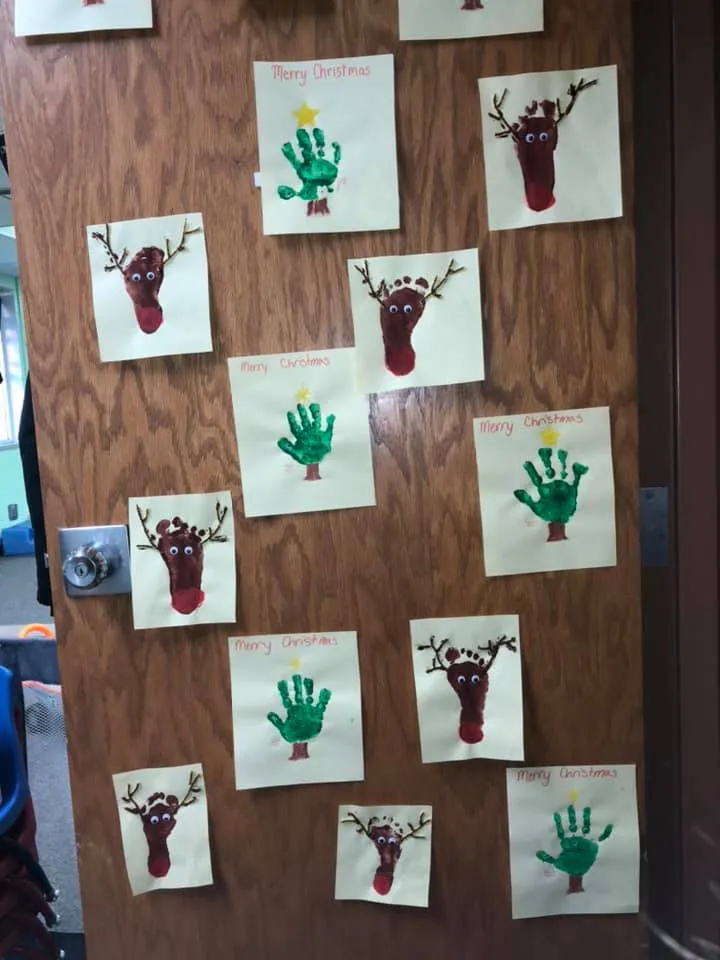
Washable tempera on a finished wood door can stain if it sits for weeks — put the handprints on cardstock and tape the finished cards up instead. Tape, not glue, so the finish survives the season. And if that door is a fire door, keep decorations to a small fraction of the surface and never cover the vision panel.
30. Fabric-Wrapped Columns: Beautiful, High-Maintenance
Fabric wraps look polished, but they’re the highest-maintenance item in any hallway: corners pull loose, tape gives up in warm air, and kids pick at the edges. Plan to re-tape every two weeks and budget a full roll of gaffer tape per month. If that’s too much upkeep, print the stripe on wide paper rolls instead — same look, far easier to patch.
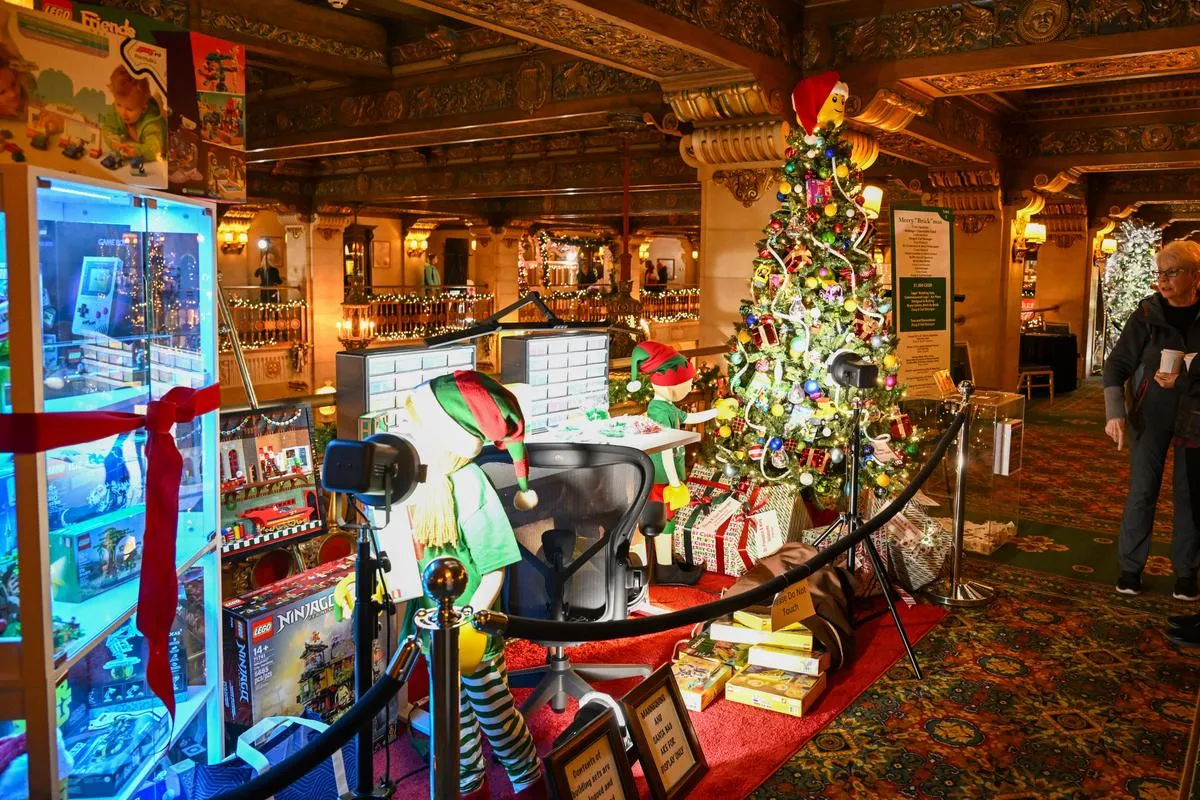
31. Walk-In Elf Workshop Beside a Glowing Toy Case
Immersive vignettes are the 2026 move: instead of decorating a hallway, you build a scene inside it. An elf workshop with two figures at a table of wrapped gifts gives visitors something to walk up to rather than just past, and the glowing toy case beside it does the work of a spotlight. It photographs beautifully, which is exactly why schools keep building them.
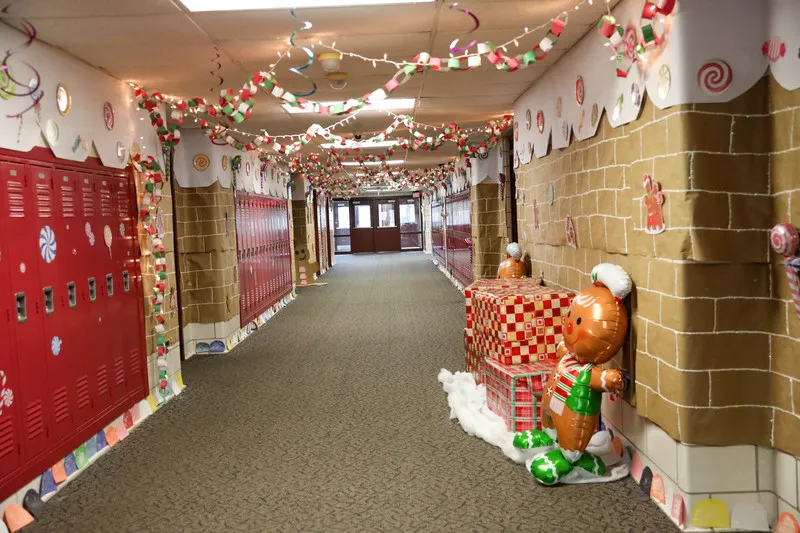
32. Red Lockers Doing the Background Work for Free
Red lockers are a free backdrop — that’s the whole trick. Cover the wall above them in brown paper “bricks” with white icing scallops, then spend your money on one inflatable gingerbread man ($25) and stacked gift boxes from a dollar store ($15). Paper chains and metallic streamers finish the ceiling. It’s the same gingerbread language as Idea #19, built around lockers instead of blank wall.
33. Advent Calendar Strung Across Cube Shelving
- Clear the top of the cube shelving first — festive clutter on an already-full shelf just reads as mess.
- String the numbered advent calendar across the shelf face at eye height.
- Style the mini tree with paper ornaments in one accent color that echoes the green chairs.
- Wrap a few books as gifts and lean them spine-out.
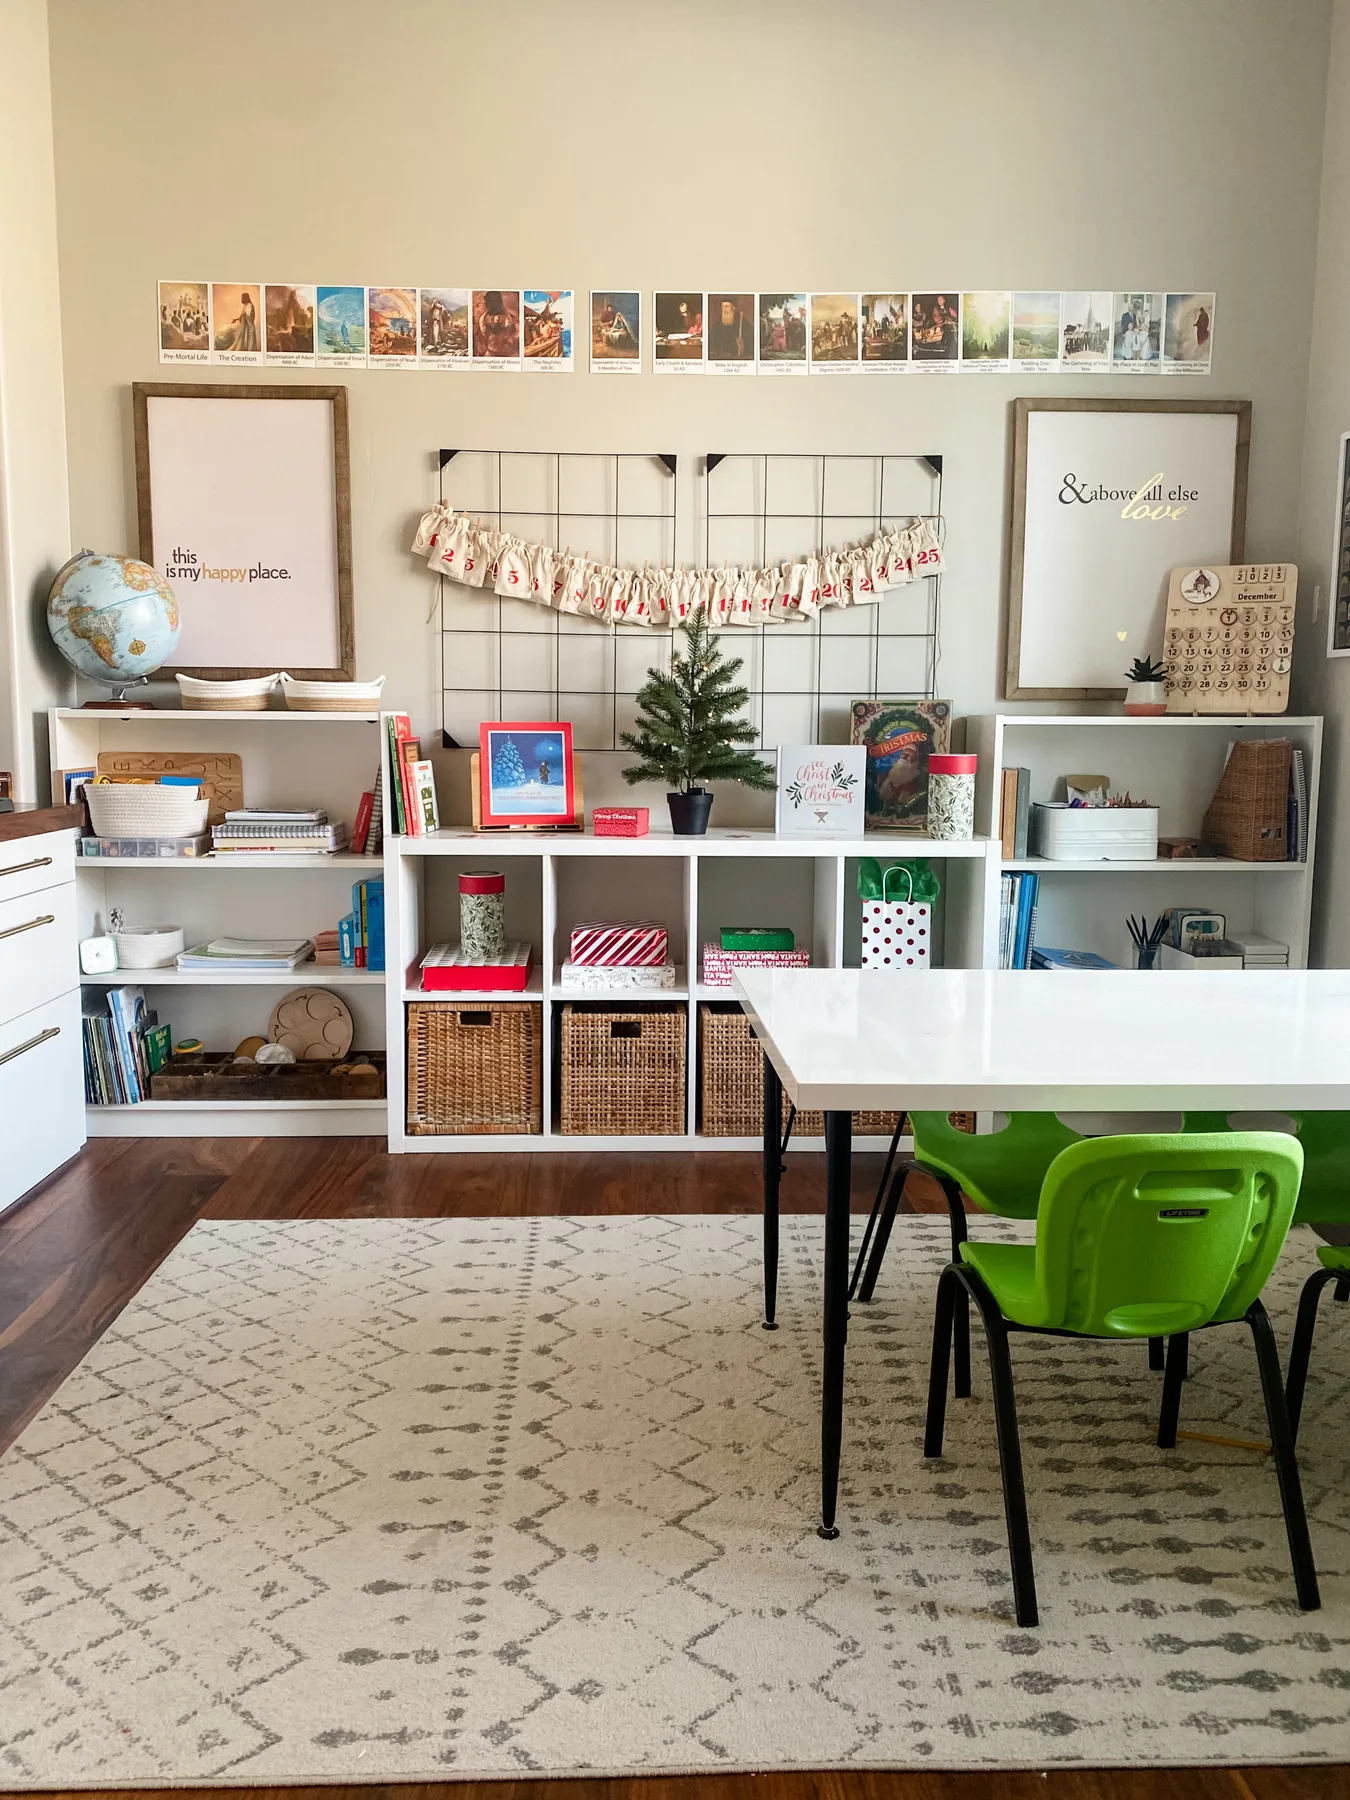
About 45 minutes, mostly rearranging.
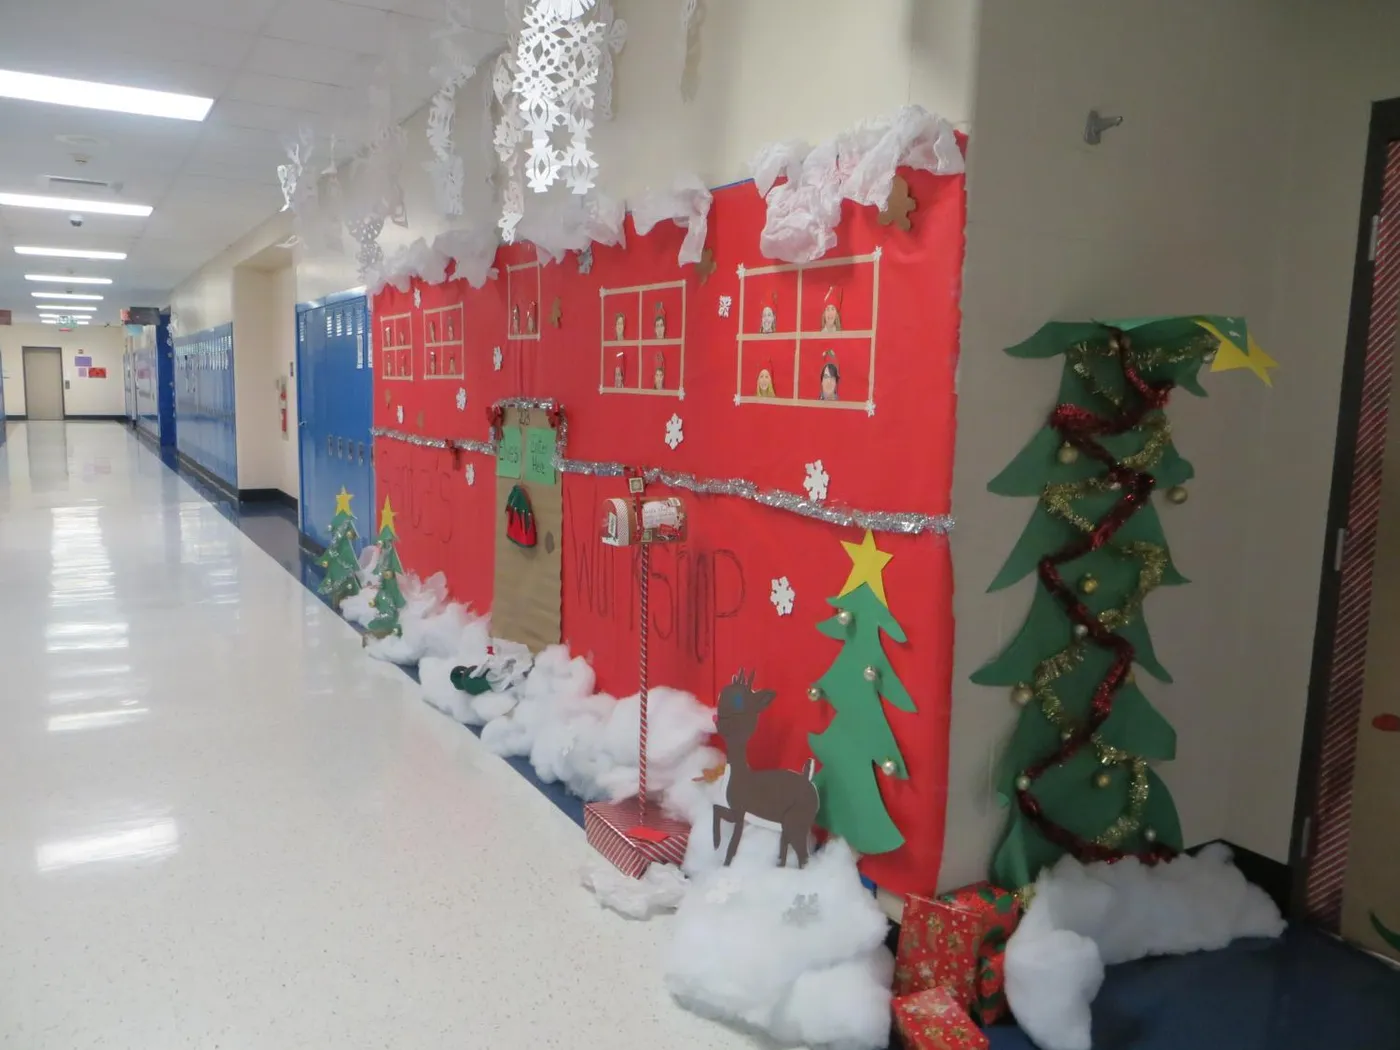
34. Santa’s Workshop Wall With Elf Faces in Cutout Windows
- Measure the wall and confirm you have enough red roll paper before cutting a single window.
- Check that no cutout covers an outlet, fire extinguisher, or exit sign.
- Get written approval for anything attached to the ceiling grid.
- Confirm your cotton batting is fire-retardant rated.
35. Ceiling Bows That Hold Their Shape All Season
Hanging bows want volume, not width. Stuff each one with tissue or bubble wrap before it goes up, and cut the ribbon tails at an angle so they catch light instead of going limp by week two. Space them 4 to 5 feet apart down the ceiling — any closer and the whole hallway feels like it’s sagging.
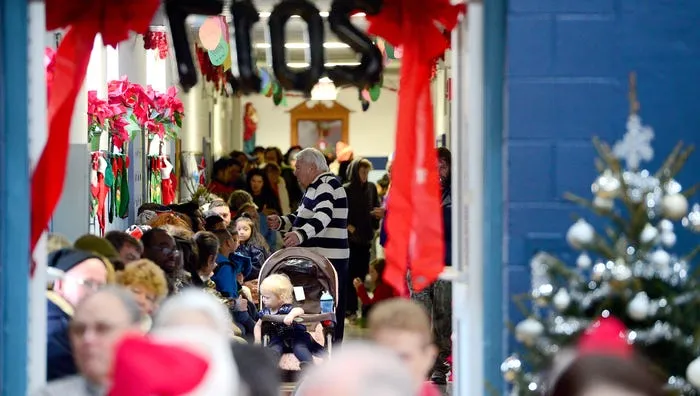
36. The Oversized Red Velvet Bow That Makes the Tree
The bow at the top is the entire personality of this tree. A single oversized red velvet bow with a cascading ribbon gives a school tree a sense of ceremony that a star or a cluster of picks never quite manages, and it’s the cheapest upgrade available. Everything below it can be plain round ornaments and the tree still reads as fully dressed.

37. A Night Sky Door With a Layered Green Paper Tree
- Cover the door in black paper and stipple white paint dots for stars, adding a yellow crescent moon up high.
- Build the tree from layered green paper in three graduated curves across the bottom two-thirds.
- Glue on paper light bulbs, geometric shapes, and small framed student photos.
- Top it with a handprint star and a white paper snow base.
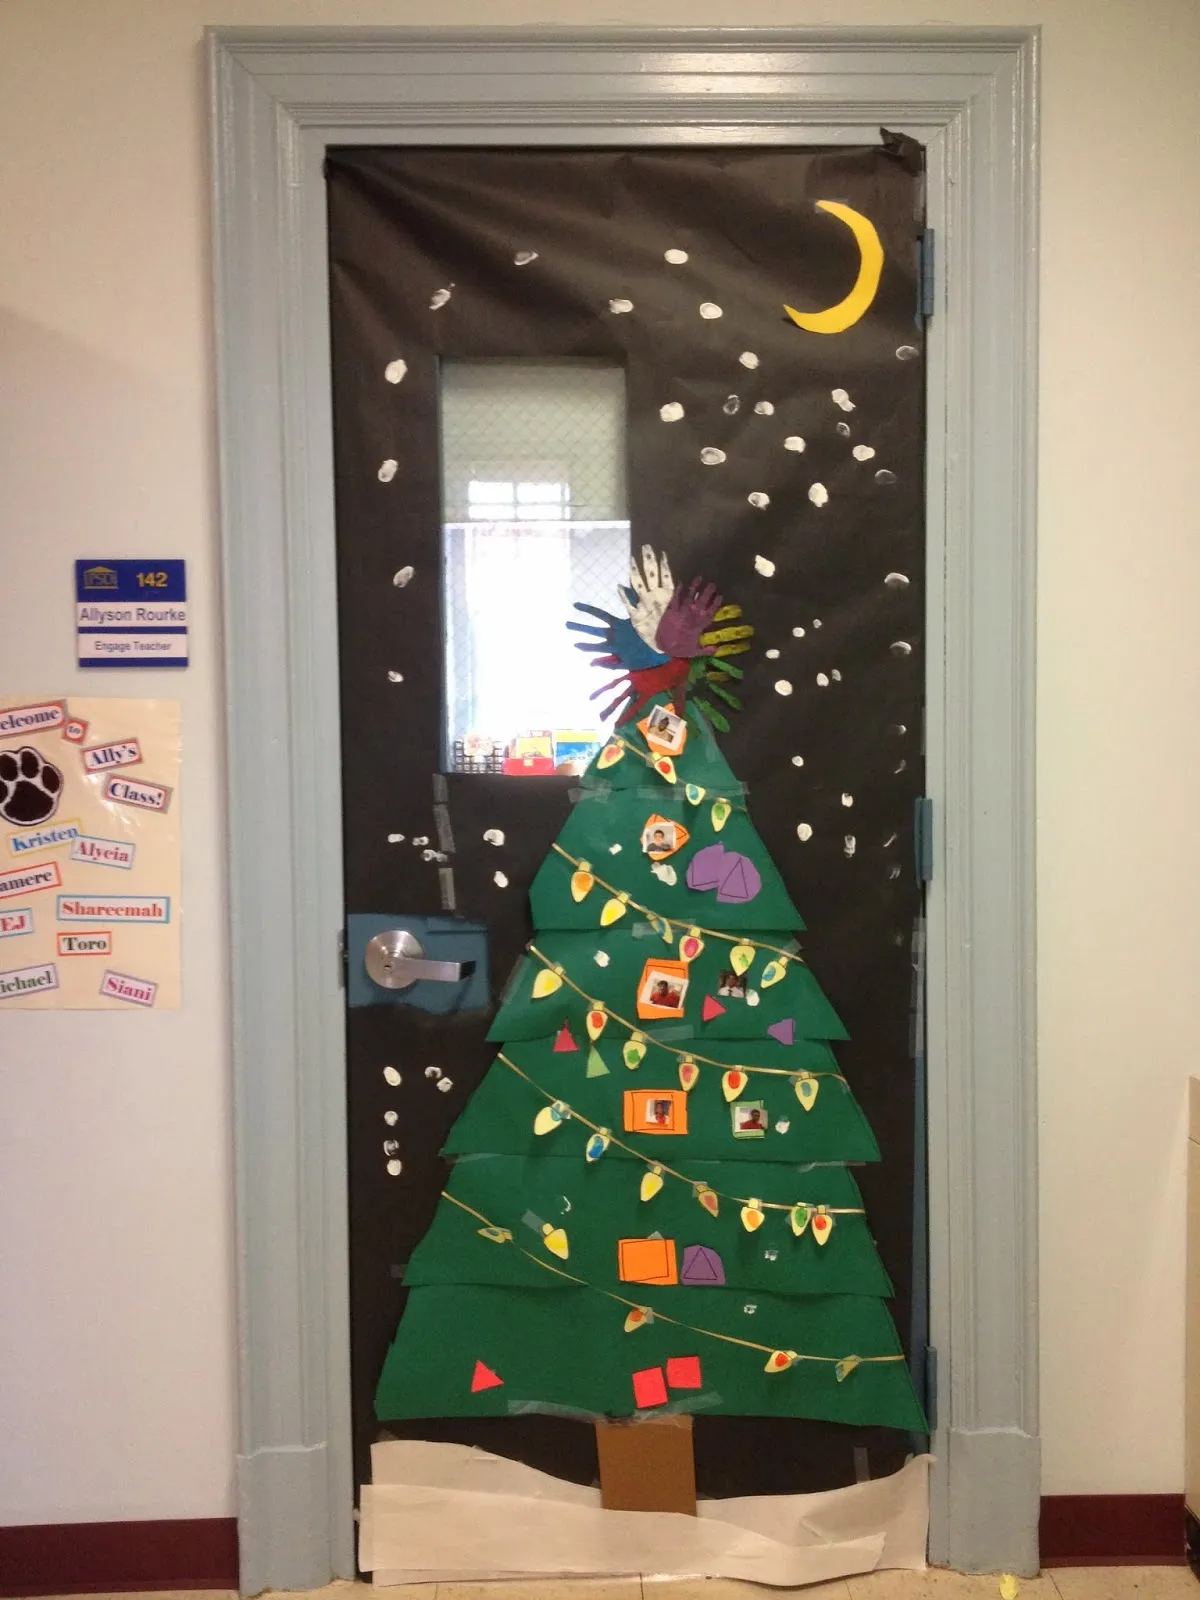
Two hours, about $20.
38. Gold Ornaments, Blue Ribbon, Disciplined Ratio
Gold and blue work here because the ratio stays disciplined: 60% gold, 30% blue, 10% white marble and light. Gold goes on ornaments and architecture where it can glitter; blue stays on ribbon and ceiling panels so it never competes. Swap blue for burgundy and the formula holds — metallic-to-matte balance matters more than the hue.

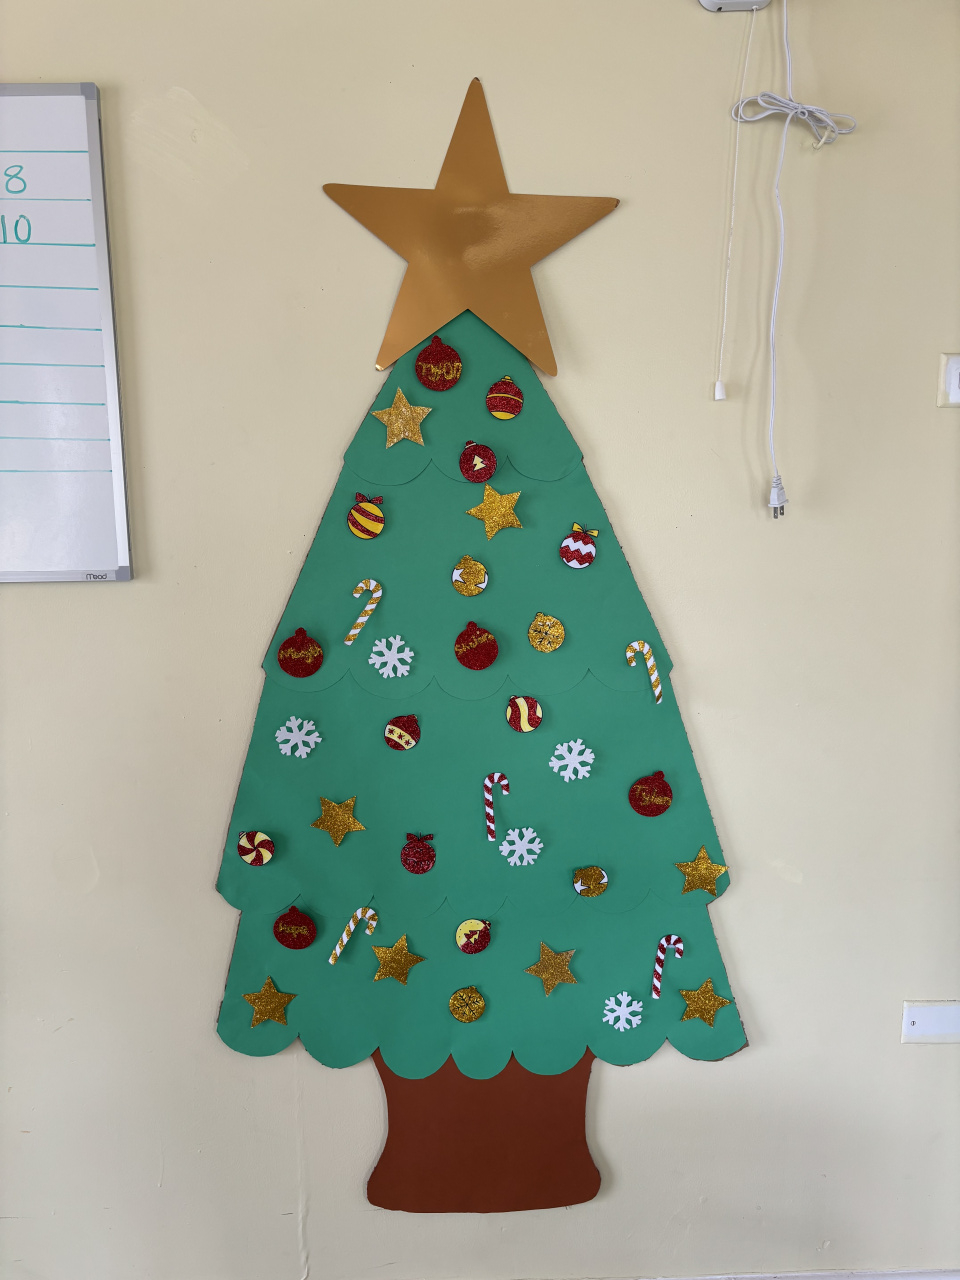
39. A Flat Wall Tree That Lives or Dies by Its Edge
Flat wall trees live or die by their silhouette. Cut the scallops from doubled paper so the edge holds a shadow, and laminate the top layer if that wall gets direct sun — otherwise the green fades to mint by mid-December. Mount with removable adhesive strips rated for the paper’s weight, and never nail into a painted block wall.
Your Hallway Is About to Be the Best Part of the Day
Start with one door, one archway, or one stretch of ceiling — you don’t have to do all 39 to make the hallway feel transformed. Pick the idea that fits your space and your budget, gather a couple of helpers, and let the paper and tape do the rest. 📌 Pin this guide before you head to the supply store — next December you’ll be glad you saved it.