
You know that feeling when you’re six saves deep on Pinterest and one Disney tree finally looks exactly right — not a wall of plastic figurines, but an actual styled tree you could live with? That’s what this is. We spent serious time browsing Etsy, the Disney Store, Amazon, Hallmark, and Target to bring you 20 Disney Christmas tree ideas that hold up in a real living room, ranging from about $8 for a single ornament to $220 for a full themed setup. You’ll find pastel princess trees, a coastal theme with Olaf in a beach chair, vintage character ornaments, Stitch everything, and toppers that actually carry their weight — with budget and luxury versions compared side by side. And 2026 is the year Disney trees went personal: shoppers are building collections ornament by ornament instead of buying one big box, and the results look a whole lot better for it. And stay until the end — we break down the most common mistakes that can ruin these looks. 📌 Save this to Pinterest for later — you’ll want to revisit these ideas.
1. Disney Parks Snack Ornaments on Real Pine Boughs
The magic here isn’t the ornaments themselves — it’s that they’re all at the same visual weight. A matte black ear hat, a gold glitter swirl cup, an orange waffle: three different colors, one identical scale, so your eye reads the whole bough as a single happy set instead of three things fighting for attention. Warm string lights tucked behind the branches rather than draped across the front do the second job, lighting each ornament from behind so the gold catches a glow. Three same-size novelty pieces per cluster, nothing bigger, and you’re done.
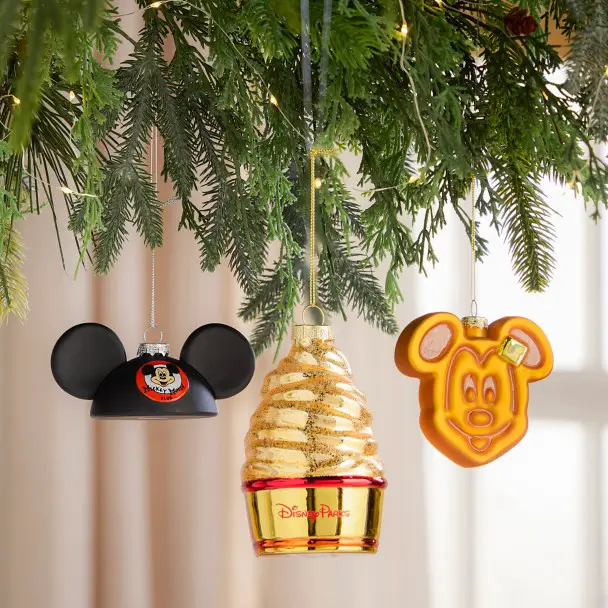
Ornament-only look, so the money goes where you can actually see it.
- Three character ornaments (ear hat, swirl cup, waffle): $12–$22 each
- Warm LED string lights, 100-count: $18–$35
- Matte black and gold filler ornaments, set of 12: $15–$30
- Metal hooks or ribbon hangers: $6–$12
Total: about $75–$145 to style one bough cluster, or $280–$420 for a full 7-foot tree in this style. Budget alternative: skip the licensed pieces and buy plain black, gold, and orange baubles at Target for around $12 — same palette, none of the nostalgia.
2. Where to Find Real Vintage Disney Ornaments in 2026
Estate sales and Facebook Marketplace are where the good vintage actually lives. Search “Disney ornament lot” instead of a character name — lots of 20 to 40 ornaments regularly sell for $25–$60, which works out to under $2 a piece. Thrift stores price singles at $1–$3 and rarely know what they have, and the Goodwill bins are where the 1980s Hallmark Disney pieces turn up. IKEA’s plain red and gold balls at about $6 for a 24-pack make perfect filler around your finds — the same supporting-role logic as the character tree in Idea #6.
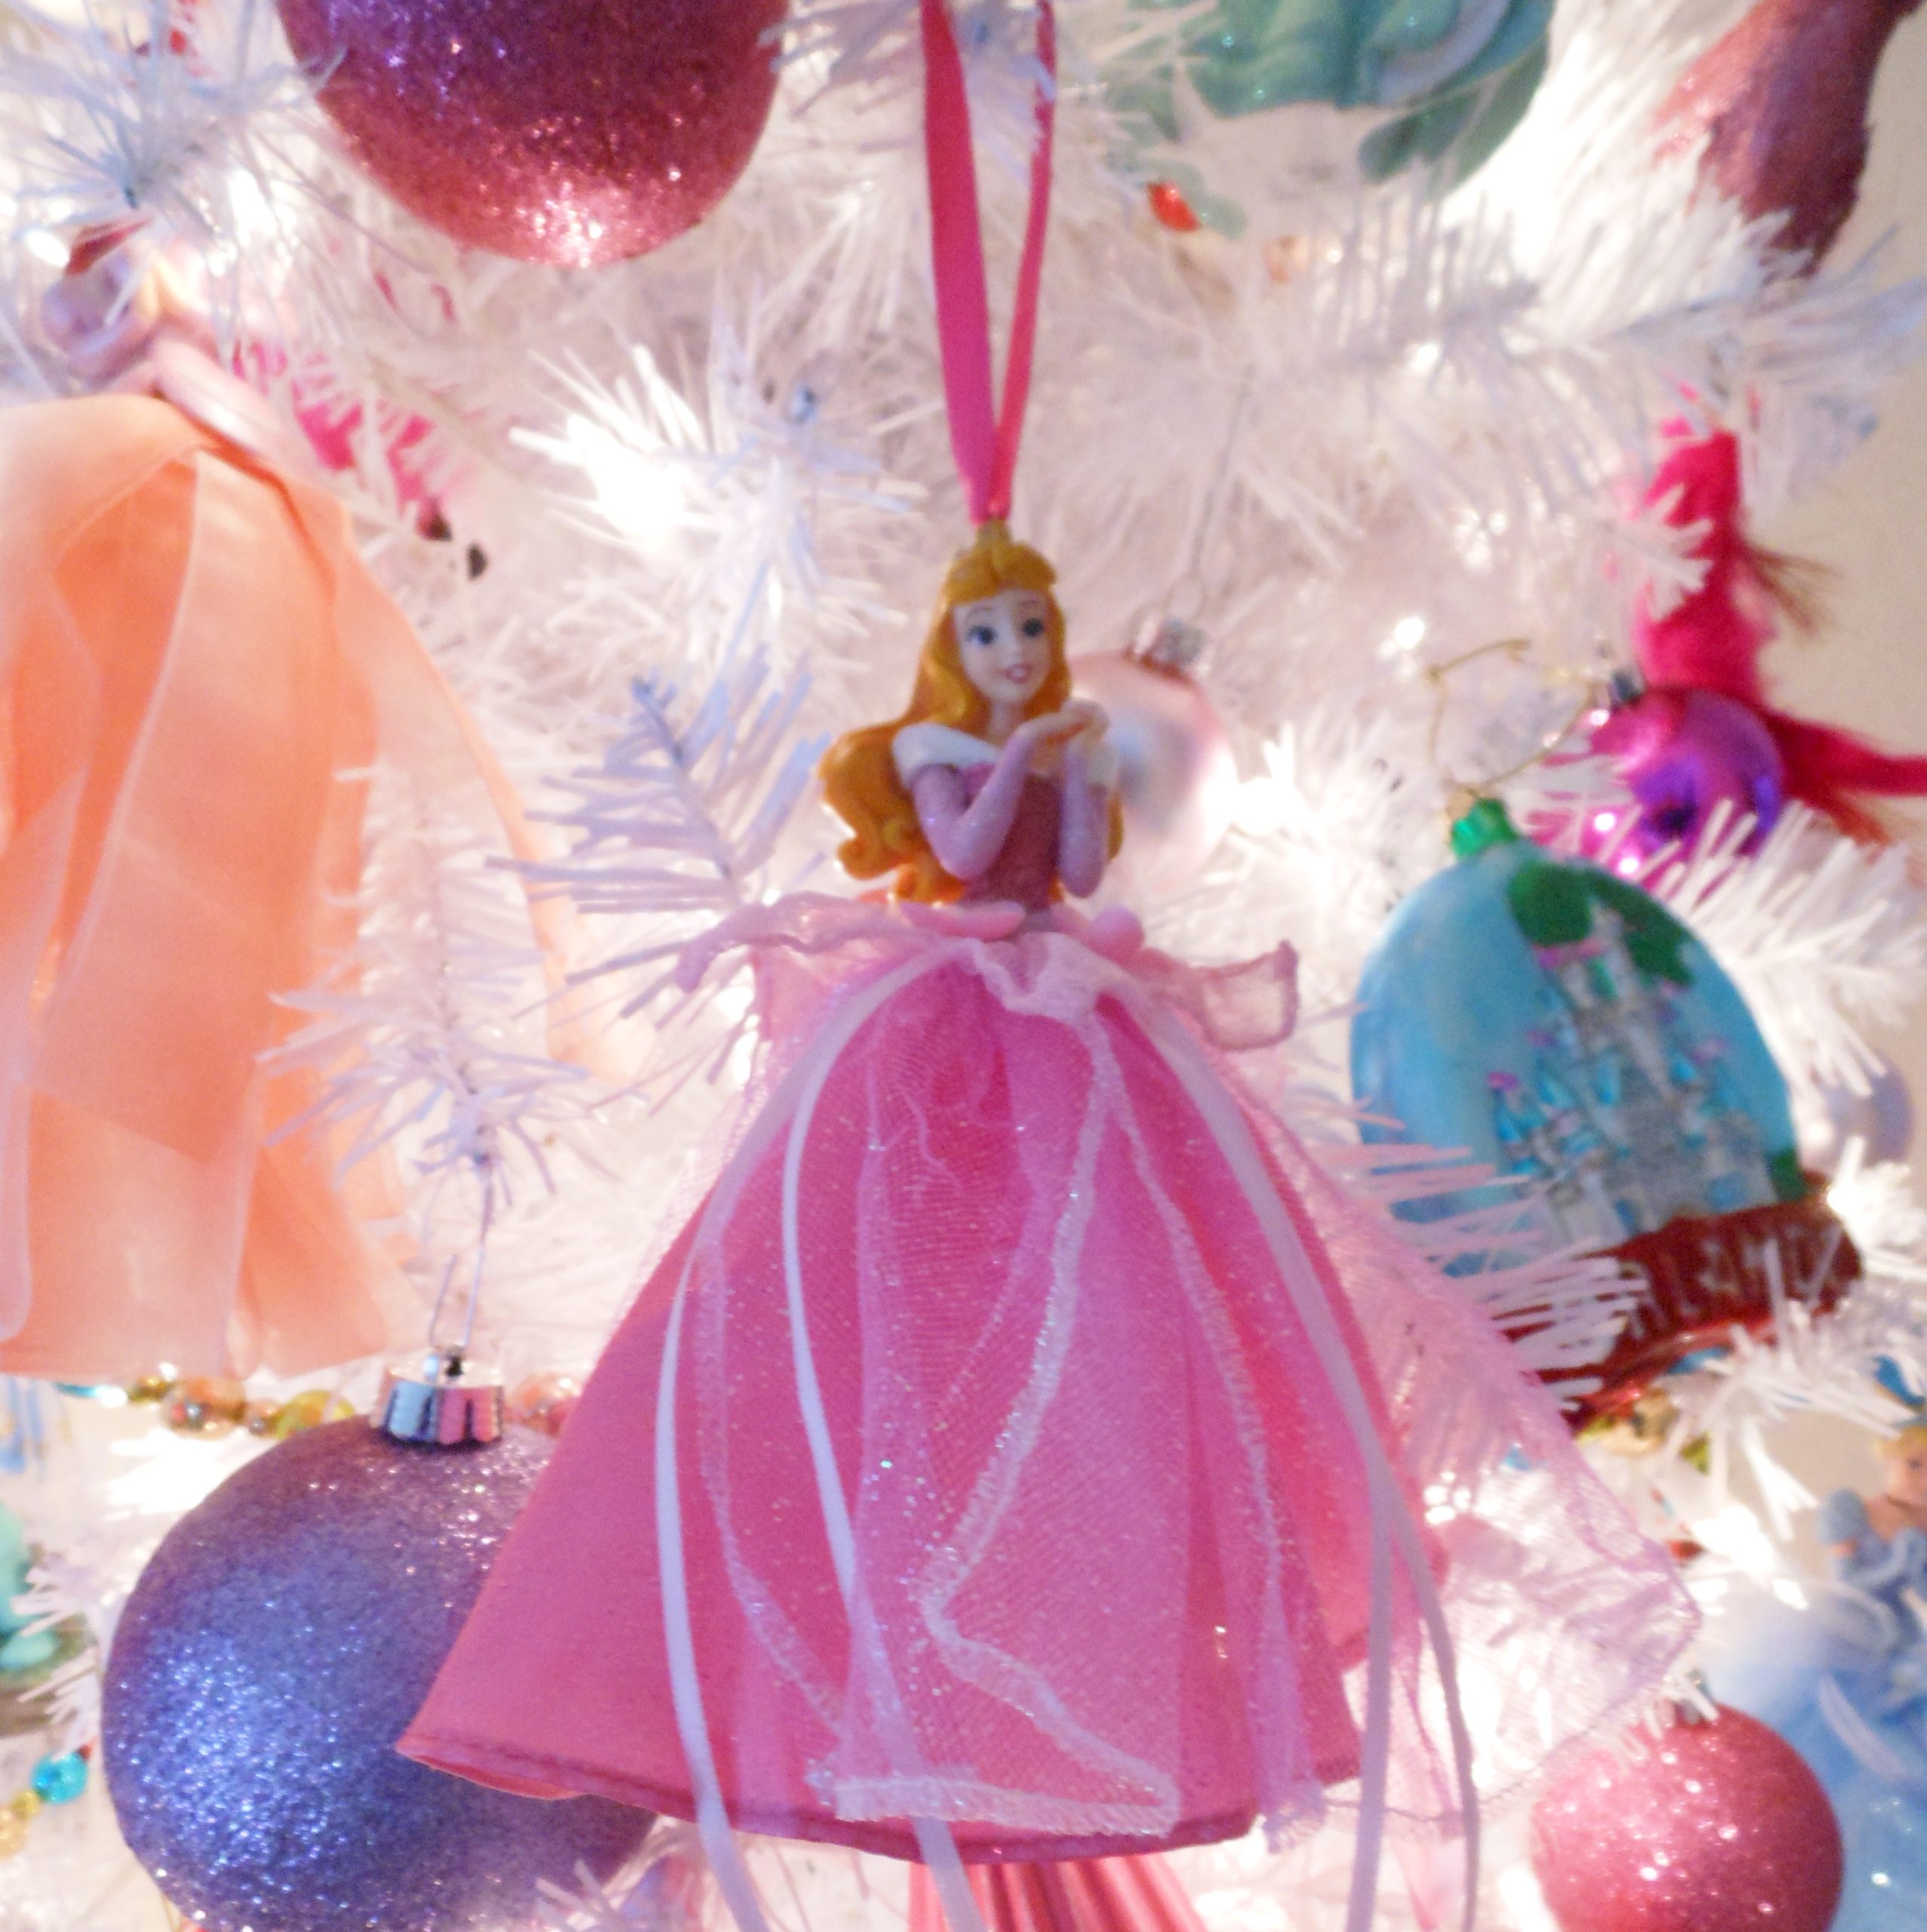
Before you hang anything vintage, check the hanger, not the ornament. Original metal clips from the ’70s and ’80s go brittle and will let go under the weight of a heavy resin figurine. Swap them for new 1-inch brass wire hooks, and if a piece is glass and hollow, thread thin fishing line through the original cap as a backup. Also keep vintage ornaments off the lowest 12 inches of the tree — every one I’ve seen break in a real home broke at knee height.
3. Frosted Pastel Tree With Nutcrackers and a Light Blue Sofa
The formula runs 60% frosted white tree and cream walls, 30% pastel pink and baby blue across the ornaments and upholstery, and 10% metallic gold for sparkle. Swap the pink for soft lavender and the blue for sage and the whole room shifts vintage-cottage without moving a single piece of furniture. Here’s the part people miss: the light blue sofa counts as a pastel accent, so the tree shouldn’t carry more blue than the seating does. Keep the ornament ratio roughly three pink to every two blue, with one gold for every five.
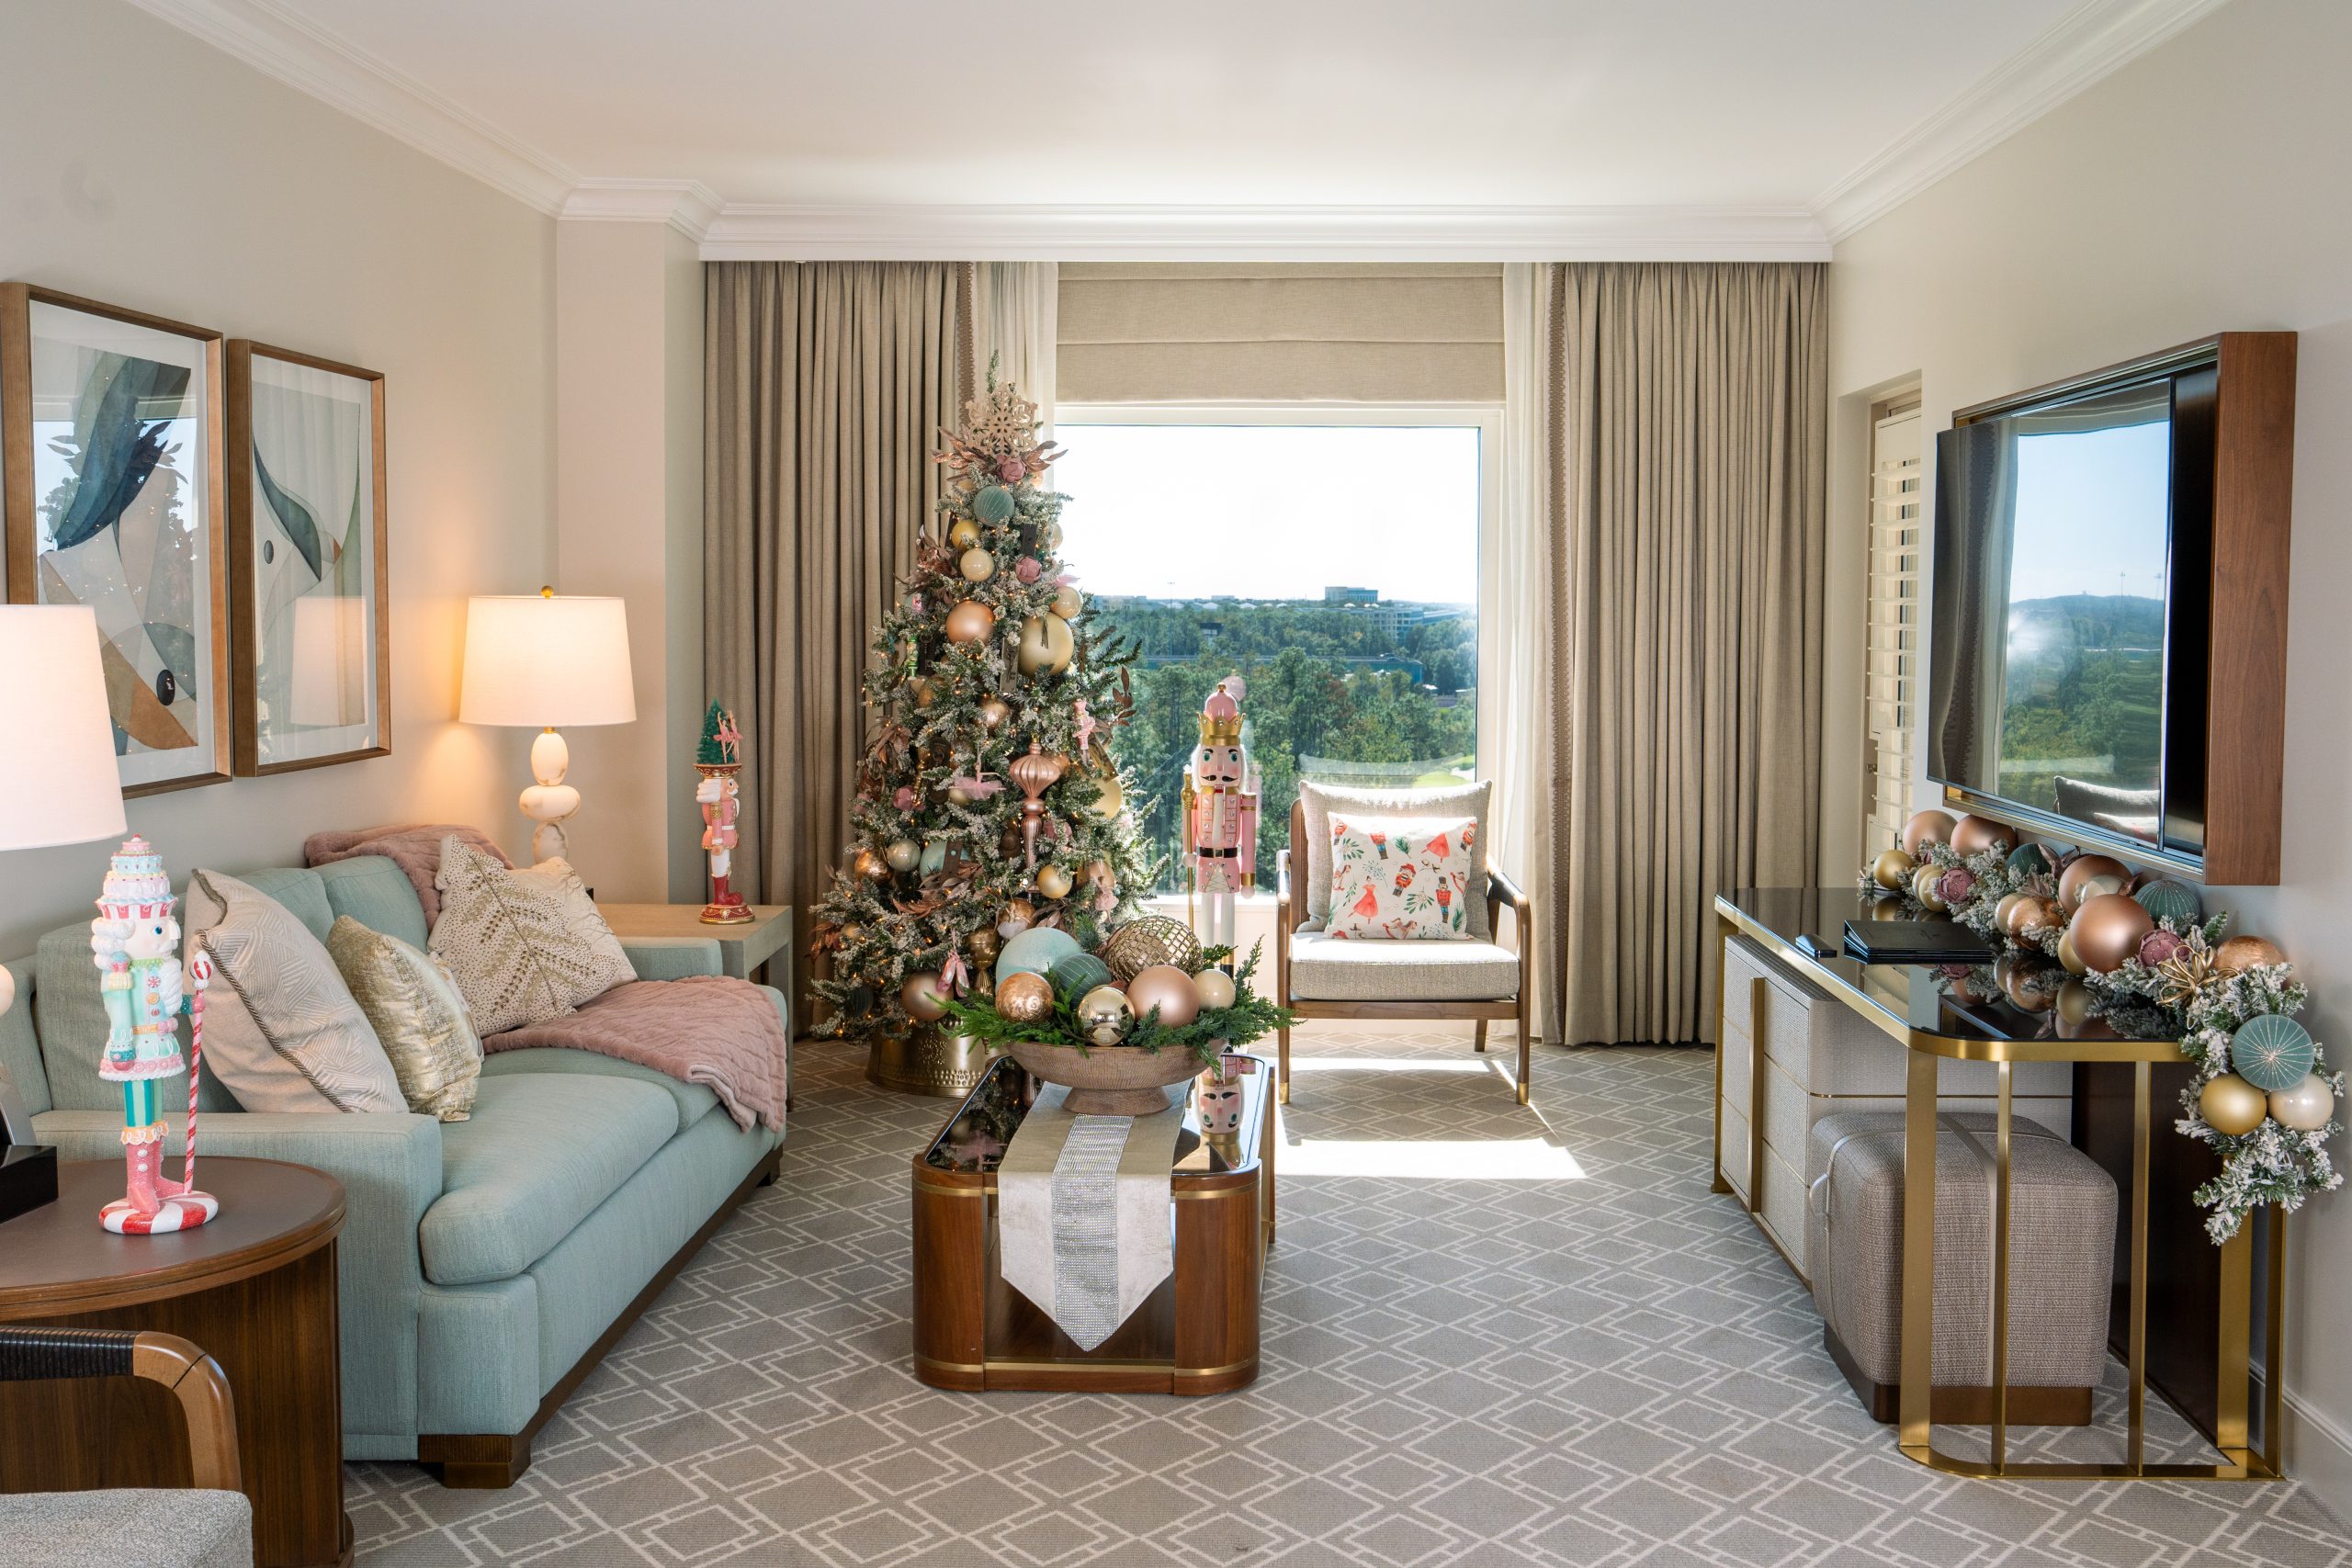
This reads best with at least 11 feet of wall behind the tree and a 9-foot ceiling — the frosted branches plus the nutcrackers on the coffee table need breathing room or it turns into a display case. A 7.5-foot frosted tree is the sweet spot in a 12 x 14 living room. In a smaller space, drop to 6 feet and move the nutcracker figurines onto a single side table rather than spreading them across three surfaces.
4. Stitch With an Ice Cream Cone on a Pink and Blue Bauble Tree
It’s the Stitch holding the ice cream cone. Take him off the tree and you’ve got a pretty but anonymous pink-and-blue setup that could belong to anyone. He’s the piece that gives the whole thing a personality and a punchline, and he earns it by being the only ornament with a story attached. One character with an attitude beats ten characters standing at attention — that’s the entire difference between a tree that feels collected and one that feels purchased.
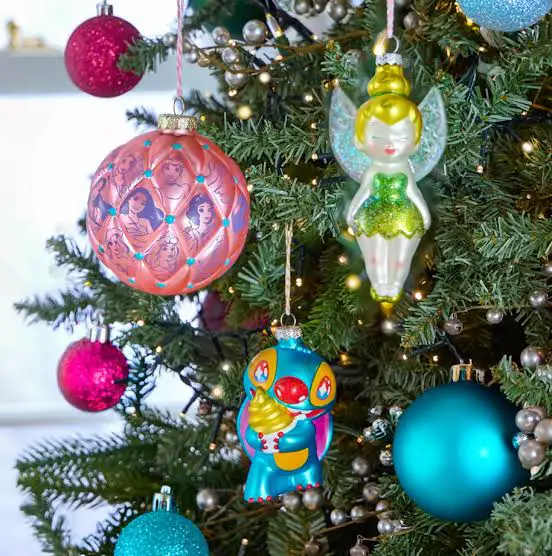
- Start with a 7-foot green tree and weave two strands of warm white lights down the trunk, not across the surface — about 30 minutes.
- Hang the two large statement pieces, the patterned pink princess ball and the glitter-winged Tinker Bell, at eye level on opposite sides.
- Place the Stitch figure slightly off-center and just below eye level so he reads as a surprise, not a focal point.
- Fill gaps with solid pink and blue glitter spheres, alternating colors and never letting two of the same color touch.
- Step back and pull anything that isn’t green, pink, blue, or gold.
About 90 minutes for a 7-foot tree and roughly $60 in filler ornaments if you already own the characters.
5. The Gold Wireframe Mickey Topper That Works Alone
Wireframe toppers need a light source inside them or they disappear into the tree. Tuck a single warm LED puck light behind the coiled base pointing up into the head, and the gold reads from across the room. Check the base diameter against your top branch spread too — a coil narrower than 3 inches will tip the moment the cat walks past. And don’t surround it with ribbon or picks. The open silhouette against dark evergreen is the whole point.
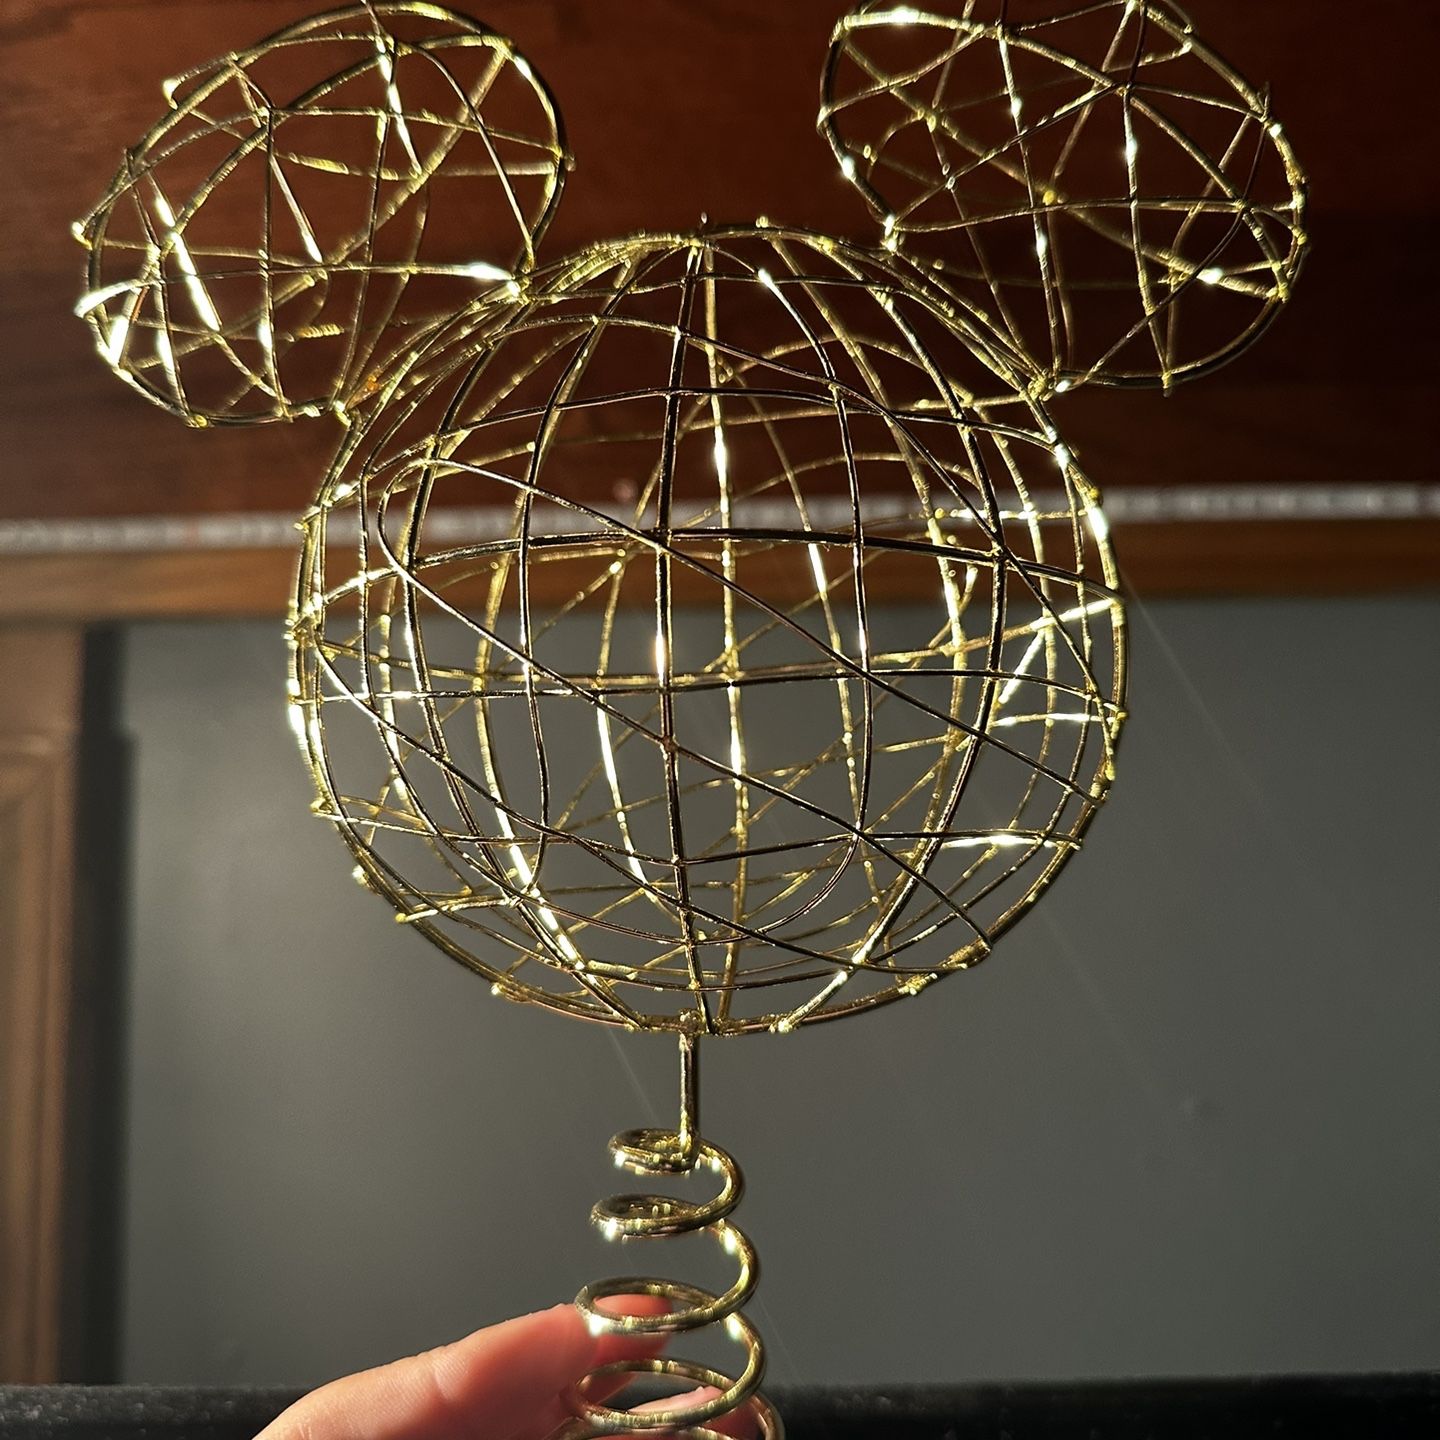
Negative space is doing the heavy lifting here. A solid Mickey head would just be a blob on top of a tree; the wireframe gives you the shape while letting the dark green show through, which is exactly why it reads elegant instead of cartoonish. Keeping it to one metal — gold only, no silver, no red — keeps everything calm. If you want the silhouette to pop harder, go darker in the branches around it: a flocked or frosted tree dulls the contrast, so pair this with plain deep green.
6. Clam-Shell Mickey Pearls and an Ariel Figurine on Emerald Branches
- Character figurine ornaments (Ariel, Stitch, snowman): $14–$25 each
- Mickey pearl in clam-shell ornament: $18–$30
- Glitter ball filler ornaments, 24-count: $22–$40
- Twine or jute hanging loops: $5–$10
- Warm white lights, 300-count: $25–$45
- 7.5-foot tree: $150–$400
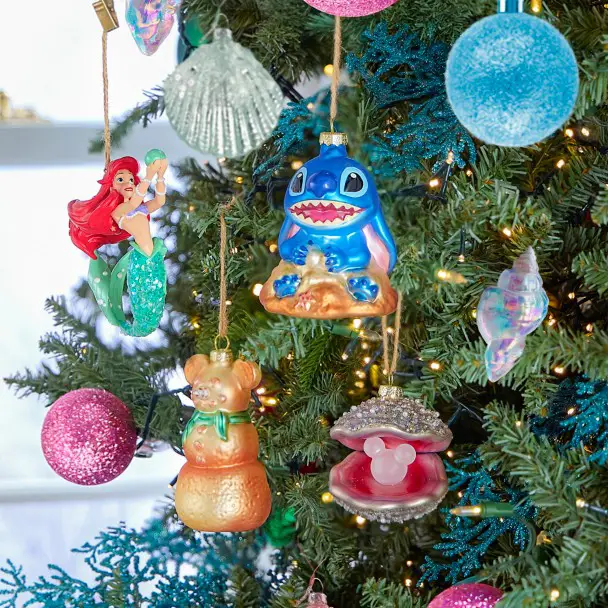
Total: roughly $250–$570 if you’re buying everything new. Budget alternative: use plain green twine instead of ribbon and shop the ornament aisle at Walmart after December 26 — character pieces drop 50–70% and the clam-shell styles are usually what’s left on the shelf.
Glitter sheds, and you should plan for it. Expect a fine dusting on the tree skirt by week two, so vacuum mid-season unless you want sparkle in the carpet until February. Resin figurines with painted faces chip when two of them clack together, so leave a hand’s width between the heavy pieces. That pearl-in-a-clamshell is almost always glass — hang it high, never near a walkway, and store it in a divided tray instead of a single bin.
7. A Coastal Disney Tree With Olaf in a Beach Chair
Coastal Christmas has been creeping up on Pinterest for a few seasons, and 2026 is the year it collided with character trees. The reason is practical: people who already decorate with seafoam and shells don’t want to abandon their palette for eight weeks of red and green. Dropping Disney characters into a beach color story keeps the whole year’s decor consistent. It has staying power because it isn’t really a trend — it’s a palette that happens to include a snowman in a lounge chair.
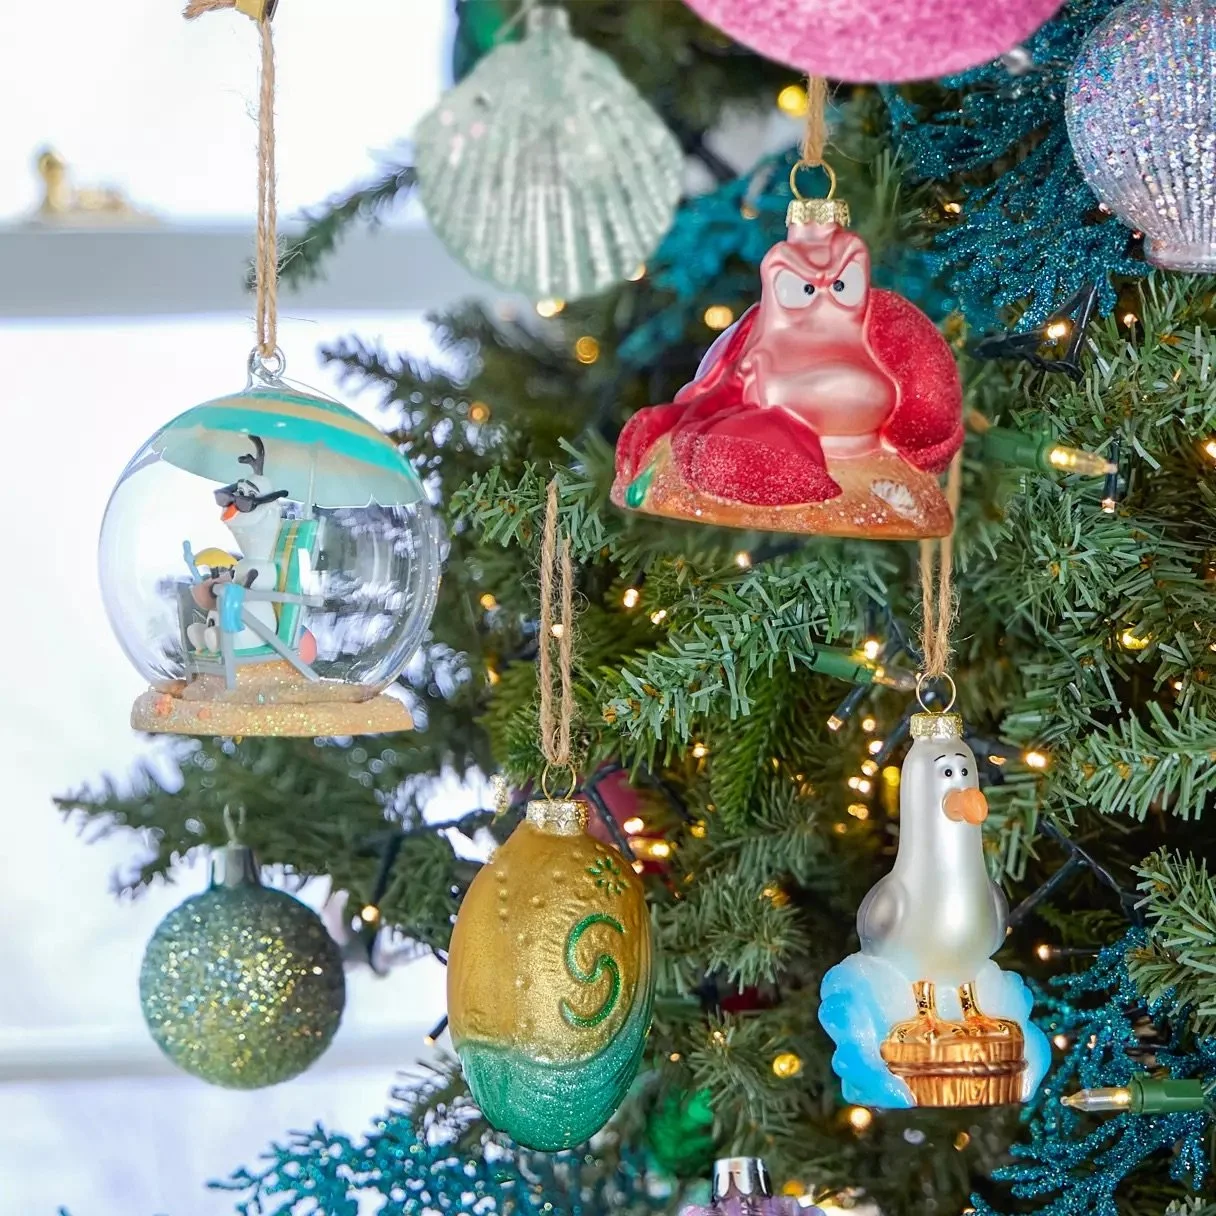
The mix runs about 50% seafoam and white, 30% teal and coral, 20% natural shell and gold. To shift it warmer, swap seafoam for sand beige and change nothing else — you’ll get a more tropical, less New England feeling without buying a single new ornament. The rule that keeps it from looking like a souvenir shop is capping character pieces at four total and giving each one a small circle of shells around it. Compare with the gingerbread tree in Idea #15 — opposite mood, identical discipline.
8. Stitch in Santa Hats Against a Deep Blue Wall
The dark blue wall. Without it this is a nice Stitch tree; with it, the greens and purples get a cool backdrop that makes the warm string lights look like they’re glowing from inside the branches. That contrast between a cool wall and warm bulbs is the entire reason the shot works. If you can’t paint, hang a deep navy curtain panel behind the tree — you’re not after a perfect wall, you’re after a dark, cool surface sitting behind warm light.
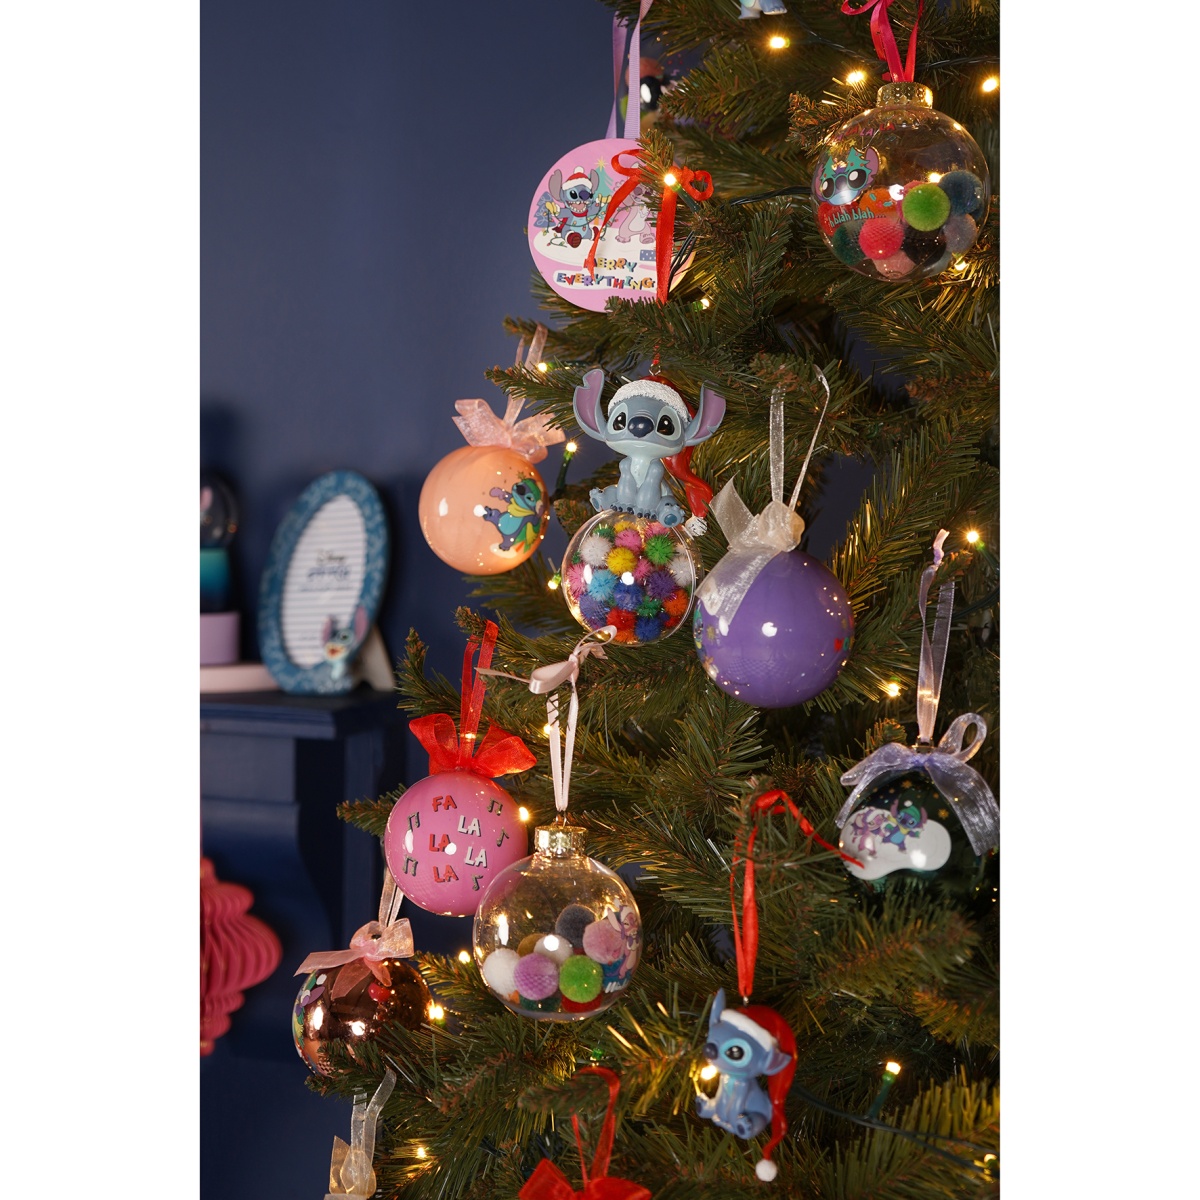
Clear glass baubles filled with pompoms are heavier than they look. Load more than a scattering and they drag the branch down and spin awkwardly — fill them about a third full, no more. Anything against a dark blue wall shows dust immediately, so expect to wipe the branches with a microfiber mitt once a week. With kids or cats, keep the pompom globes on the top two-thirds of the tree; they’re always the first thing to hit the floor. For a lighter, brighter character approach, see Idea #4.
9. The Pre-Decorating Checklist for a Tall Disney Tree
- Measure the ceiling at the tree’s exact spot — a 9-foot tree needs 9 feet plus the topper, and toppers run 8 to 14 inches tall.
- Count your ornament boxes before buying anything new. Most people own 30% more than they remember.
- Test the outlet you plan to use. A lit 7.5-foot tree with 600 LEDs pulls real wattage, and a covered outlet means a cord across the floor.
- Decide which way the tree faces before you fluff a single branch. Good side toward the room, flat side toward the wall.
- Set a hard ornament budget. Character pieces average $15–$25 each and this line item grows faster than any other part of holiday decor.
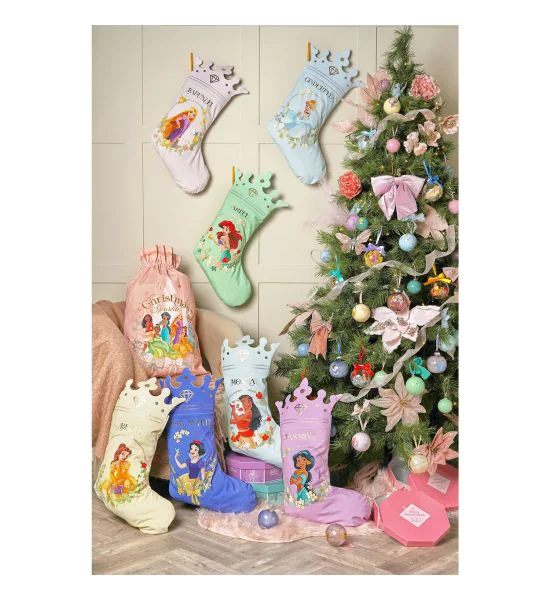
Fluff the tree in daylight with the lights on, and fluff it twice — once out of the box and again two days later when the branches have relaxed. Work from the inside out, separating each branch into a fan of smaller tips and bending them upward. A cheap tree that’s been properly fluffed beats an expensive tree that hasn’t, every single time. Budget 45 minutes for a 7-footer, and wear gloves if it’s flocked.
10. Fill-Your-Own Clear Baubles With Princess Figurines and Tulle
- Buy clear fillable plastic spheres in 80mm — anything smaller and a standard figurine won’t fit without bending.
- Pull the halves apart and set a small handful of tulle or crinkle-cut paper in the bottom half, about a third full.
- Seat the figurine upright in the filler and pack a little more around the base so it doesn’t rattle when the tree moves.
- Snap the halves closed and add a sheer ribbon bow at the top cap, hot-glued so it stays put.
- Hang these at eye level — they’re meant to be read up close, so they fail on the top third of the tree.
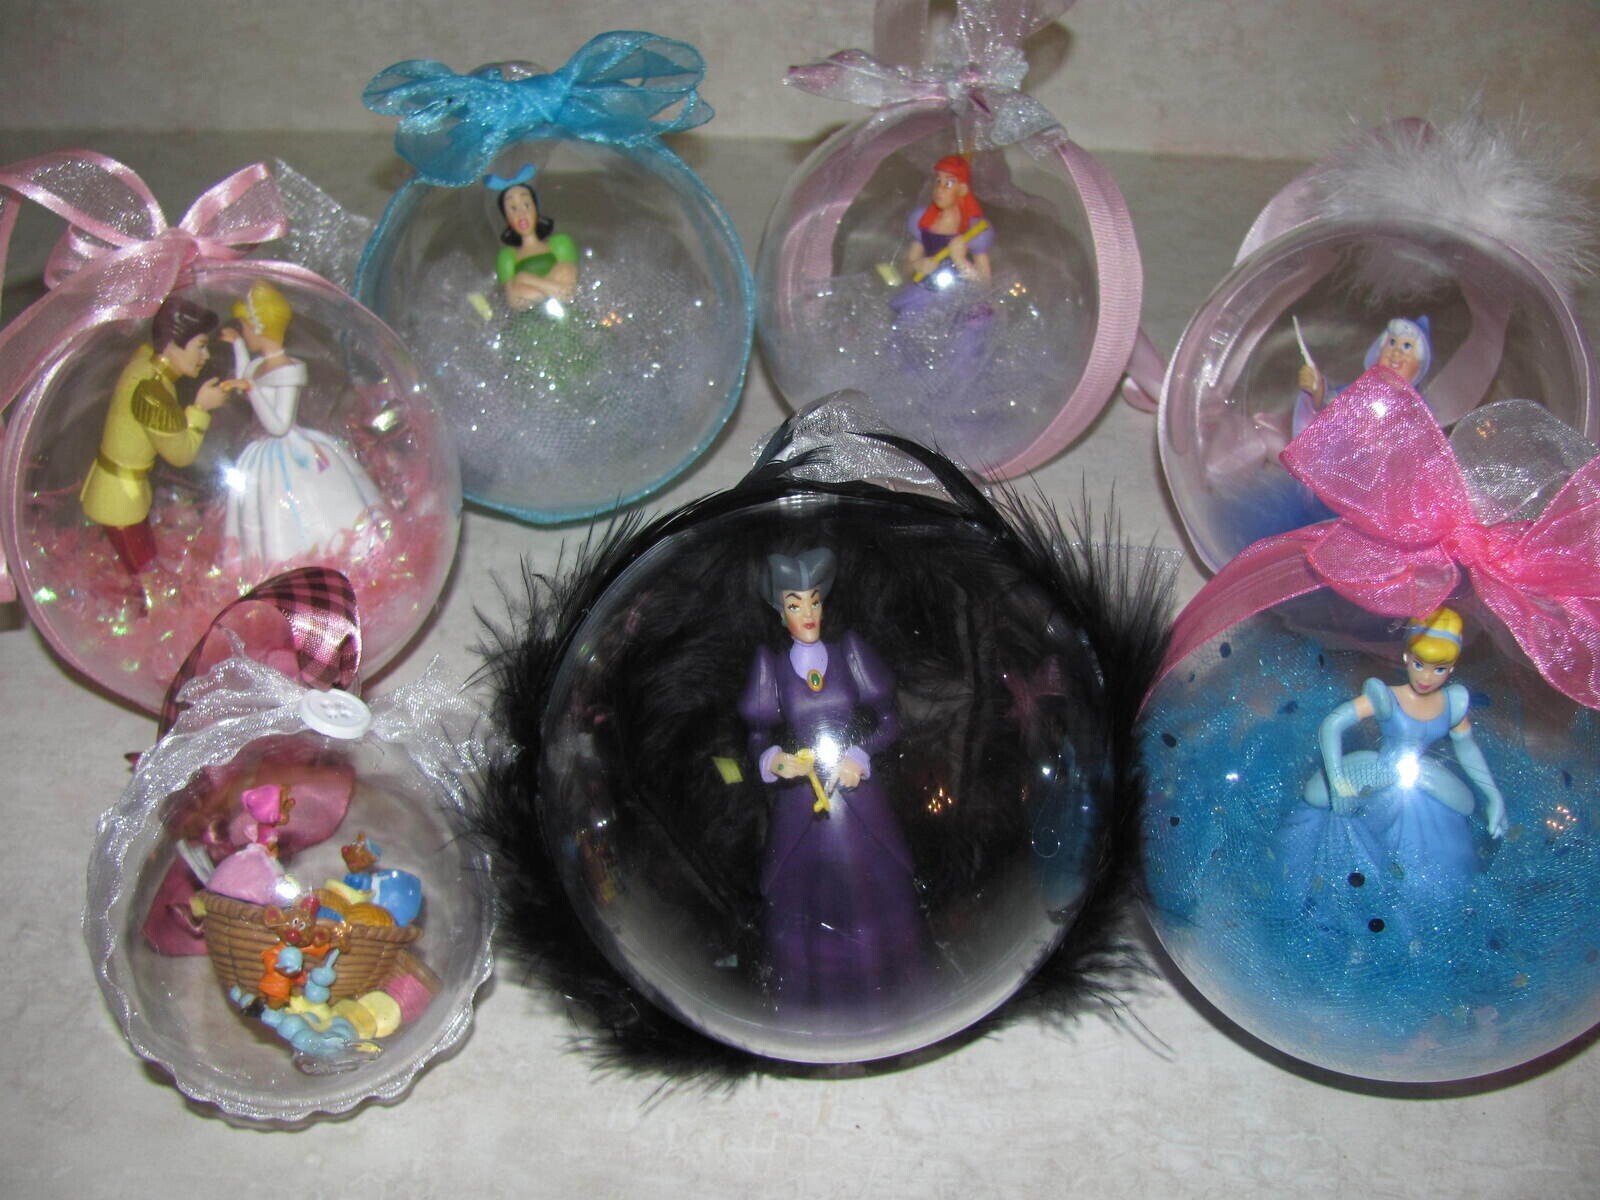
About 10 minutes per ornament and $3–$6 each in materials, plus whatever the figurines cost you.
This is the most budget-friendly Disney tree idea there is. Fillable clear ornaments run $12–$18 for a 12-pack on Amazon or at Michaels with a coupon. Miniature figures come from Facebook Marketplace lots, dollar stores, or the toy bin your kids forgot about — a $5 bag of small figures yields six ornaments. Tulle is about $3 a spool at Walmart, and ribbon scraps work fine instead of new bows. Twenty of these land under $60 total, which is less than three licensed ornaments.
11. Slim Trees for Small Rooms: Sizing a Disney Tree for Apartments
A 6-foot slim tree, usually 28 to 32 inches wide, fits a 6 x 6 corner and still leaves walking room — that’s the practical ceiling for a studio or one-bedroom. Under 8-foot ceilings, stay at 6.5 feet or shorter and skip the tall topper entirely; a heavy figurine topper makes a slim tree look top-heavy and unstable. Anything larger in a small room stops reading as decor and starts reading as furniture you have to walk around. This is the opposite end of the spectrum from the full-wall setups in Idea #3 and Idea #15.
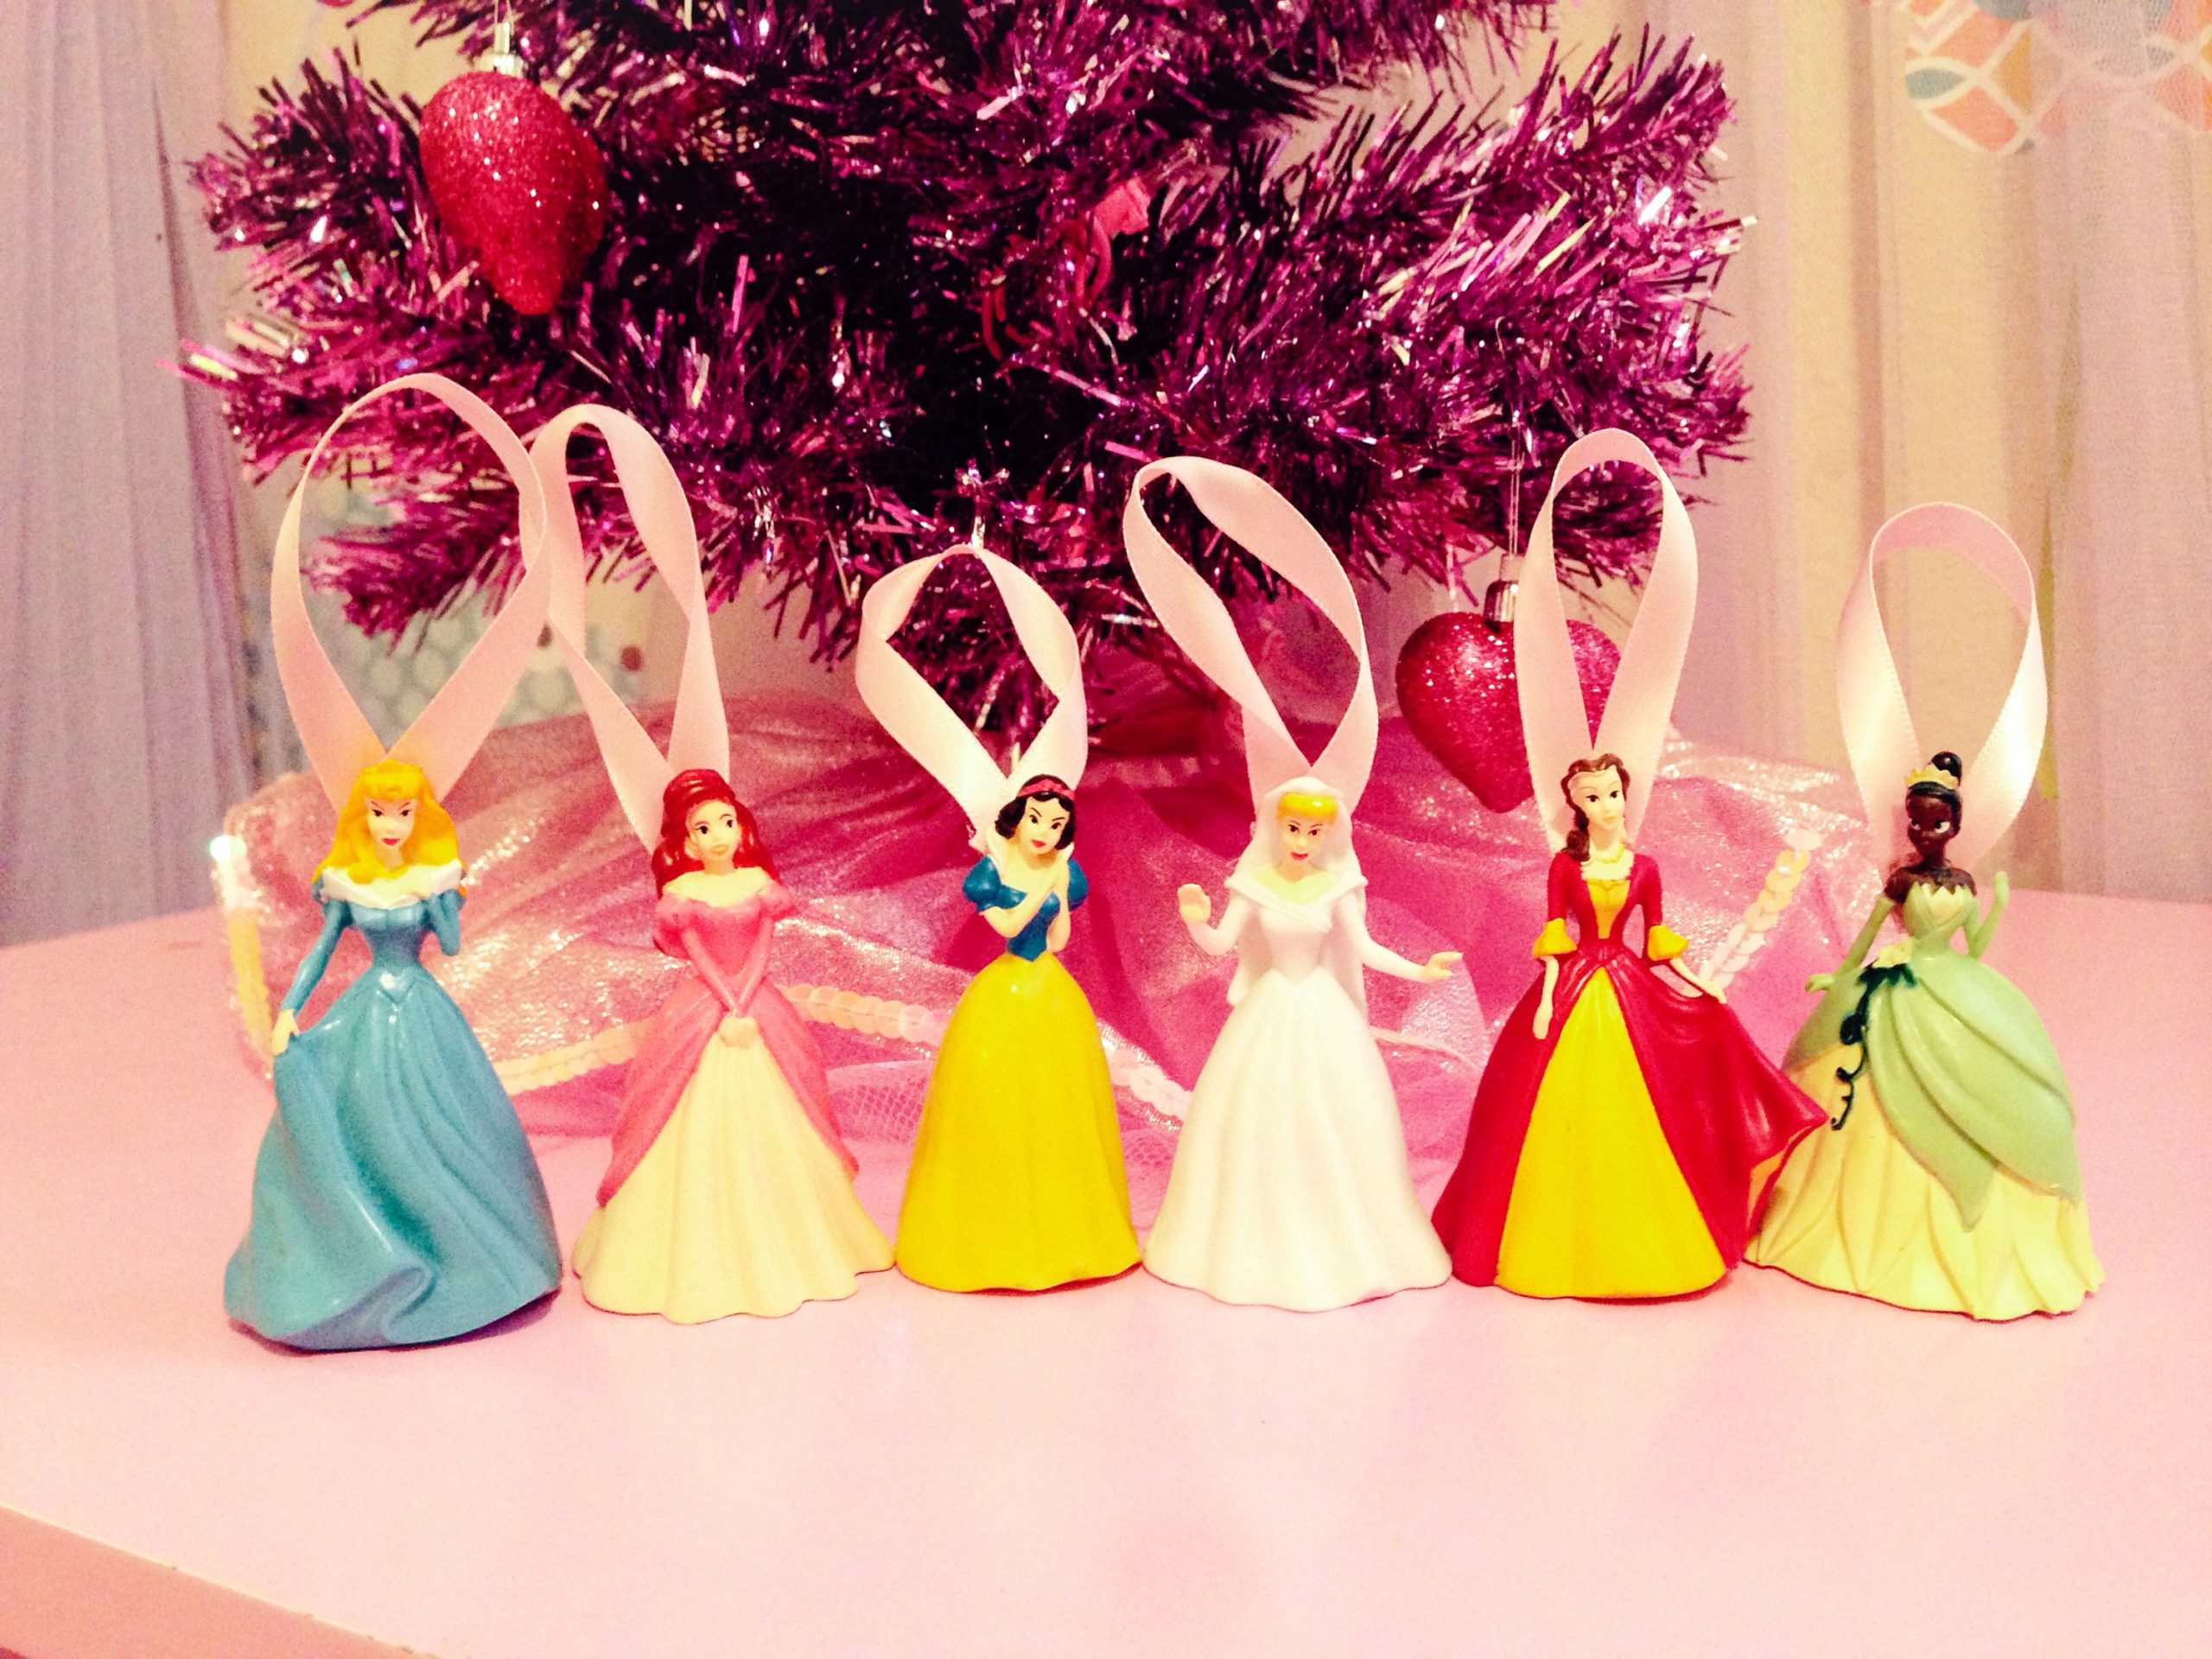
Slim trees hold fewer ornaments, which means each one gets more attention — including its flaws. Scratched paint and chipped resin show up immediately when there are 40 ornaments instead of 120. Real trees in small apartments drop needles onto a tighter floor area, so you’ll sweep twice as often in a smaller radius. Artificial slims need a yearly dusting with a dryer sheet run along the branch tips, which also kills the static that makes flocking stick to your hands.
12. A Pink Tinsel Tabletop Tree Topped With a Cinderella Doll
The Cinderella doll on top. She’s technically too big, slightly silly, and the best thing about the whole tree. A proper miniature topper would make this a nice little tabletop decoration; a full-size doll makes it a wink. That’s the difference between a display and a personality. If you’re recreating it, resist swapping in a small star — the scale mismatch is the entire point, and it’s what makes people stop and smile.
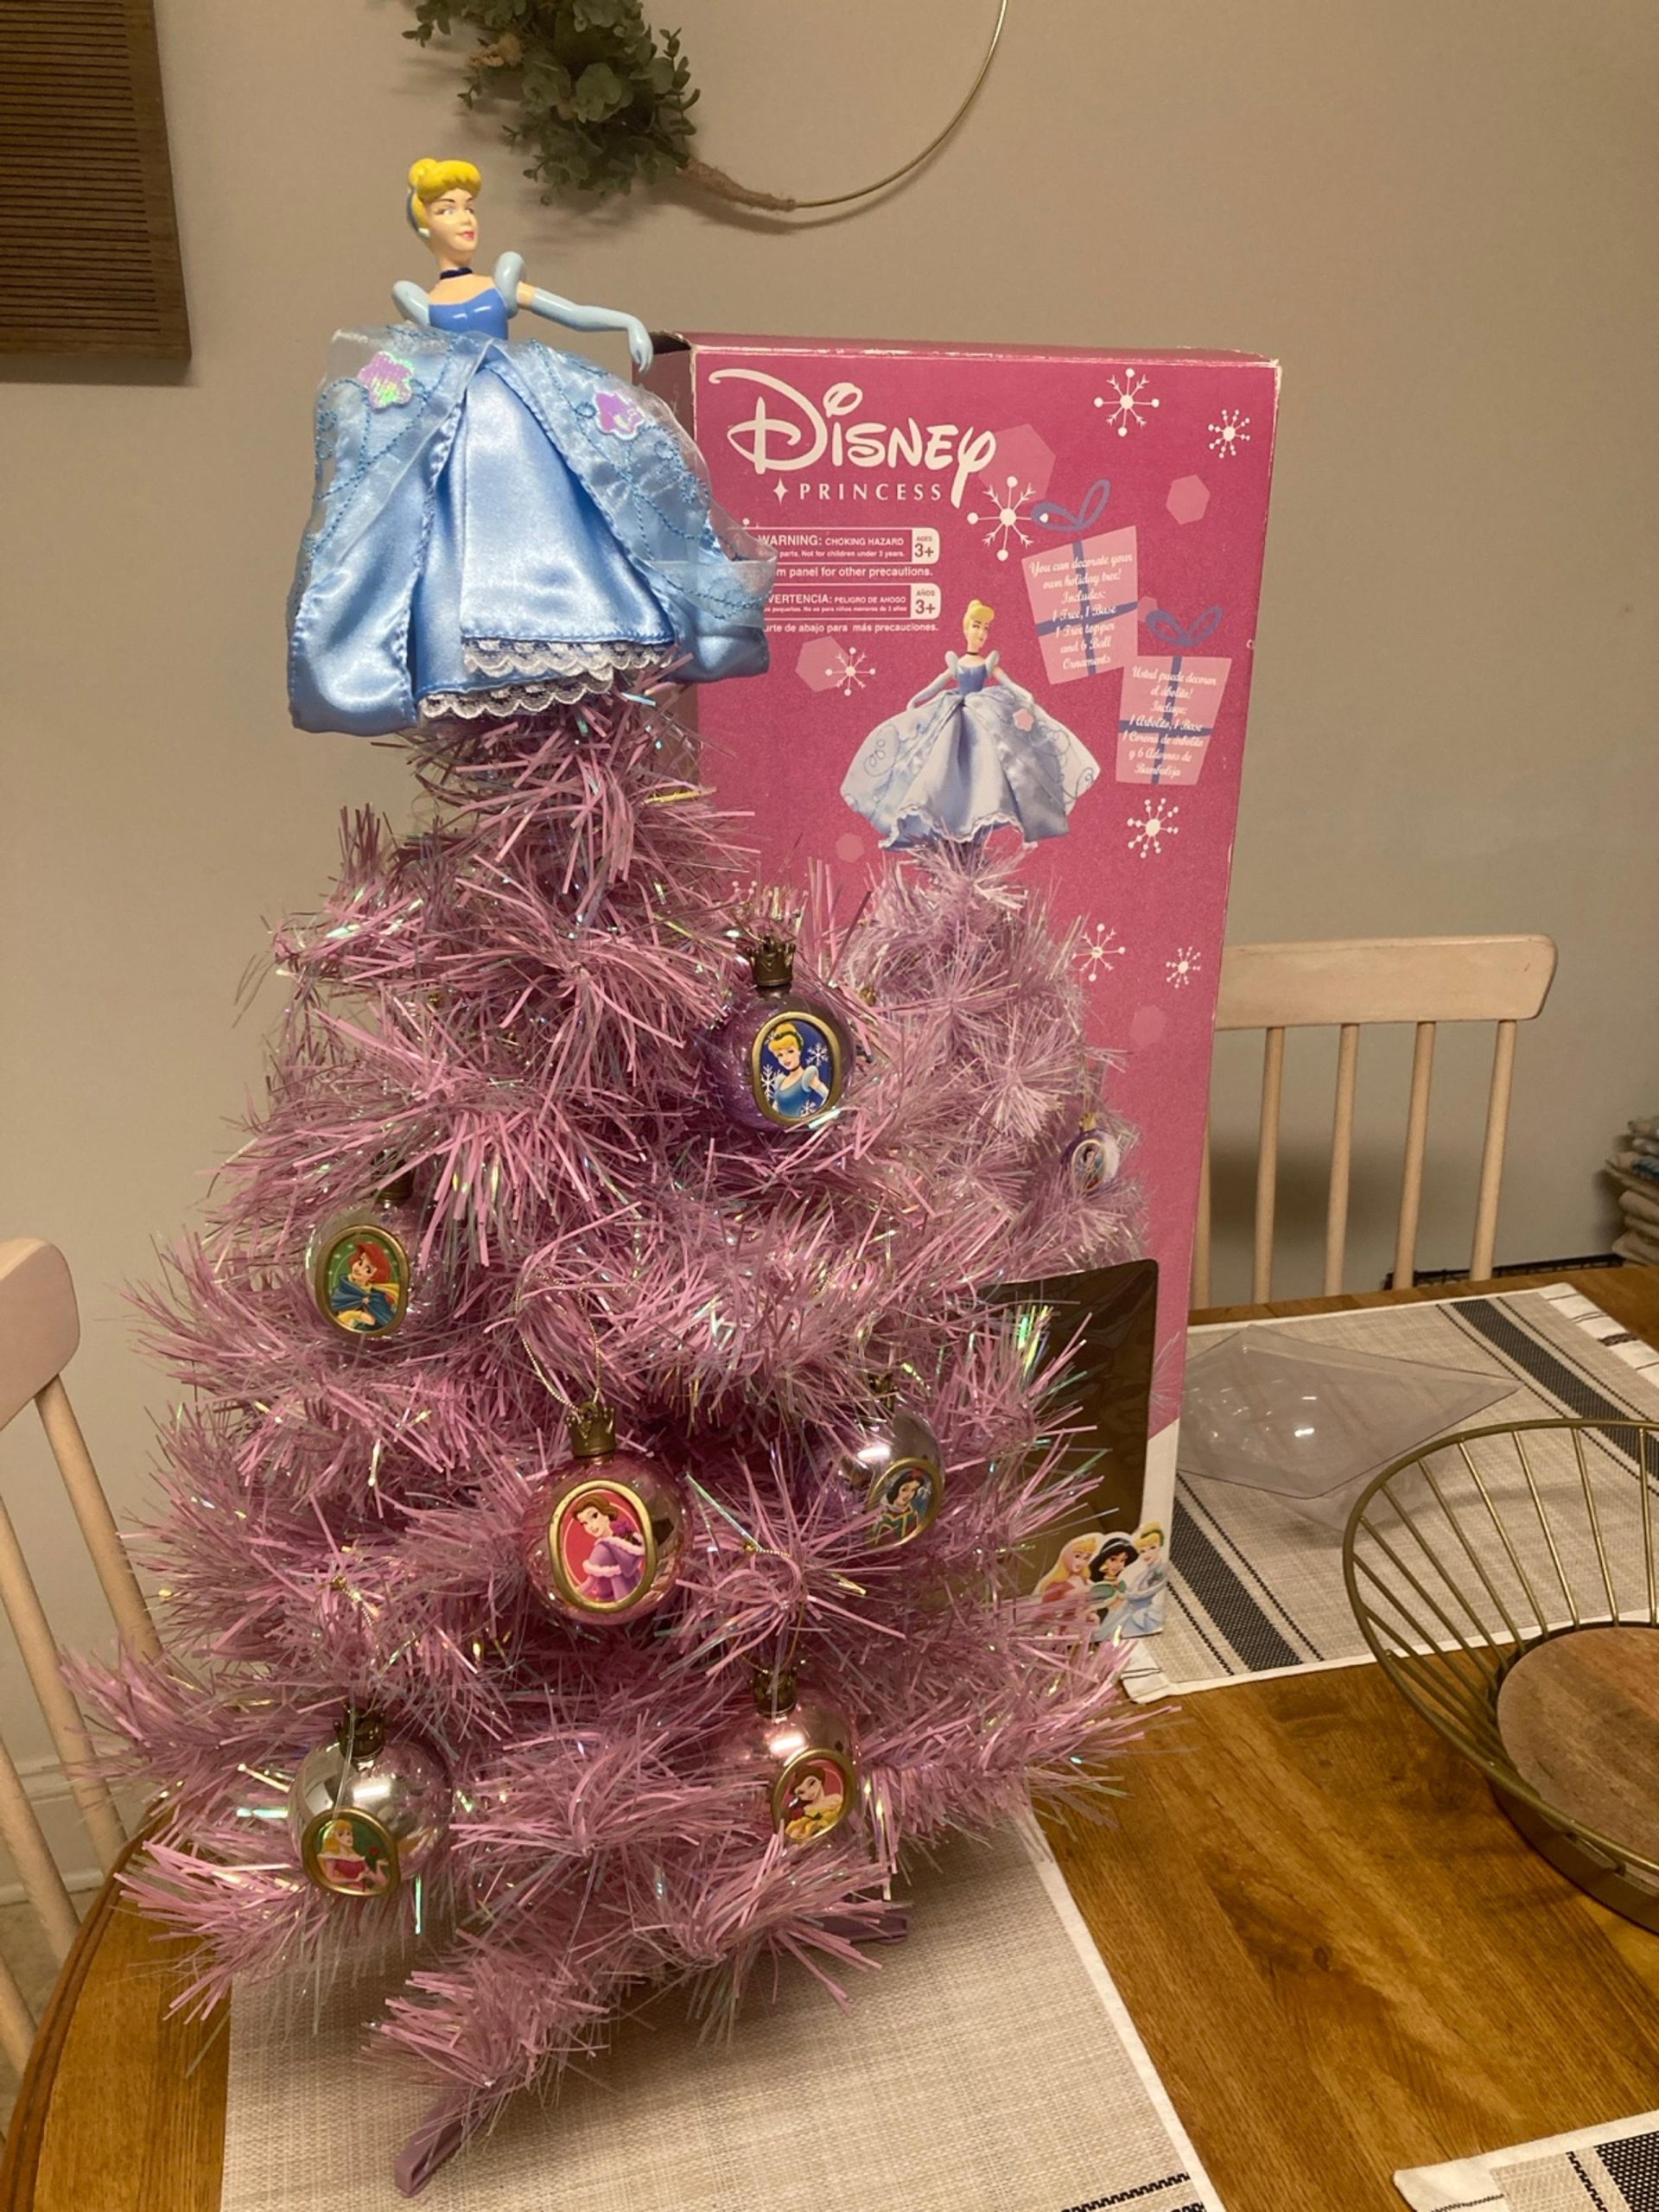
- 2-foot pink tinsel tabletop tree: $12–$25
- Disney princess picture ornaments, set of 8: $15–$30
- A doll for the topper: $12–$35, or free from the toy bin
- Gold cord or ribbon for hanging: $4–$8
- Battery fairy lights, small strand: $8–$15
Total: $51–$113, and closer to $30 if you raid what you already own. Budget alternative: buy the tinsel tree alone and print photos of your own kids instead of licensed ornaments — same nostalgia, zero licensing. And if you’d rather ease into pink tinsel, Idea #14 shows it on a single branch.
13. Princess Tiana Nestled Between Pinecones and Frosted Needles
Context does the work. A Tiana figurine hung on a bare branch is a toy on a tree; the same figurine framed by two real pinecones and a dusting of frosted needles becomes a story about a Louisiana garden. The natural elements also give your eye somewhere to rest between the glossy molded gown and the matte brown cones — texture contrast, essentially. Notice the ratio: one figurine, two natural elements, and nothing else competing in that little zone.
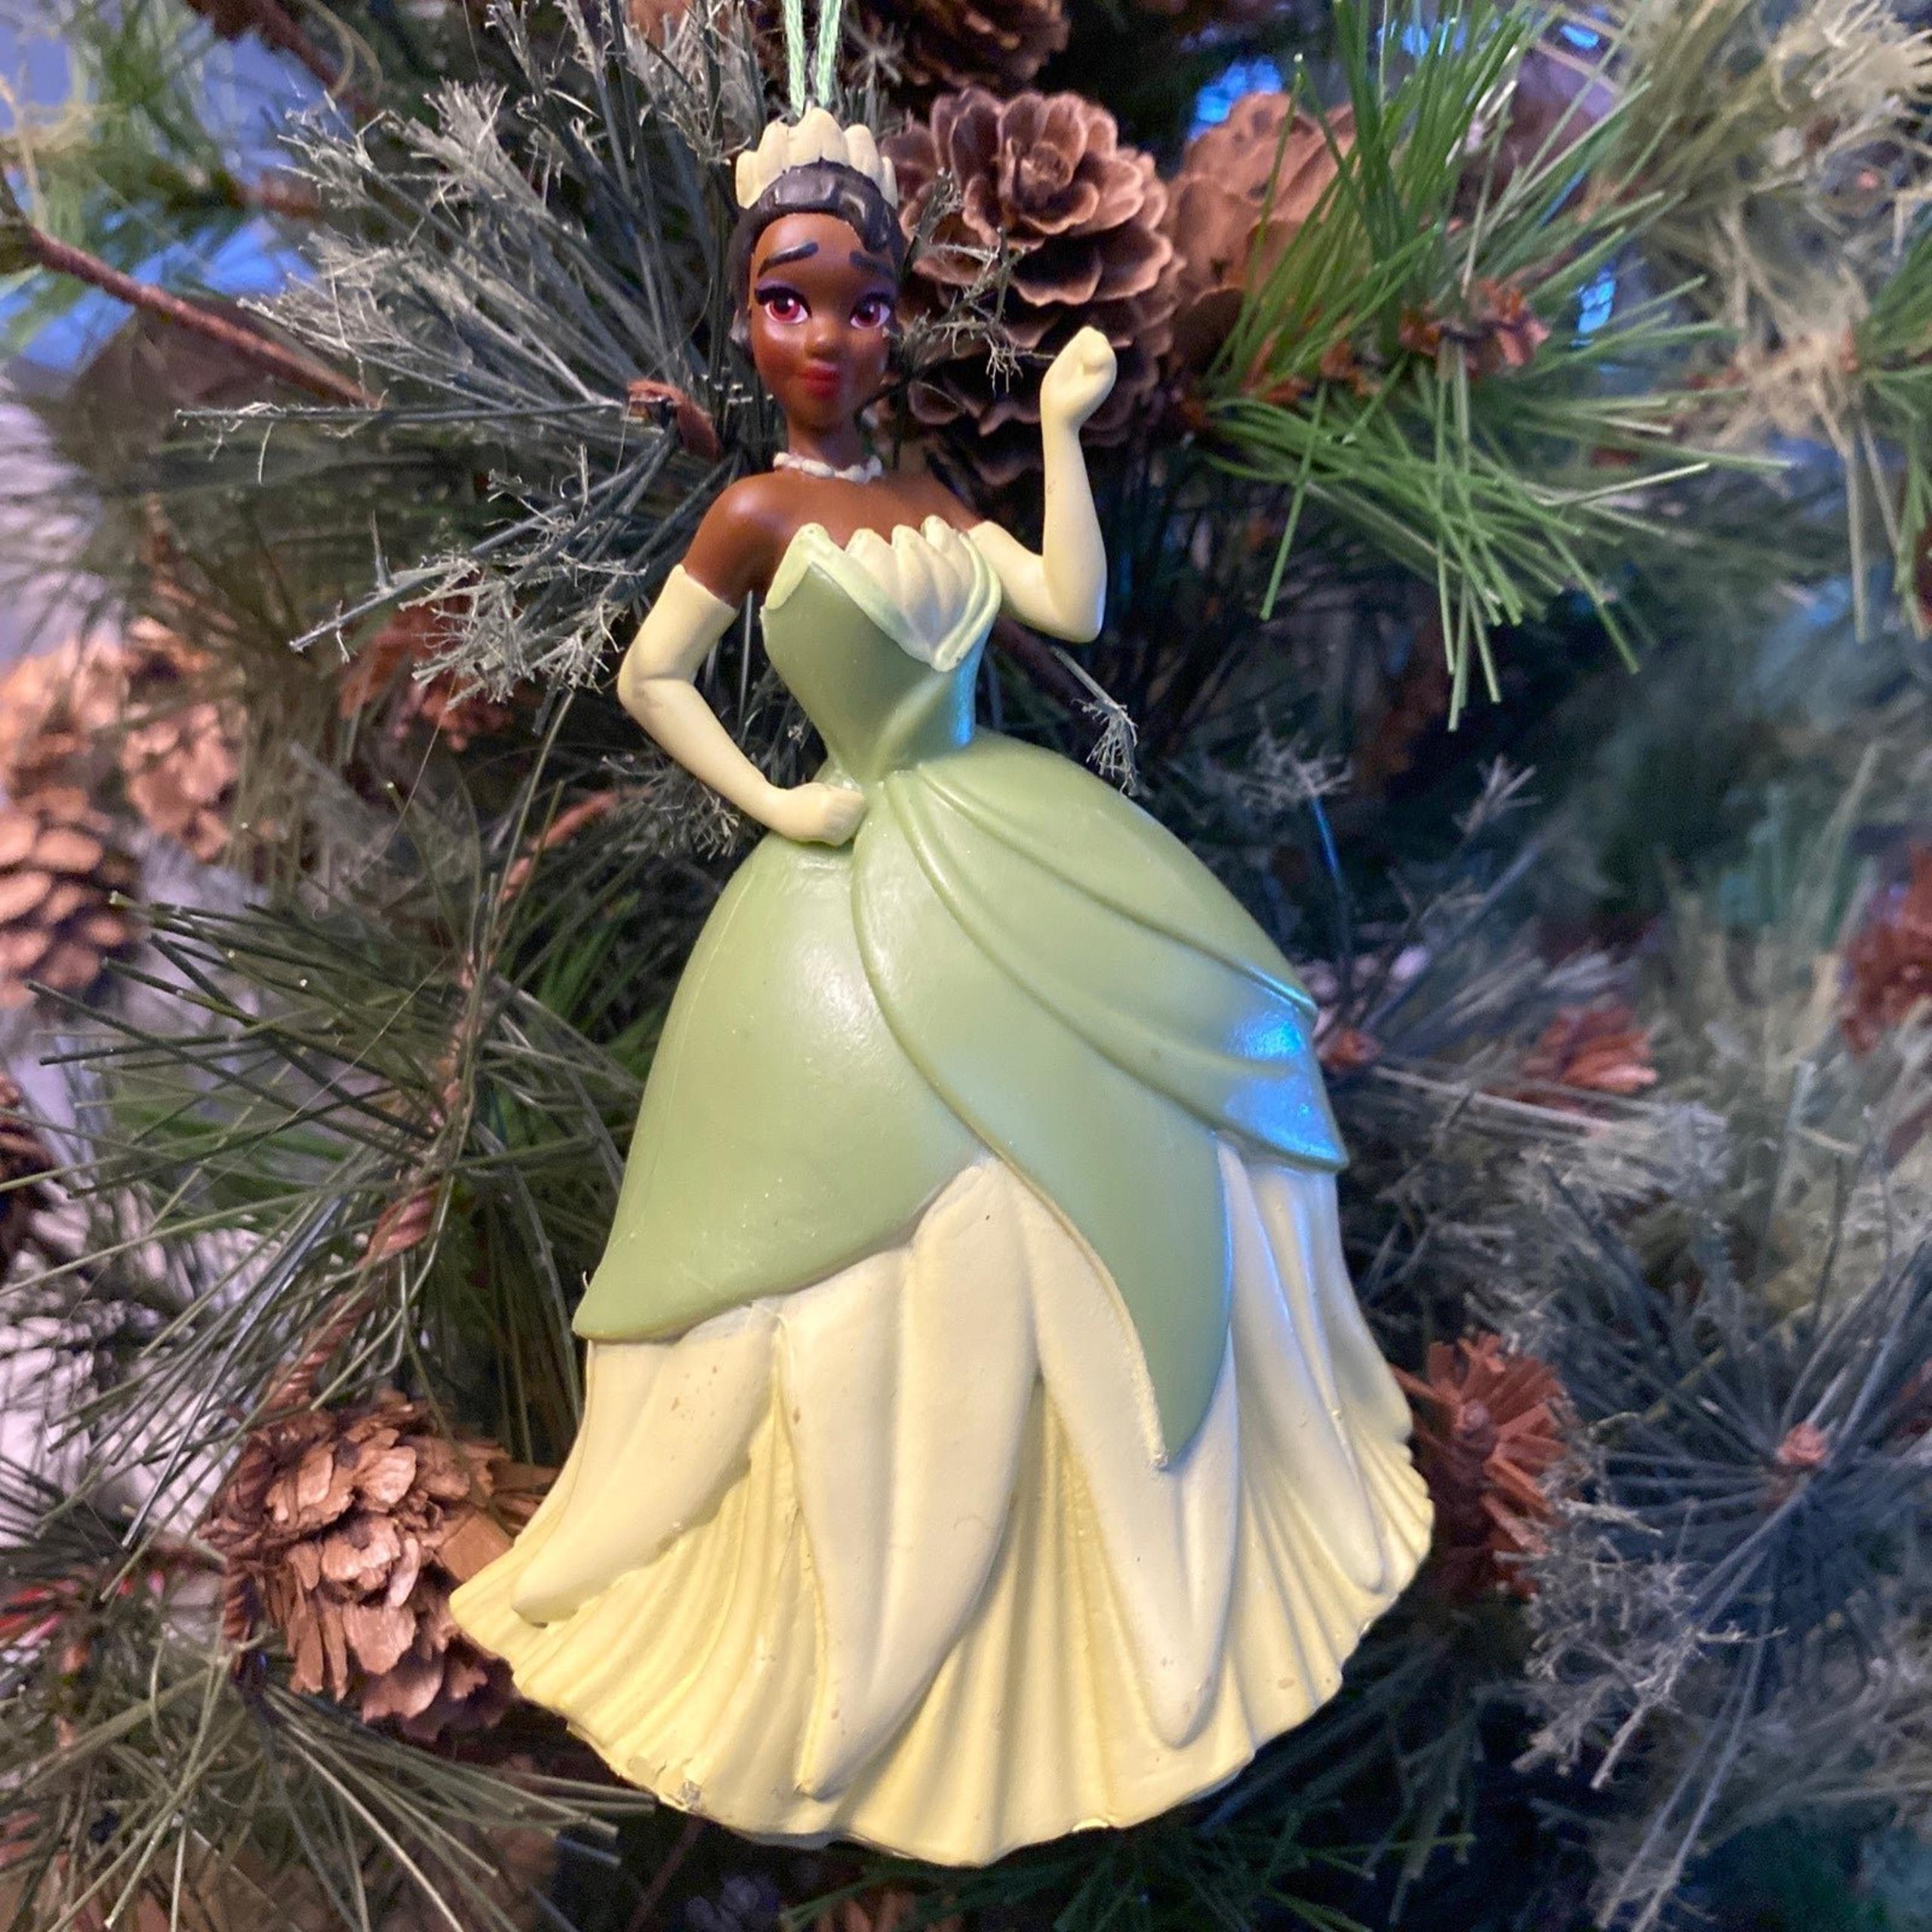
Group ornaments in odd numbers and vary the distance, not the quantity. Three pieces in a loose triangle reads better than five in a straight line, and it stops the eye from scanning the tree like a shelf. With figurine ornaments specifically, hang them on the outer third of the branch so they catch side light — pushed back against the trunk, all the facial detail vanishes into shadow. And keep pinecones at least 6 inches from any bulb; they’re dry, and they will scorch.
14. Snow White in a Gold-Crowned Bauble on Pink Tinsel
Roughly 70% pink tinsel, 20% gold, 10% character color — and that character color only appears inside the bauble, never as a separate ornament. That restraint is what makes it look styled rather than themed. If pink tinsel feels like too much, swap it for silver and keep the gold crown and hanging cord; you’ll get a cool, frosty version of the exact same idea. Just don’t mix pink and silver tinsel on one tree — pick a metallic and commit.
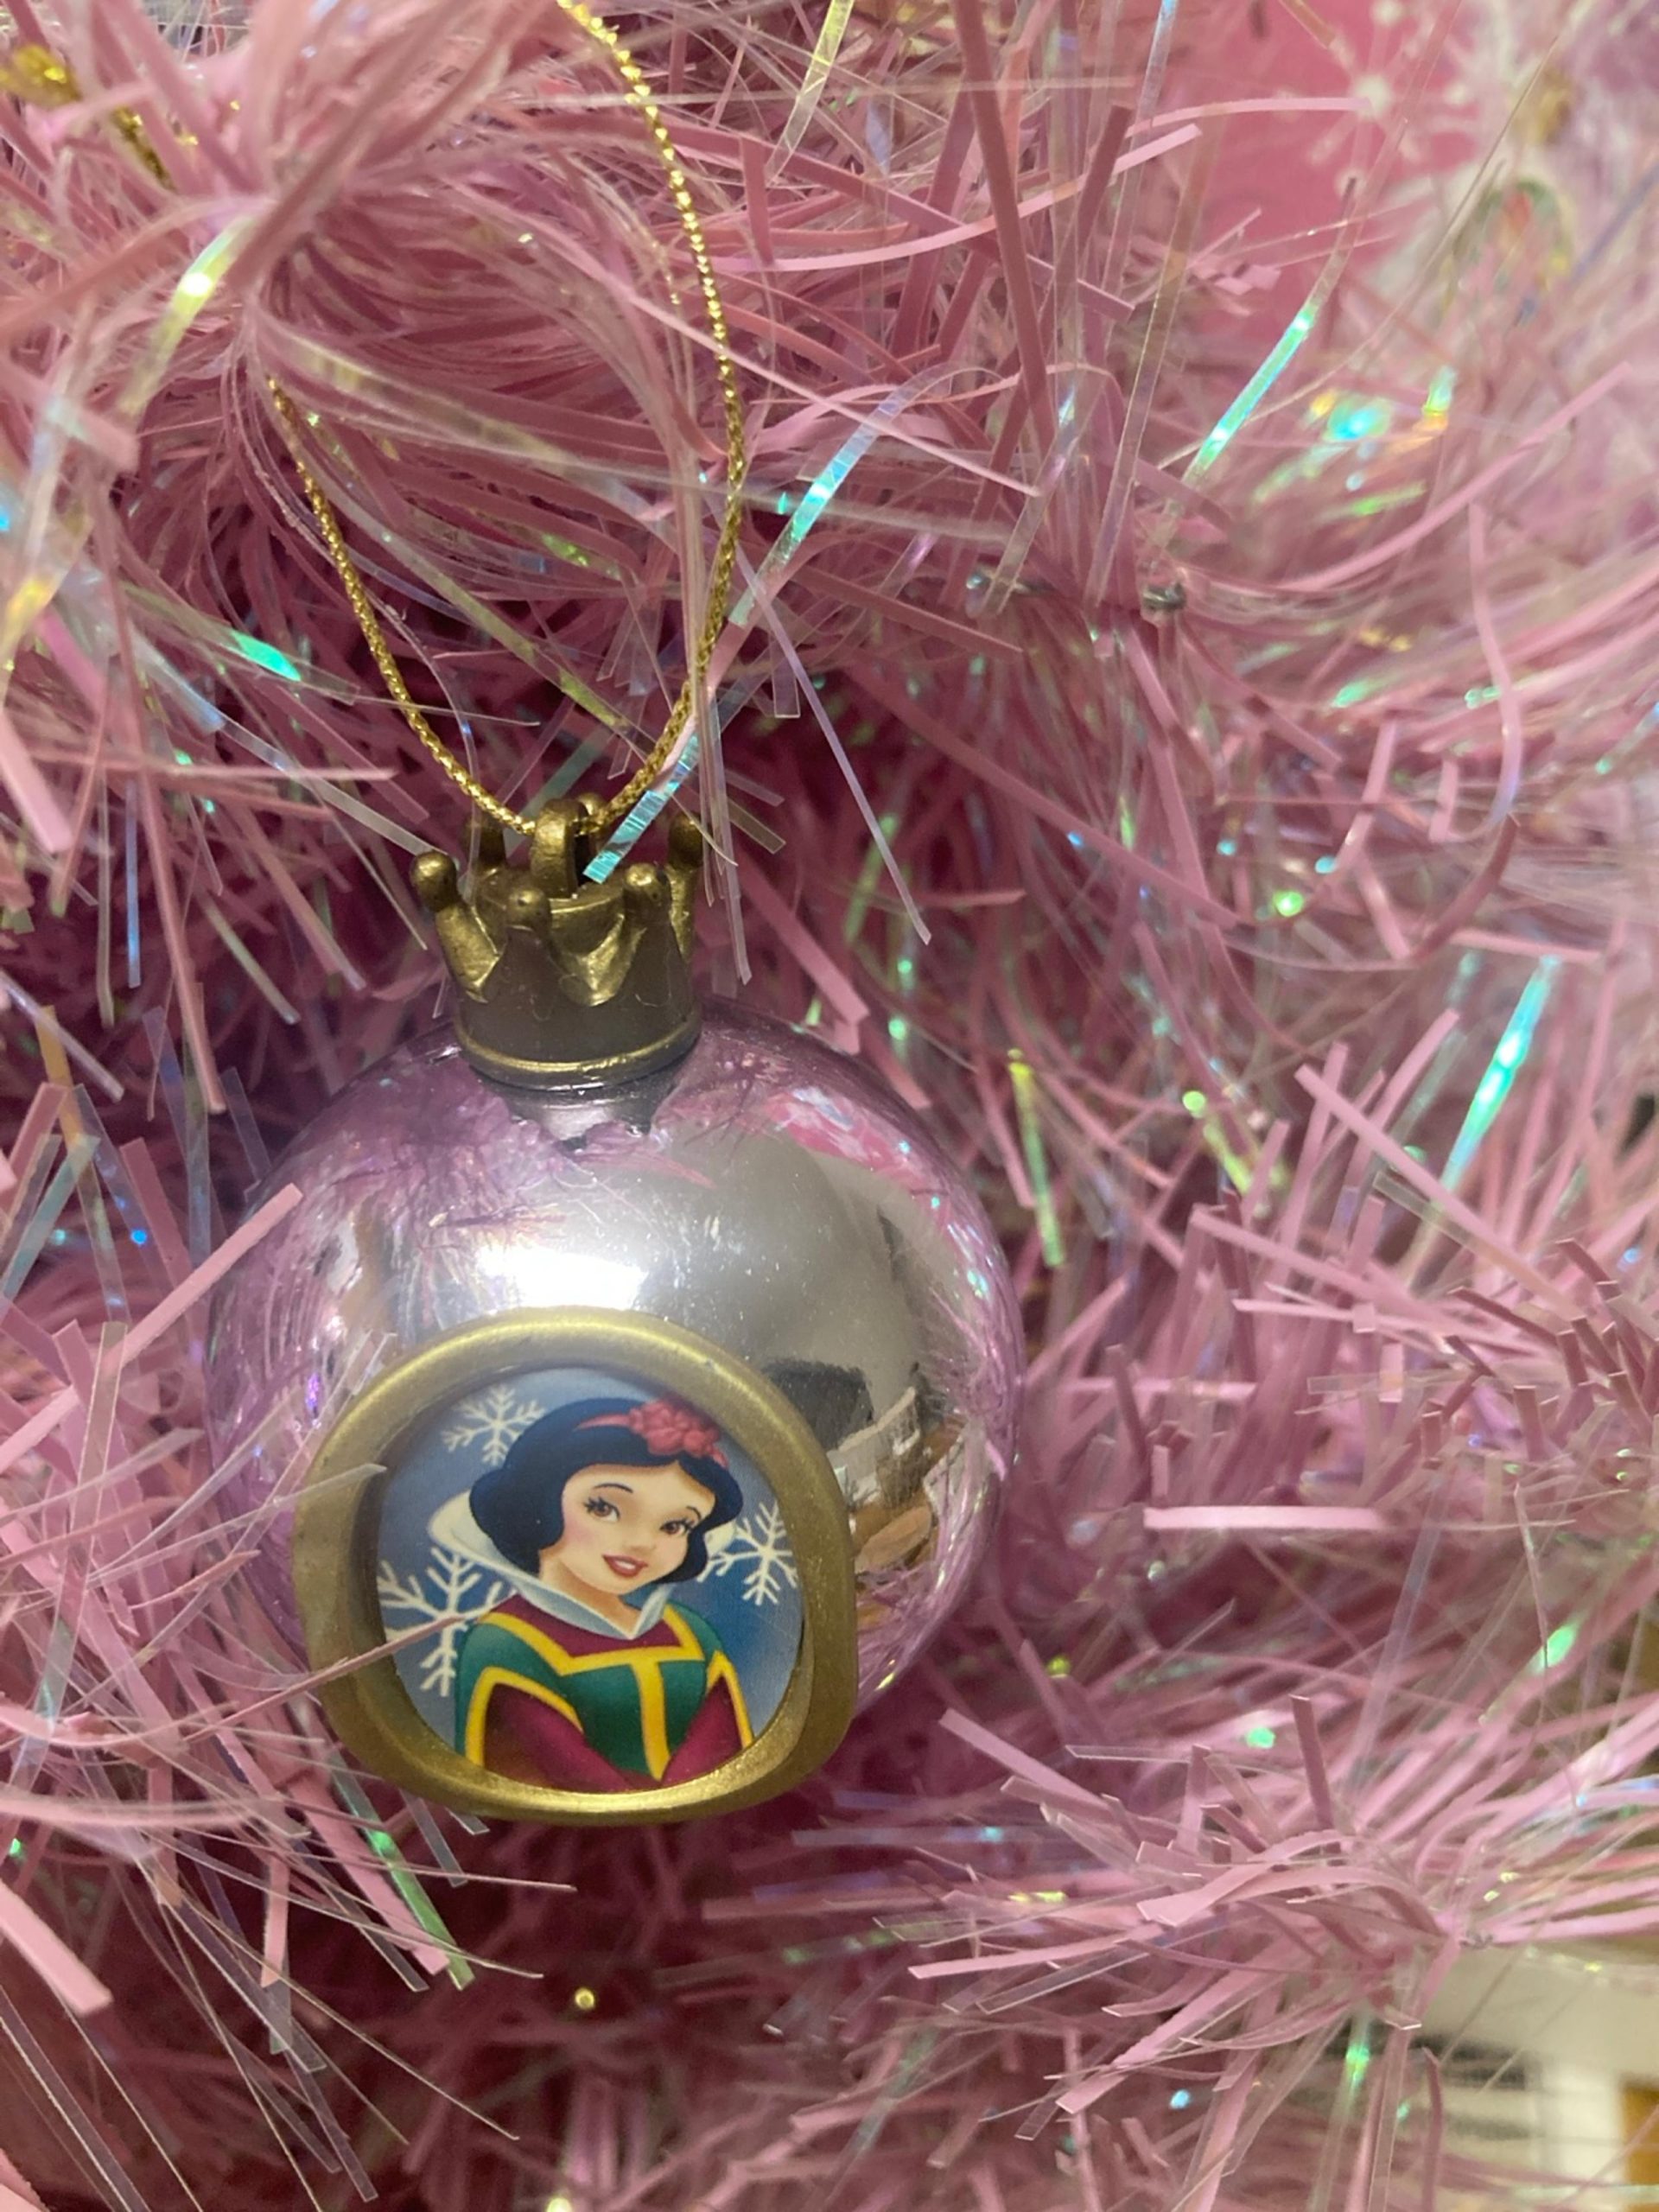
Pink tinsel trees are cheap and everywhere: Walmart and Target carry 2-foot and 4-foot versions for $15–$30, and after Christmas they often drop under $10. Plain round baubles run about $8 for a 12-pack at Dollar Tree. The finished Snow White ornament is the splurge at $15–$25, so buy one character you actually love instead of a set. A full mini tree in this style lands around $45, and closer to $25 if you shop the post-holiday sales.
15. Gingerbread Tree With Plaid Valances and a Village at the Base
A tree this dense is heavy — on the branches and on your time. Gingerbread ornaments are usually clay or resin, which runs heavier than glass, so hang the big ones close to the trunk before the branch tips droop by New Year’s. The plaid valances are the commitment piece: once they’re up, every other element in the room has to cooperate. And a miniature village at the base is charming right up until a toddler or a robot vacuum discovers it. Put it on a low tray with a lip, or skip it.
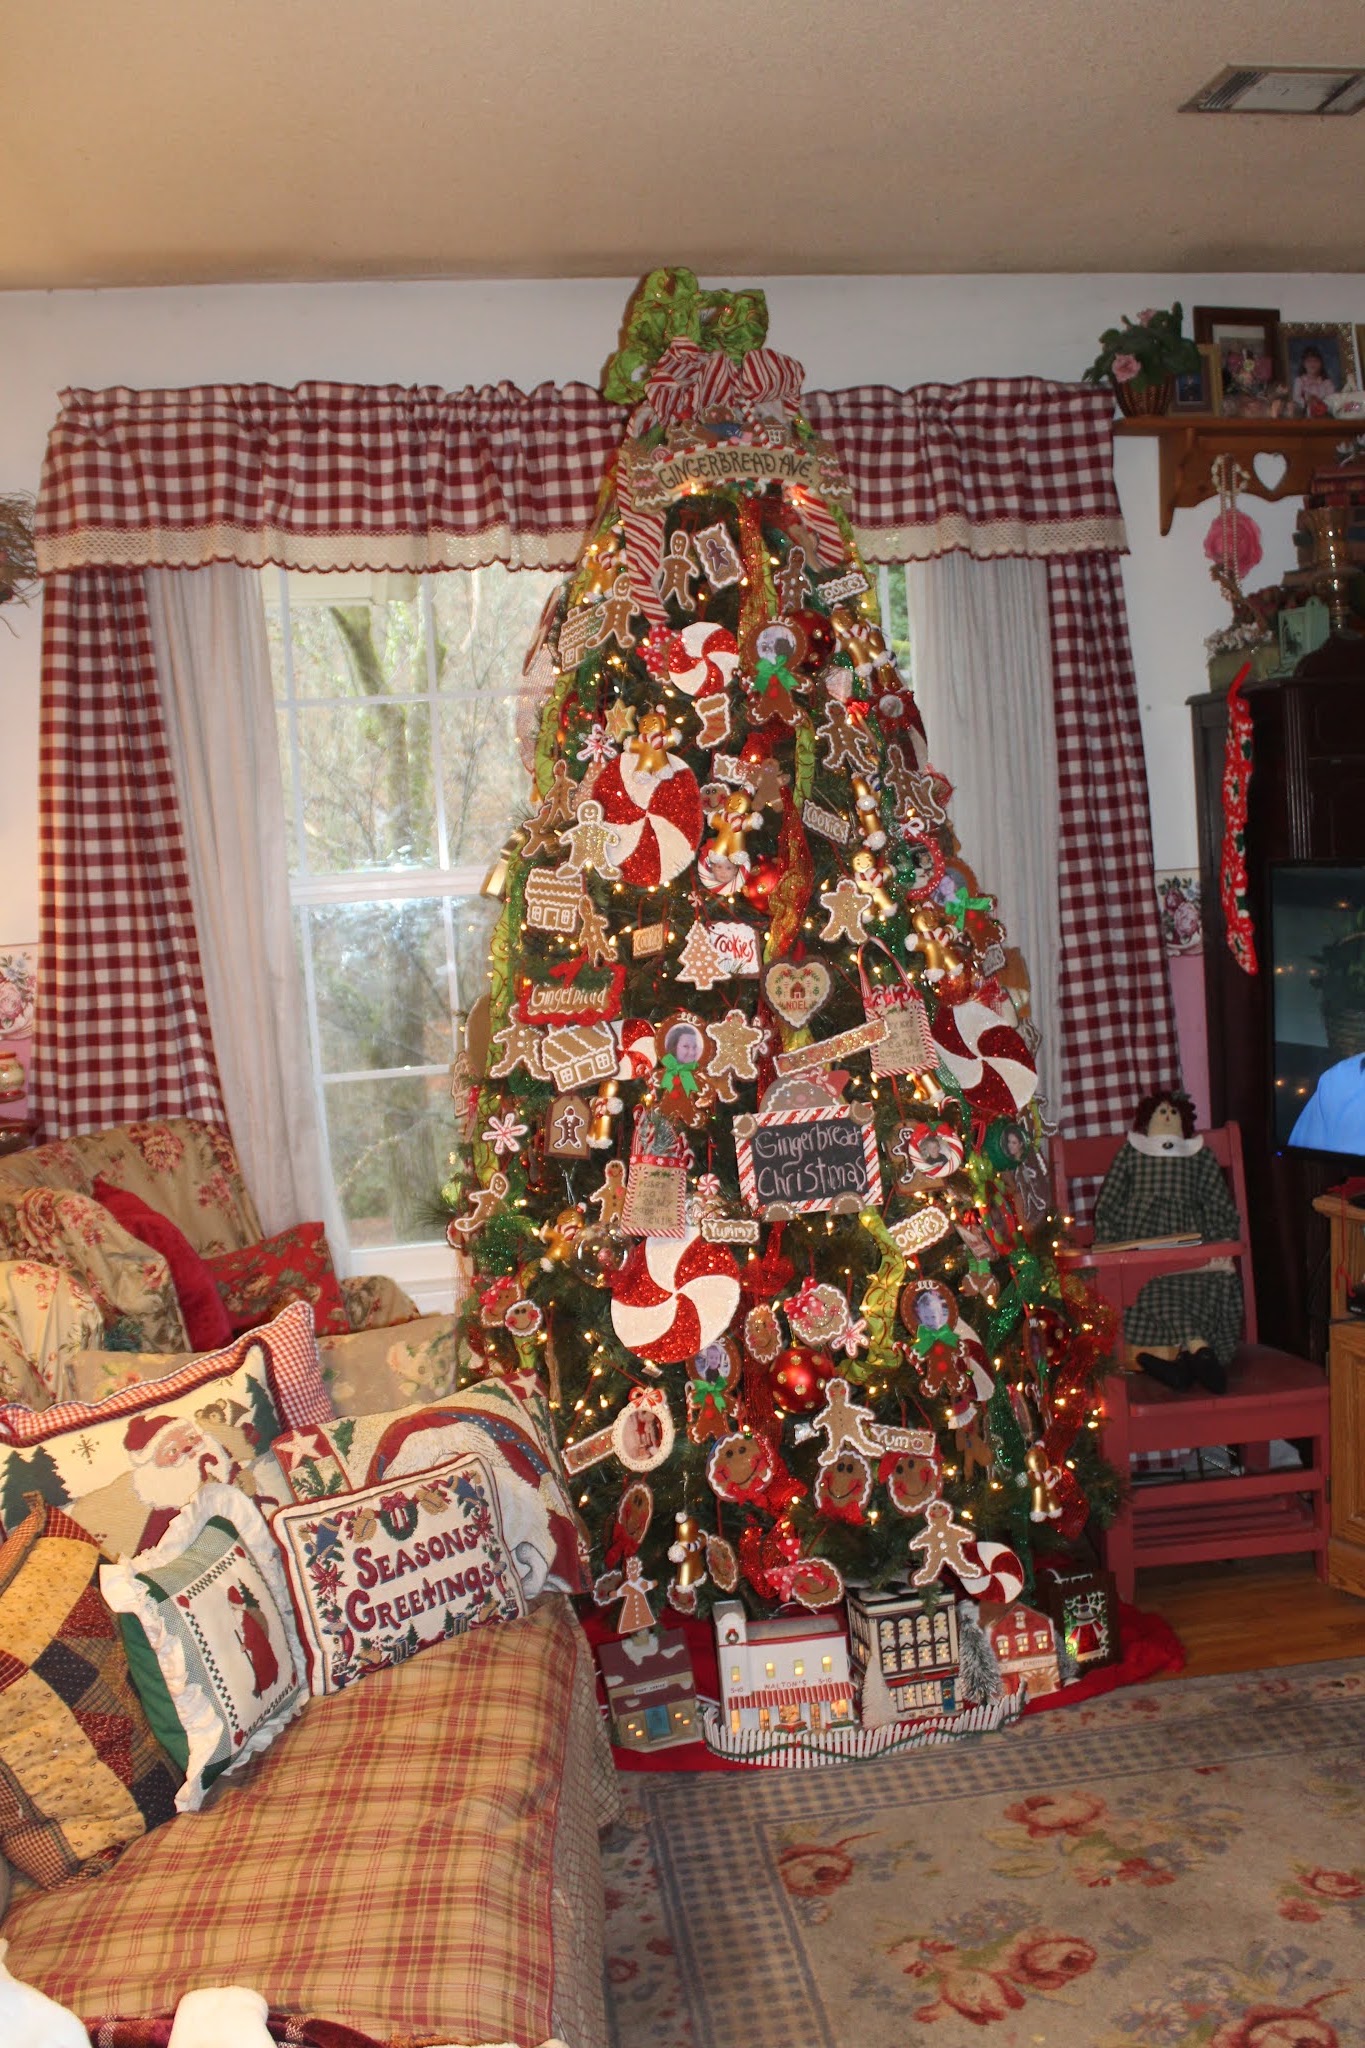
This works in a room 12 x 14 feet or larger with at least 12 uninterrupted feet of wall. Below that, plaid valances plus a dense tree plus a village starts to feel like three rooms stacked into one. In a smaller living room, keep the gingerbread tree and swap the valances for plain cream panels — the tree carries the theme on its own. The floral rug also needs roughly 8 x 10 feet of floor to read as a pattern rather than a busy mess. Compare with the coastal take in Idea #7.
16. A Rhinestone High Heel Ornament on Lavender Ribbon
Character trees keep getting more specific every year, and the shoe ornament is the entry point for people who love the princesses but don’t want eleven identical figurines. It’s the same instinct behind the 2026 shift toward one character styled well — a single piece that says Cinderella without a tree full of glass slippers. Collectible ornaments like this also hold value, so a $20 purchase in 2026 can be a $35 purchase in 2031 if you keep the box.
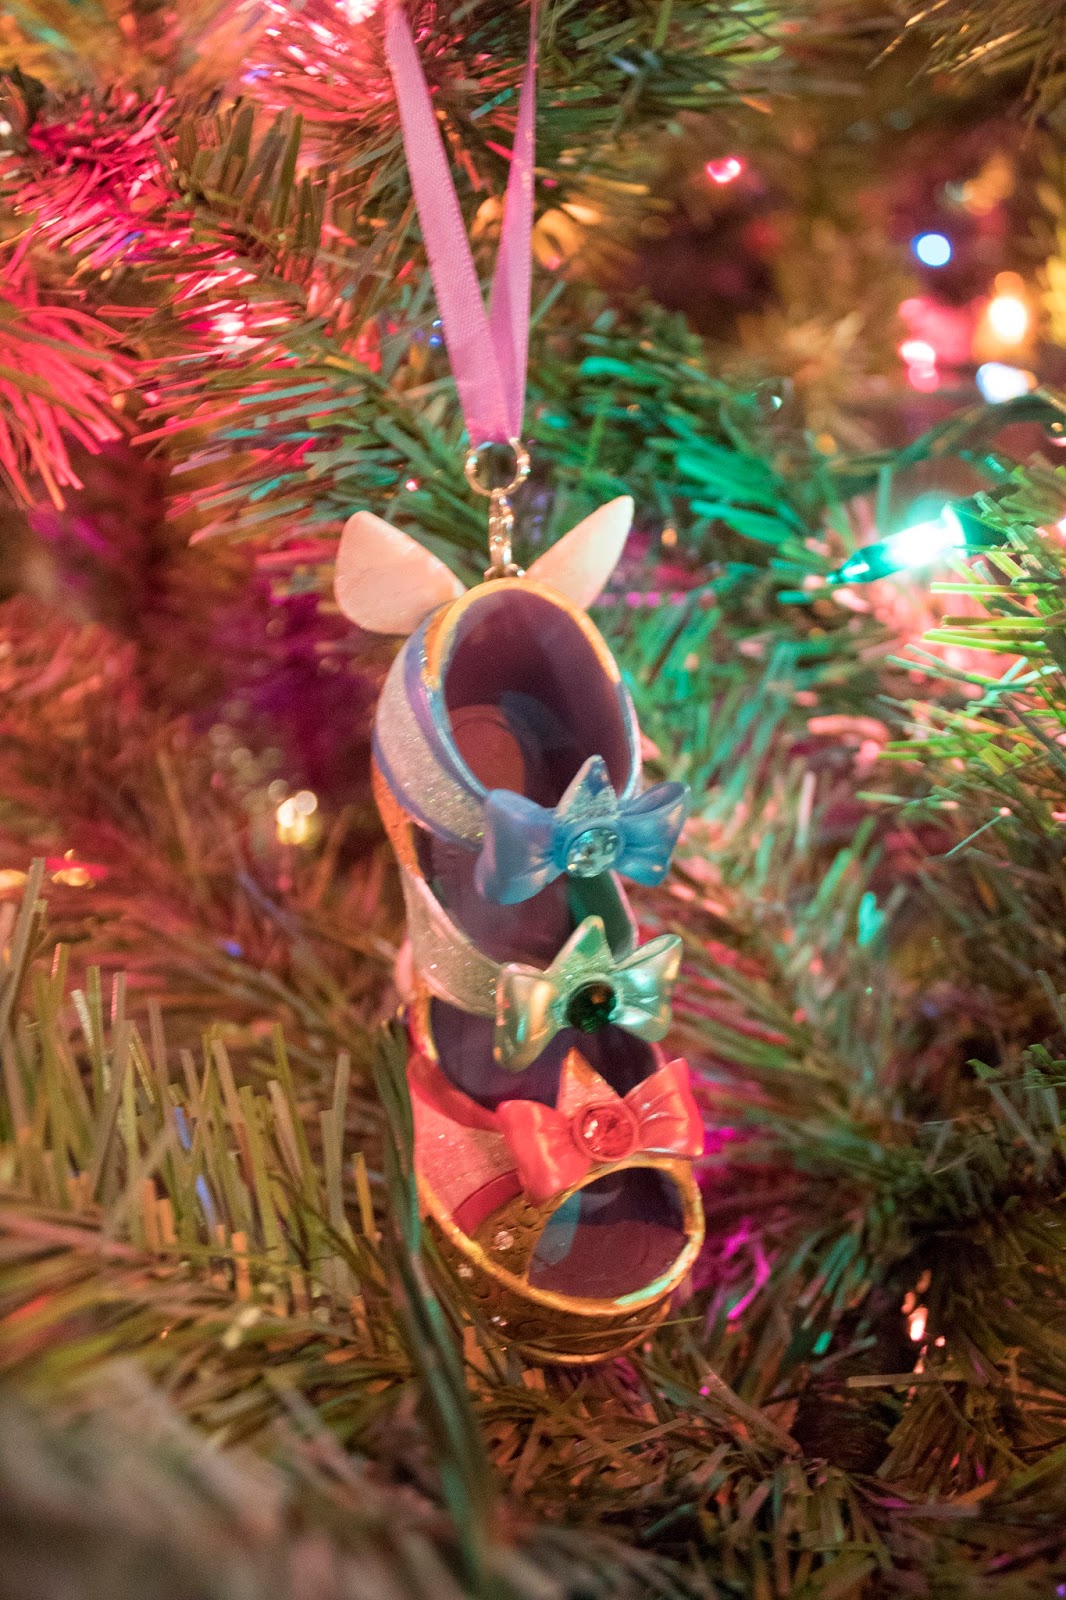
Rhinestones and layered bows mean a lot of tiny places for dust, hair, and tinsel fragments to catch. A soft makeup brush once a month during the season is plenty. More importantly, this ornament is top-heavy relative to its hanger, so use a proper wire hook instead of the flimsy loop it came with and hang it on a sturdier branch. With pets, keep it above tail height — dangling ribbon is irresistible. And check that lavender ribbon isn’t cheaply dyed; some bleed onto the tree once the room warms up.
17. The Teal Glass Tinker Bell Bulb That Reads Across the Room
Glass bulb ornaments are the most fragile thing on your tree and the most likely to chip at the cap, where the metal meets the glass. Hold them by the cap, never the bulb, when hanging. Teal and other deep gloss finishes show fingerprints badly, so keep a microfiber cloth nearby while you decorate. They shatter rather than crack, so with kids or hard floors, save these for the top third. Store them wrapped in tissue in a divided tray — tossed loose in a bin, you’ll lose three every January.
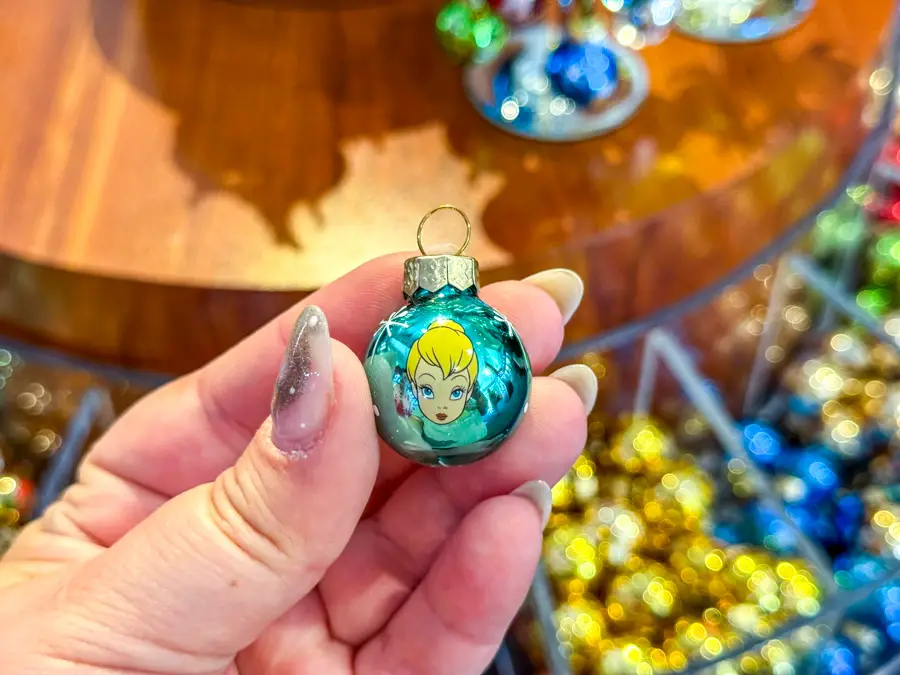
A single saturated color can carry an entire tree if you commit to it. Pick three finishes in that one hue — gloss, matte, and glitter — and alternate them; your eye reads variety even though the color never changes. Tuck one small teal ornament deep inside the branches close to the trunk, because that depth makes a tree look fuller without buying a bigger one. And if the room already contains teal, even in a throw pillow, the tree reads intentional instead of random.
18. Elsa in Snowflake Blue on a Thin Silver String
- Check that the molded hanger loop is metal, not glued plastic — detailed figurines are heavy enough to pop a glued loop.
- Confirm you have a silver-toned hook or string. Gold against ice blue reads muddy.
- Decide where she hangs before you start. Figurine ornaments need side light, so keep her on the outer branches.
- Skip the flocked tree if you want the blue to pop — white flocking flattens the contrast.
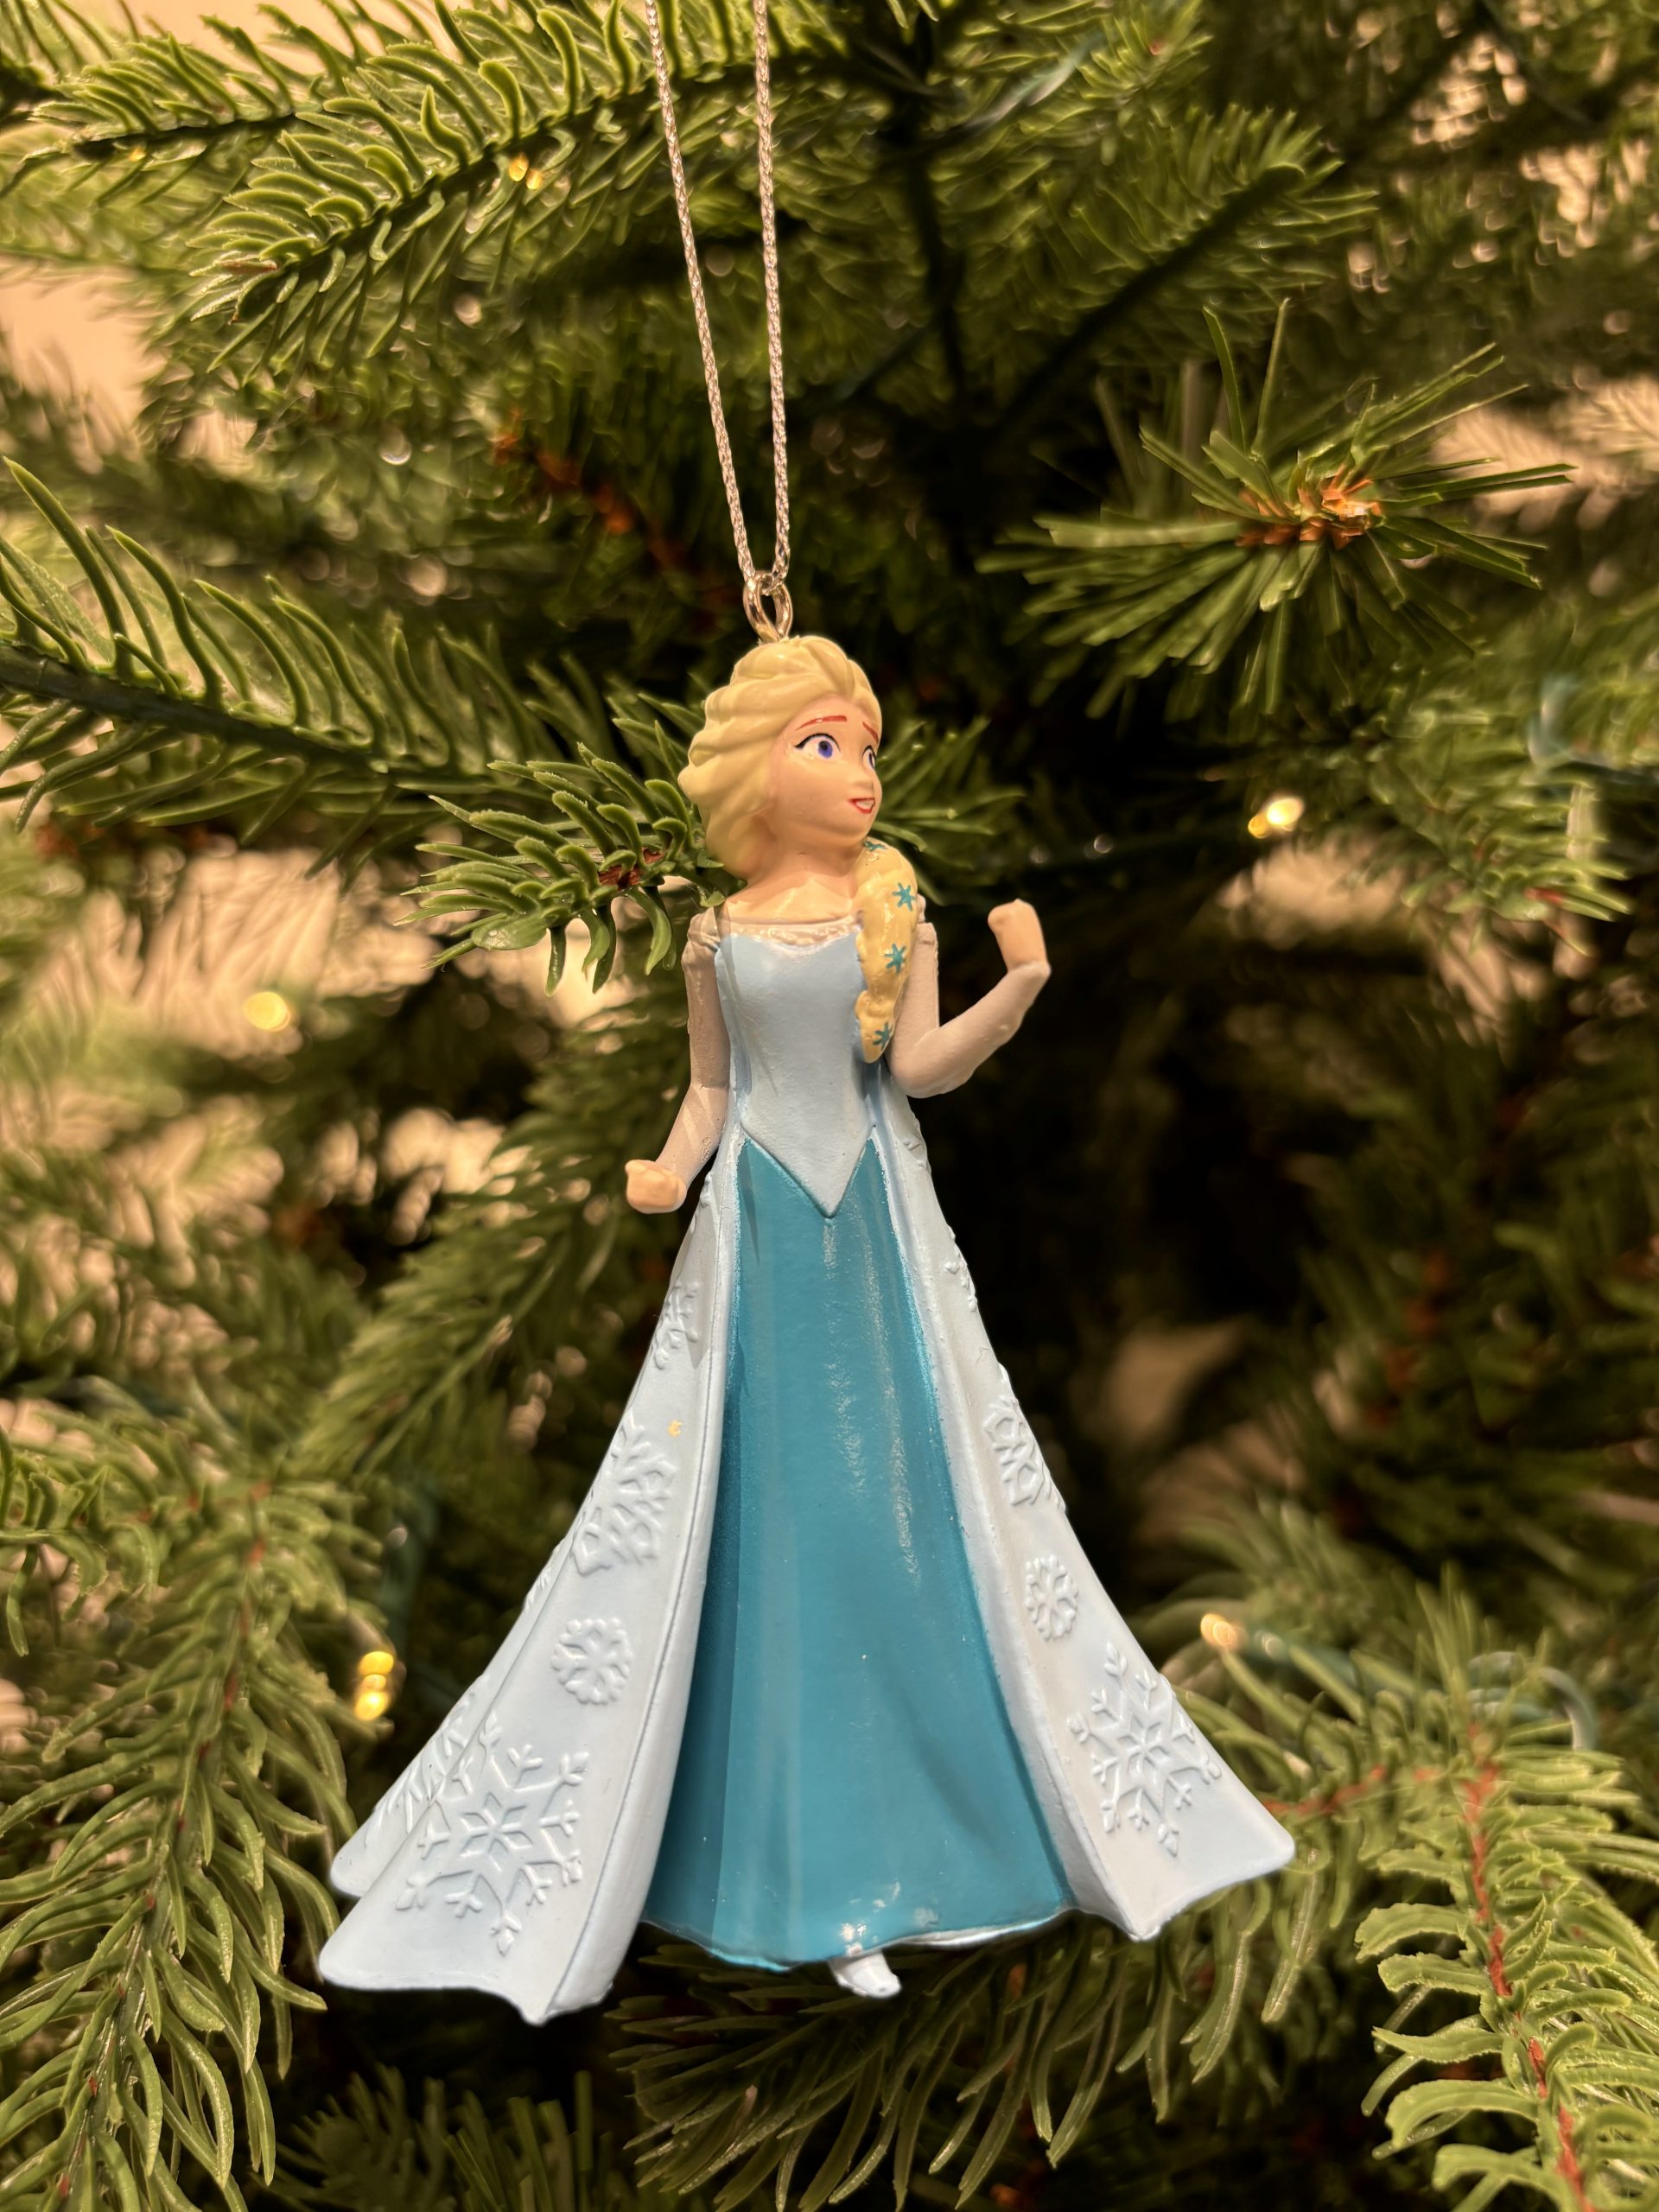
It’s a one-color story with a built-in focal point: light blue dress, silver string, deep green surround. Three colors, no exceptions, and the quiet space around her is what sells it. If you wanted to build a whole tree on this logic, give each character its own zone with 12 inches of empty branch on either side. That’s how you end up with a themed tree that still looks edited instead of crowded.
19. Cinderella in Amber Bokeh: Where the Lighting Does the Work
The amber lights behind her. That warm, out-of-focus glow is what turns a $15 figurine into something that looks like it belongs in a display window. Swap those bulbs for cool white and the same ornament goes flat and clinical. This is the argument for warm white LEDs around 2700K, which makes blue and white characters look luminous instead of washed out. It’s the difference most people can’t name but can absolutely feel.
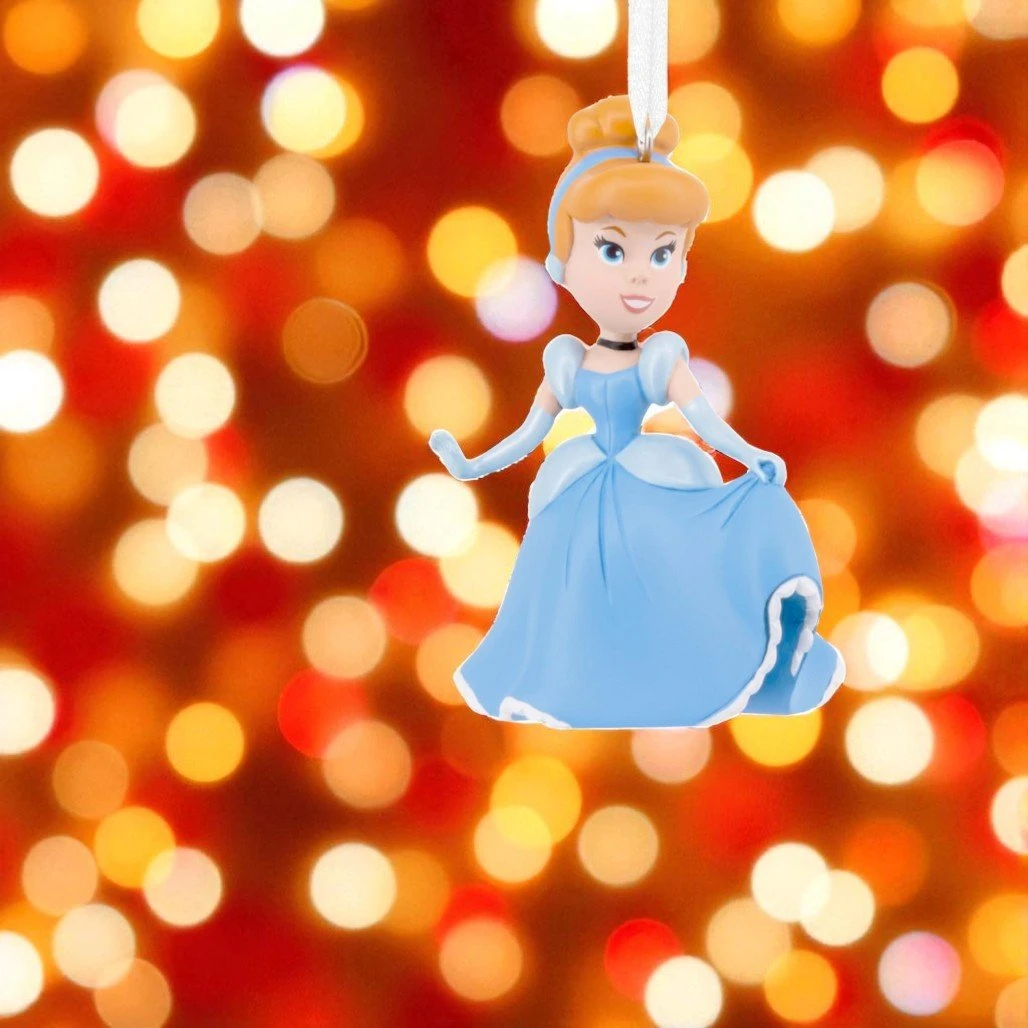
Warm white is winning. Cool white dominated cheap trees for a decade, but the character-tree crowd has moved hard toward 2700K amber because it flatters painted figurines and glass. The 2026 version of this is depth lighting — a second strand pushed deep into the trunk so the tree glows from within rather than sparkling on the surface. It takes an extra 20 minutes and about $25 more, and it’s the single most noticeable upgrade you can make. See Idea #20 for the same trick applied to a two-character ornament.
20. Cinderella and Her Fairy Godmother Sealed in a Blue Dome
- Hang the dome on a branch with real clearance — at least 6 inches on all sides so nothing rubs the textured blue surface.
- Use the black ribbon it came with rather than swapping in wire; the ribbon holds the dome upright and keeps the scene facing forward.
- Place it on a white or flocked branch so the blue reads as depth instead of blending into dark green.
- Set it at eye level on the front third of the tree, rotated slightly so both figures are visible from the sofa.
- Resist adding anything else to that branch. One sculpted scene per zone.
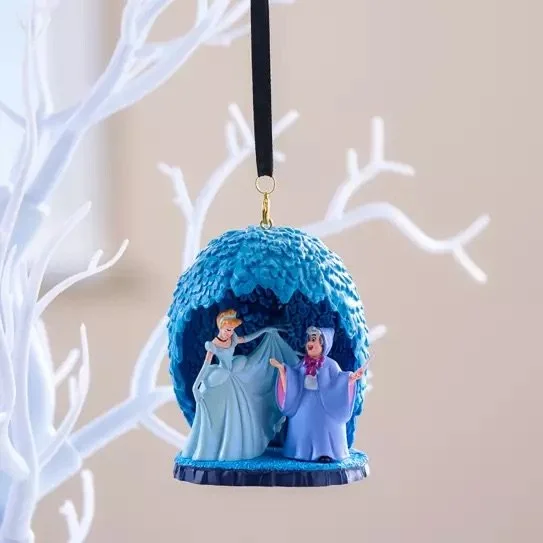
Roughly 5 minutes, and no materials beyond what came in the box.
- Licensed sculpted dome ornament: $20–$40
- White flocked tree, 6-foot: $80–$200
- Black satin ribbon for hanging: $5–$10
- Warm white LED strand, 200-count: $20–$35
Total: $125–$285 for the full setup. Budget alternative: skip the flocked tree and hang the dome on a plain green one in front of a white curtain panel — the white background does the same job for about $20 at any home store.
Your Tree, Your Characters, Your Call
Here’s the thing about a Disney tree: it only works when it looks like you had fun, not like you followed instructions. Start with one character you genuinely love, build the palette around it, and let the rest fill in. Then pin the ideas you keep coming back to — the ones in this guide you’d actually live with — so they’re waiting when you pull the boxes out next November.