Hot cocoa bars are having a major moment on Pinterest right now, and it has almost nothing to do with the cocoa. It’s the styling — the jars, the boards, the mugs that make a kitchen counter feel like somebody thought about you.
We spent serious time combing through Target, Walmart, World Market, HomeGoods, and Amazon to bring you what’s actually worth your attention this year, across every price point from $8 to $180.
Inside you’ll find 34 curated hot cocoa bar ideas spanning rustic farmhouse, minimalist white-and-wood, graphic black-and-white, and vintage gingerbread whimsy — with budget and luxury versions compared side by side. And stay until the end — we break down the most common mistakes that can ruin these looks.
2026’s version of holiday decorating is smaller and warmer: one glowing corner instead of a fully decorated house, which is exactly why these setups keep getting saved.
📌 Save this to Pinterest for later — you’ll want to revisit these ideas.
1. The Single-Serve Cocoa Moment on a Speckled Counter
Warm your glass mug with hot tap water for 30 seconds, dump it, then pour — cocoa in a room-temperature glass drops about 15 degrees in the first four minutes. Whip the cream to soft peaks, not stiff, and spoon it on rather than piping. A 1½-inch cap holds the drizzle and insulates everything below it. Squeeze the chocolate from a bottle held 8 inches above the mug so it falls in thin ribbons instead of one heavy blob.
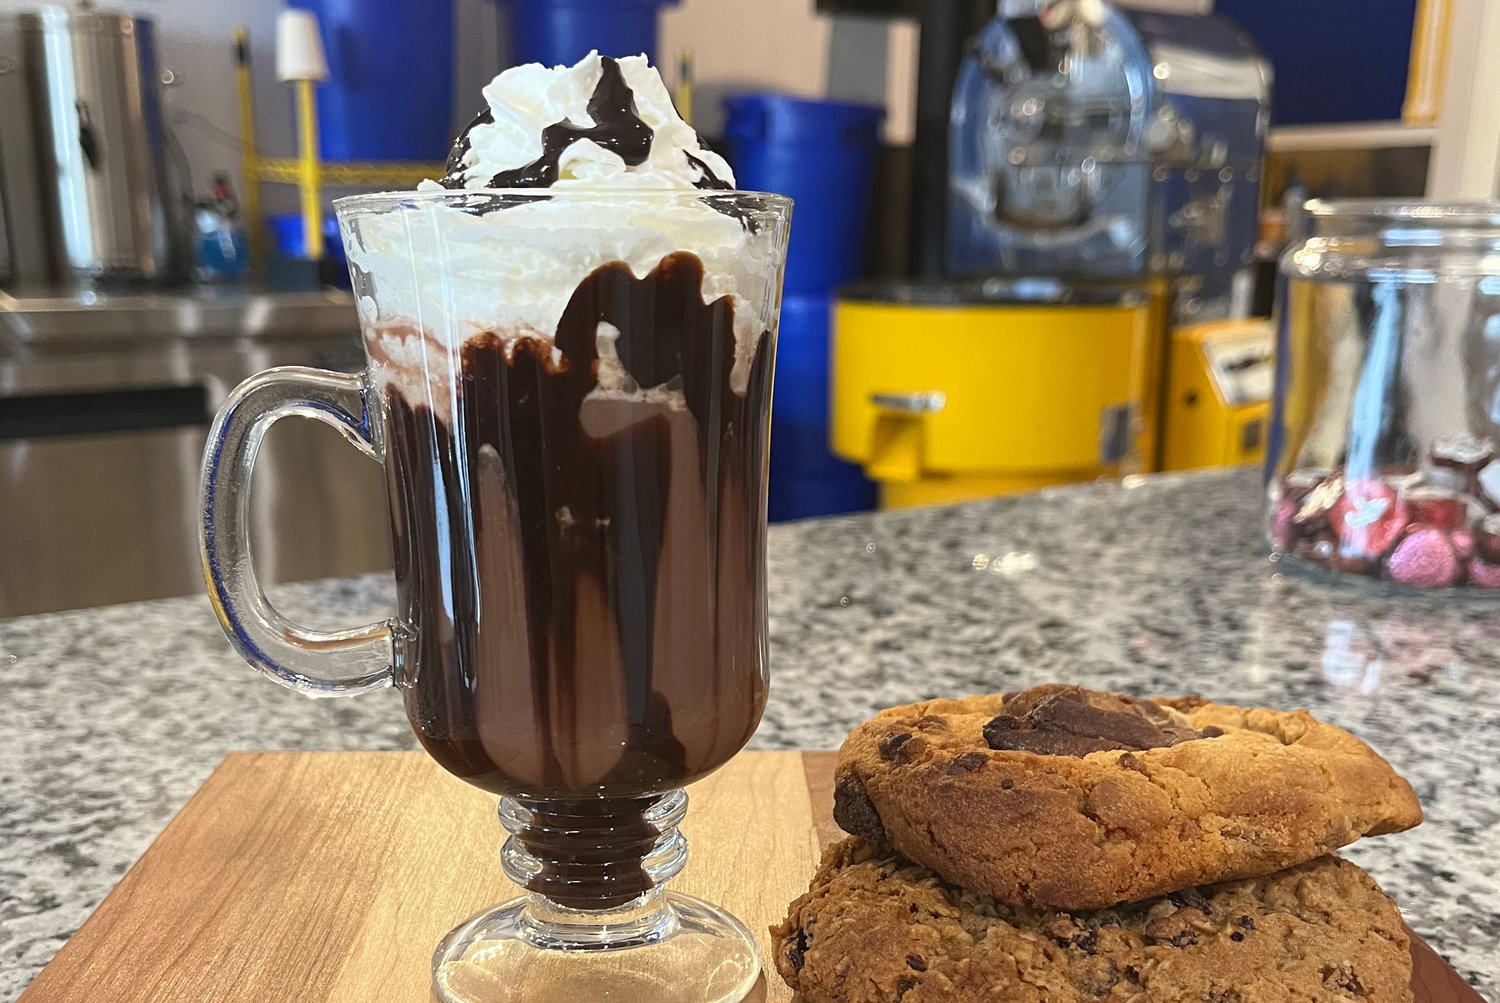
Three stacked bands — dark cocoa, white cream, brown drizzle — give the eye a vertical rhythm, and the light wood board underneath keeps all that brown from turning muddy. The grey speckled counter is doing quiet work too: it’s cool and neutral, so the warm tones read warmer. Two cookies instead of one creates a small asymmetry that stops the setup from looking like stock photography.
2. Gingerbread Train Caddy and Tree Mug
Take away the train-shaped container and you’re left with a nice mug. What makes this little vignette work is the story: a lidded ceramic train car, glazed light brown with white icing piped across the roof, sitting open on its matching tray with cocoa mix inside. It gives the setup a reason to exist beyond serving — it’s a thing you’d happily leave on the counter all December.
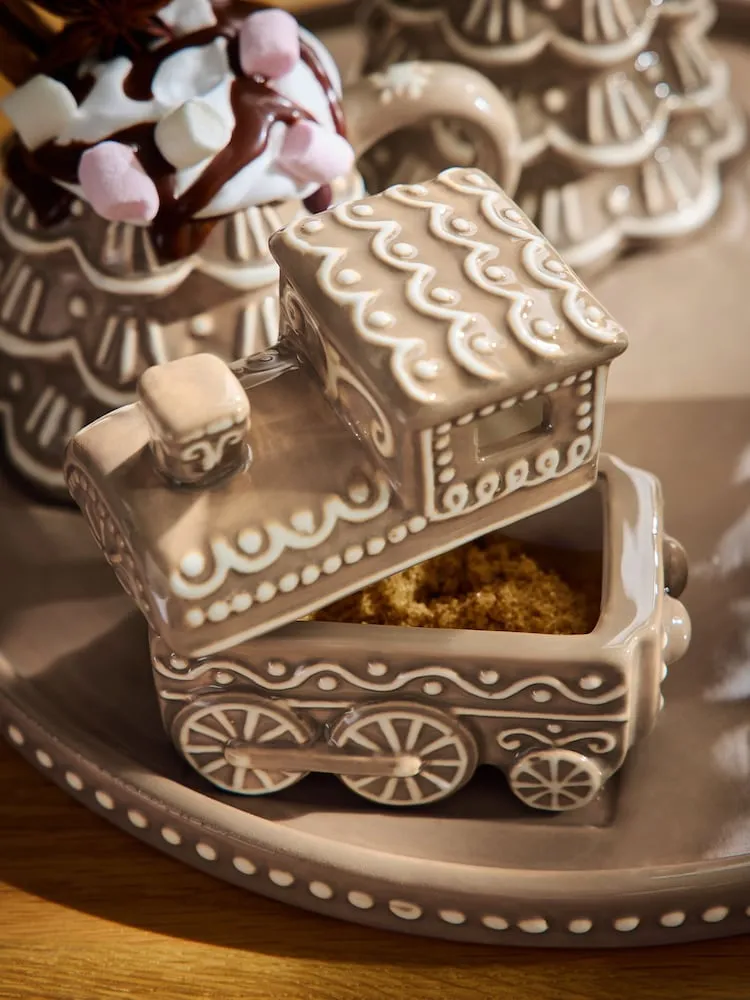
- Set the round tray down first — it defines the boundary so nothing wanders.
- Place the train container slightly off-center to the left; it’s the biggest piece.
- Nest the tree mug to the right, handle at 4 o’clock, facing the room.
- Fill the train with cocoa mix just below the rim so the lid still closes.
- Top the mug with whipped cream, then drizzle, then mini marshmallows last so they don’t sink.
Twenty minutes, no cost beyond what you already own.
3. The Overhead Toppings Spread in White Ceramics
Repetition is the whole trick. Seven identical white bowls on dark rustic wood create a grid the eye can scan in a second, and the dark background makes every marshmallow and candy cane pop like it’s lit from inside. Grouping by color family — chocolates together, red-and-white together — keeps the abundance from reading as clutter.
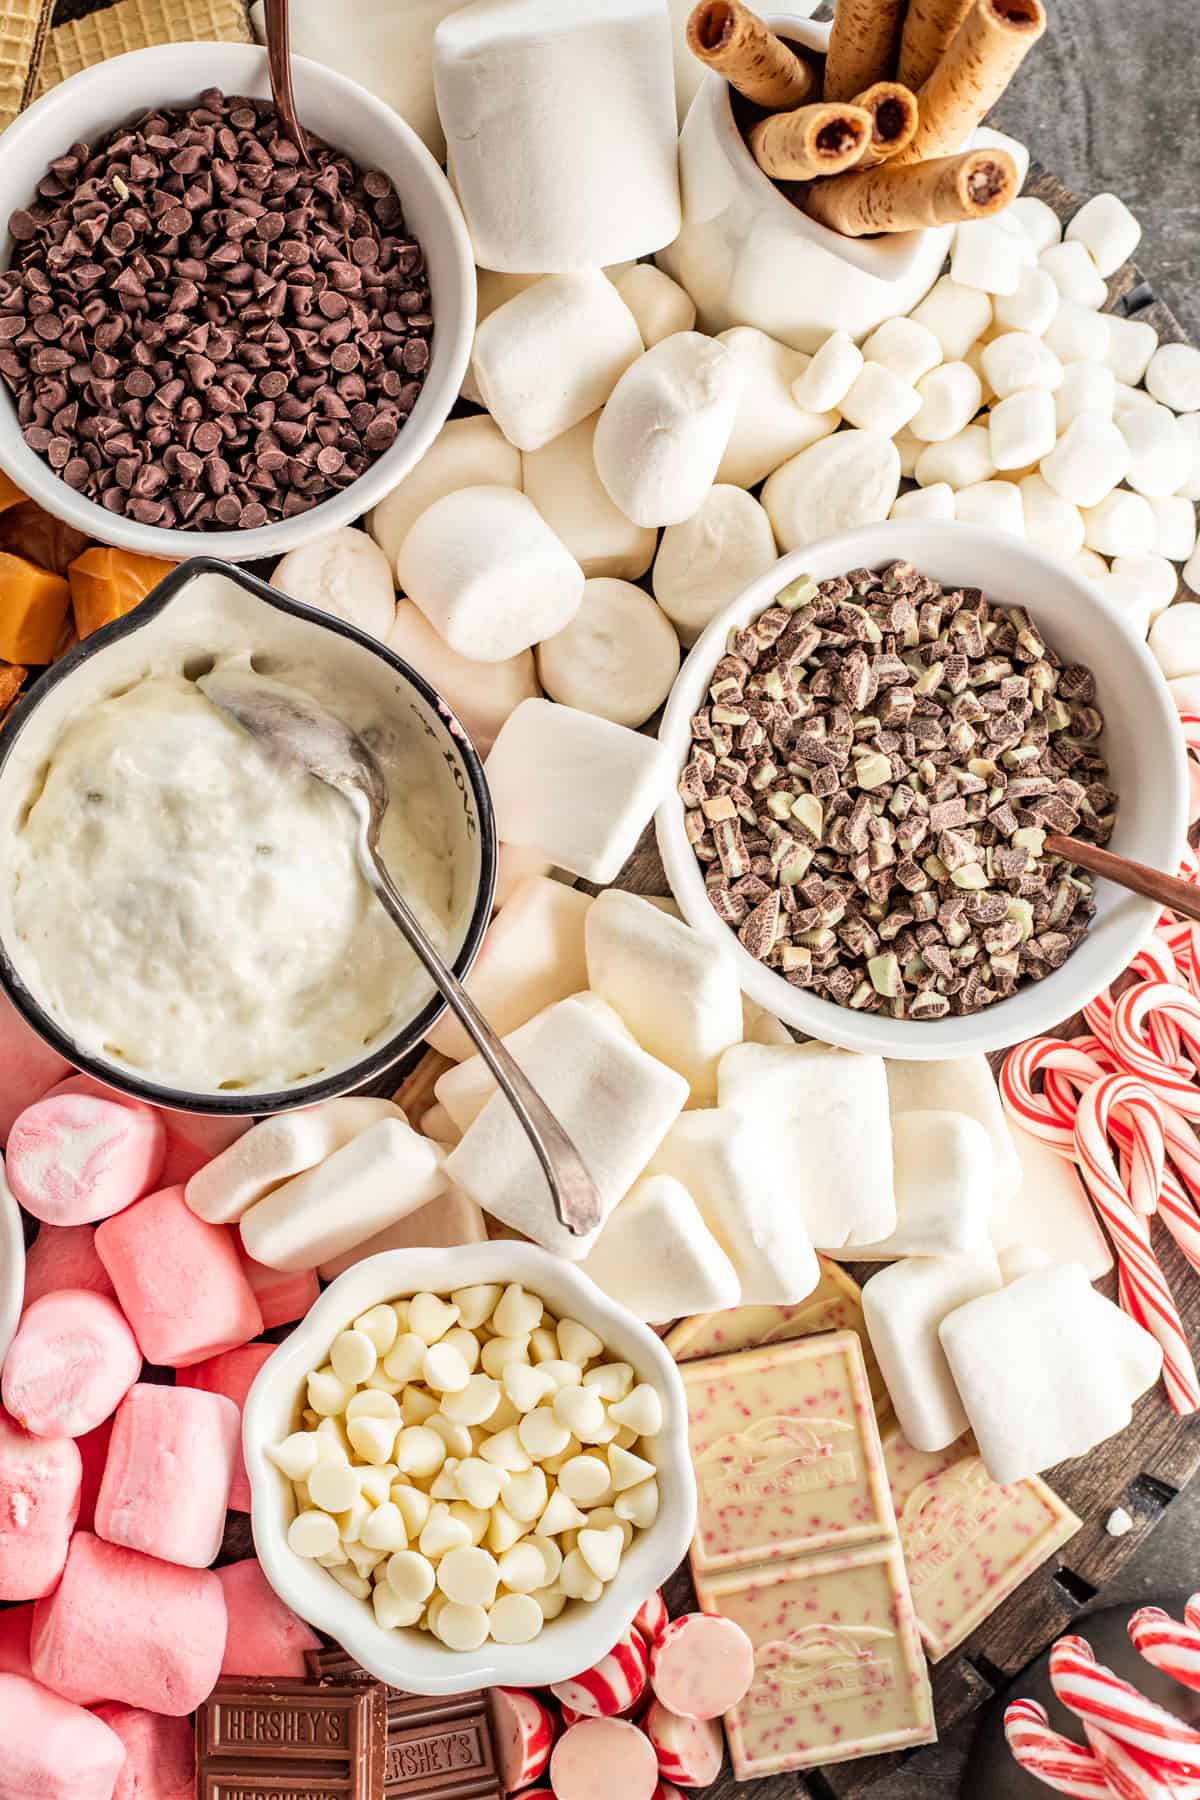
- Large wooden board or platter: $25–$60
- 8 white ceramic bowls: $20–$45
- Marshmallows, chocolate chips, peppermint bark: $18–$35
- Candy canes, wafer rolls, chocolate bars: $10–$25
- Scoops and small spoons: $8–$20
Total: roughly $81–$185. Budget alternative: thrift the bowls at $1–$2 each and buy toppings from a bulk bin — you’ll land closer to $45 without losing the look.
4. The Festive Cocoa Still Life That Has to Stay Hot
A cocoa display that’s all looks and no heat is the fastest way to disappoint a room. If the mugs were filled for a photo, they’re cold by the time anyone drinks them. Keep the actual cocoa in a slow cooker on warm, set the styled mugs out as props, and pour to order — nobody notices the difference, and everybody gets a hot drink.
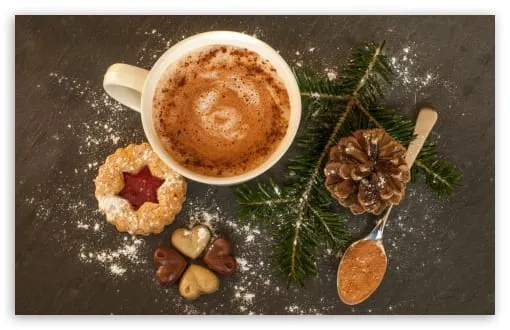
Festive cocoa styling usually lands near 65% deep brown, 20% cream, and 15% red or green. Keep that ratio and you can swap the red for copper or the cream for oatmeal without losing the holiday read. Break the formula and you get a bar that looks either muddy or like a craft store exploded.
5. The Countertop Bar with a Grey Enamel Pot
- Grey enamel pot or slow cooker: $30–$70
- Dark wood serving board: $25–$60
- 8 small white bowls plus stacked mugs: $30–$60
- Toppings (marshmallows, chocolates, wafer rolls, sprinkles): $25–$45
- Subway tile backsplash, if you’re adding one: $150–$600
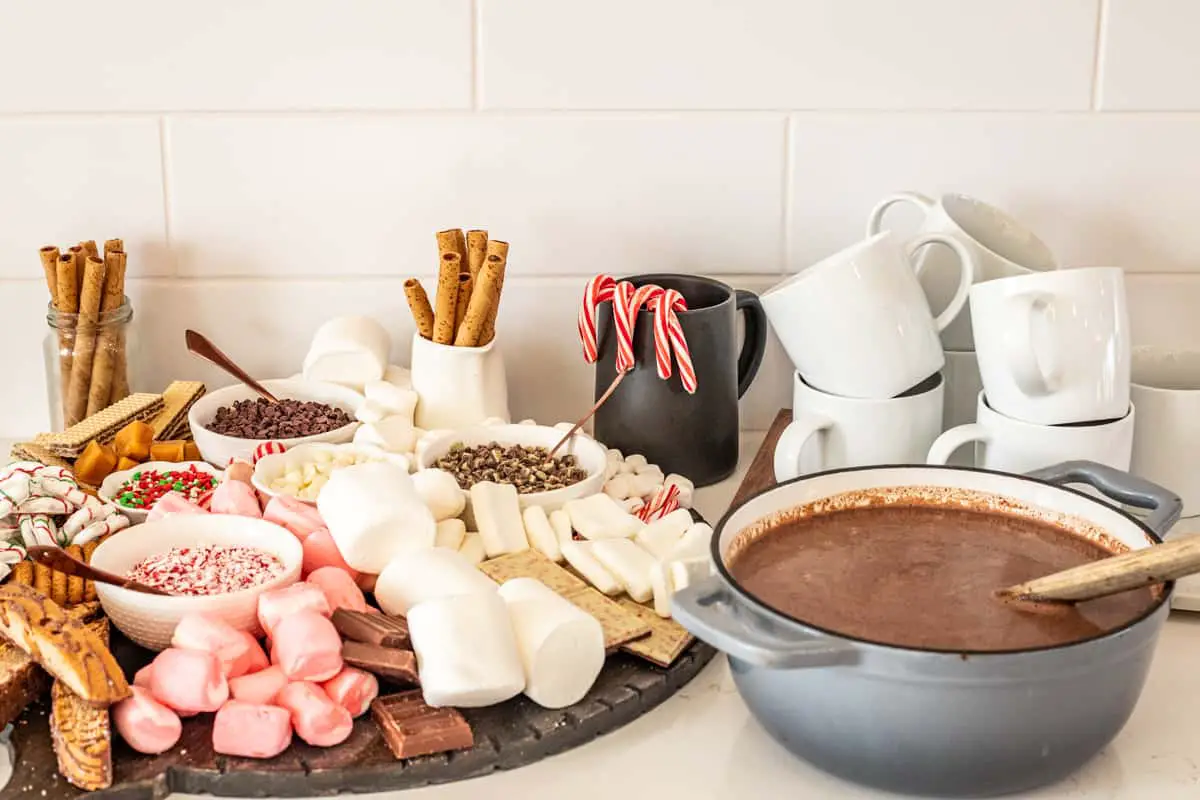
Total without tile: about $110–$235. Budget alternative: a $20 slow cooker from Walmart and a rimmed baking sheet instead of a board gets you 60% off and the same read — see Idea #7 for a lighter, glass-jar version.
You need about 36 inches of clear counter to run this without it feeling cramped, and 48 if you want the stacked mugs on the counter instead of a shelf. A standard 24-inch-deep counter fits the board plus bowls with a few inches to spare, which is exactly where the stacked mugs live. Under 80 square feet of kitchen? Go vertical with shelves instead of counter.
Keep the pot on the lowest setting — warm, not simmer, which is usually the “keep warm” button on a slow cooker. Whisk every 10 minutes or you’ll get a skin on top that nobody wants to ladle around. Preheat the stacked mugs with hot water right before guests arrive; a warm mug buys you about 10 extra drinkable minutes.
6. Caramel Drip Mug on a Rustic Wood Ledge
The caramel running down the outside of the mug is the personality of this shot. It’s messy on purpose — a deliberate imperfection that says someone made this by hand and didn’t fuss. Without it you’d have a nice mug of cocoa on a nice wooden table, which is a photo nobody saves.
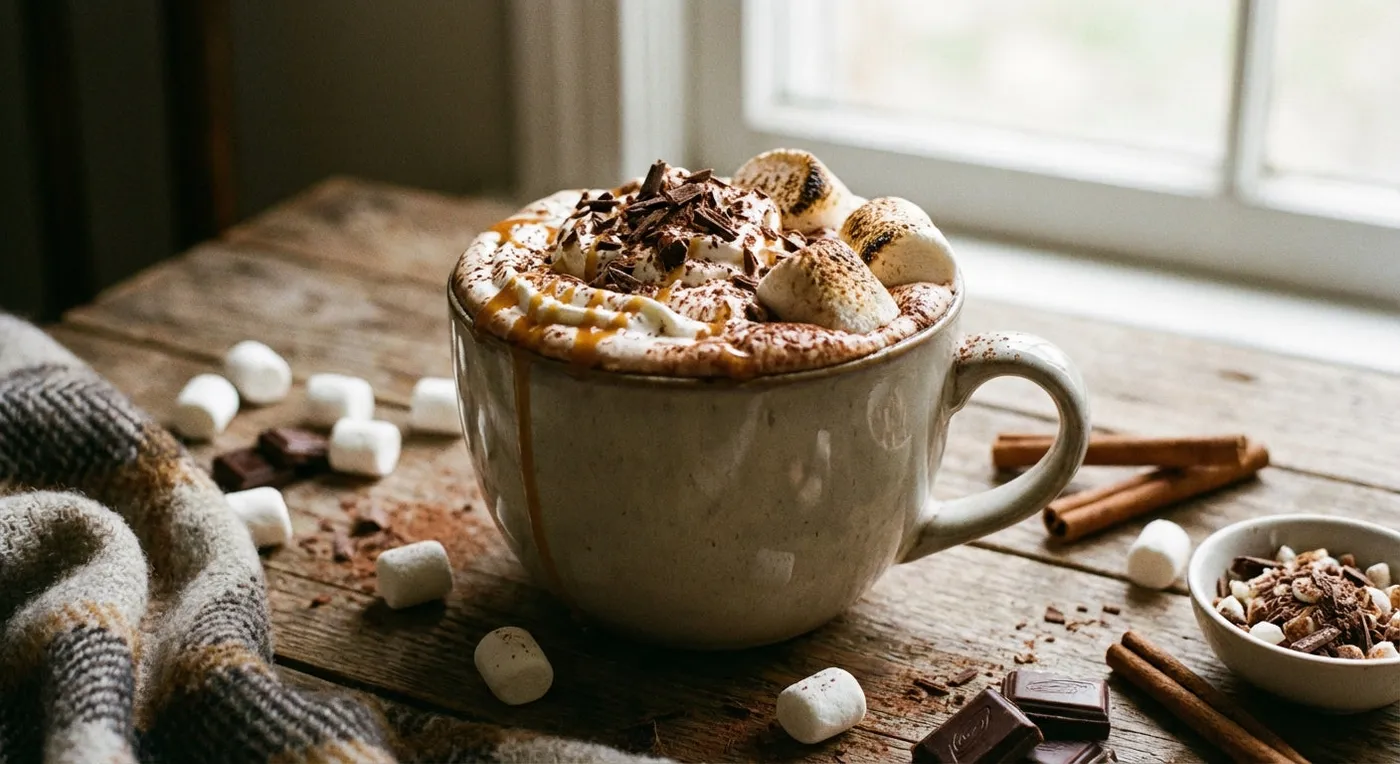
Everything here is texture rather than color: rustic wood grain, a patterned throw, whole cinnamon sticks, loose marshmallows, chocolate shavings. Warm browns on warm browns should go flat, but the toasted marshmallows and the pale cream of the whipped topping break it up. That scrunched blanket in the background is doing more for the mood than any prop could.
7. Fairy Lights and Berry Garland on a Light Wood Bar
- Wipe the tile with rubbing alcohol and let it dry completely — adhesive hooks won’t hold on grease.
- Place clear mini hooks 10 inches apart along the counter’s back edge, about 3 inches below the upper cabinets.
- Drape the strand in shallow swags of 6–8 inches, never a tight straight line.
- Tuck the battery pack behind the jars where it won’t get splashed.
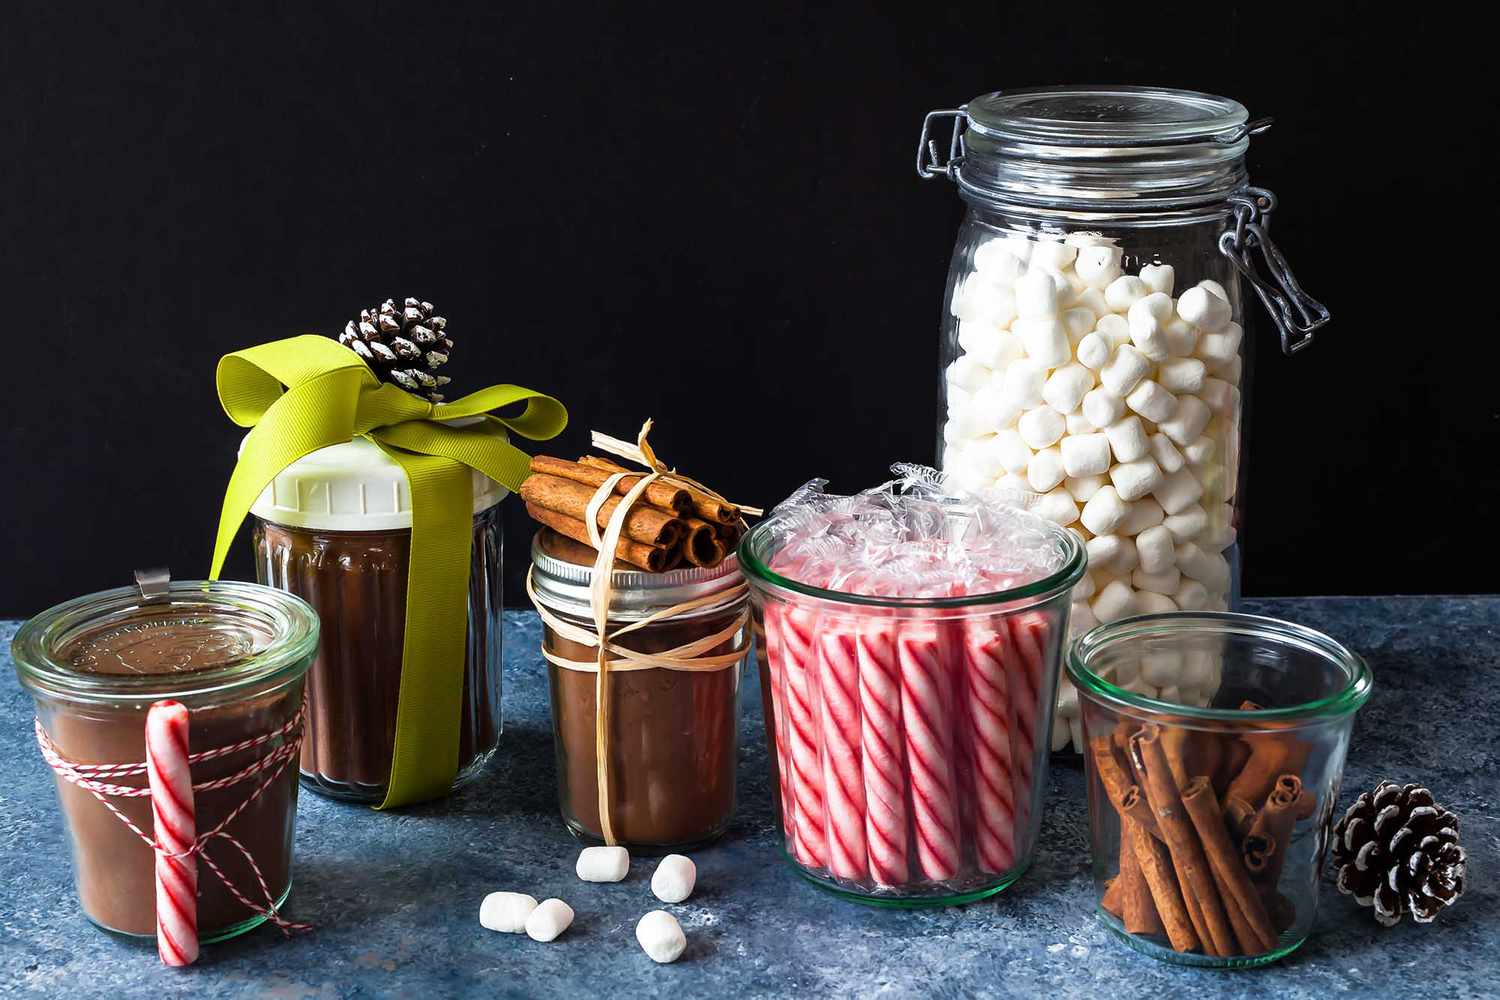
Twenty minutes and about $12 for hooks and a battery-operated strand.
Small-scale holiday styling is where 2026 is heading — one glowing corner instead of a fully decorated house. A berry garland and a strand of lights on a cocoa bar give you the whole holiday feeling in four square feet, which is why this version keeps showing up next to setups that cost ten times as much.
8. Graphic Stripes and Chocolate Stirrers
This is an 80/20 formula: 80% white ground, 20% black pattern. The mugs carry the pattern; the tray and checkered cloth hold the ground. Swap black for navy and it reads coastal; swap it for deep green and it reads holiday. Keep the proportion and you can move this exact setup from December into January without changing a single object.
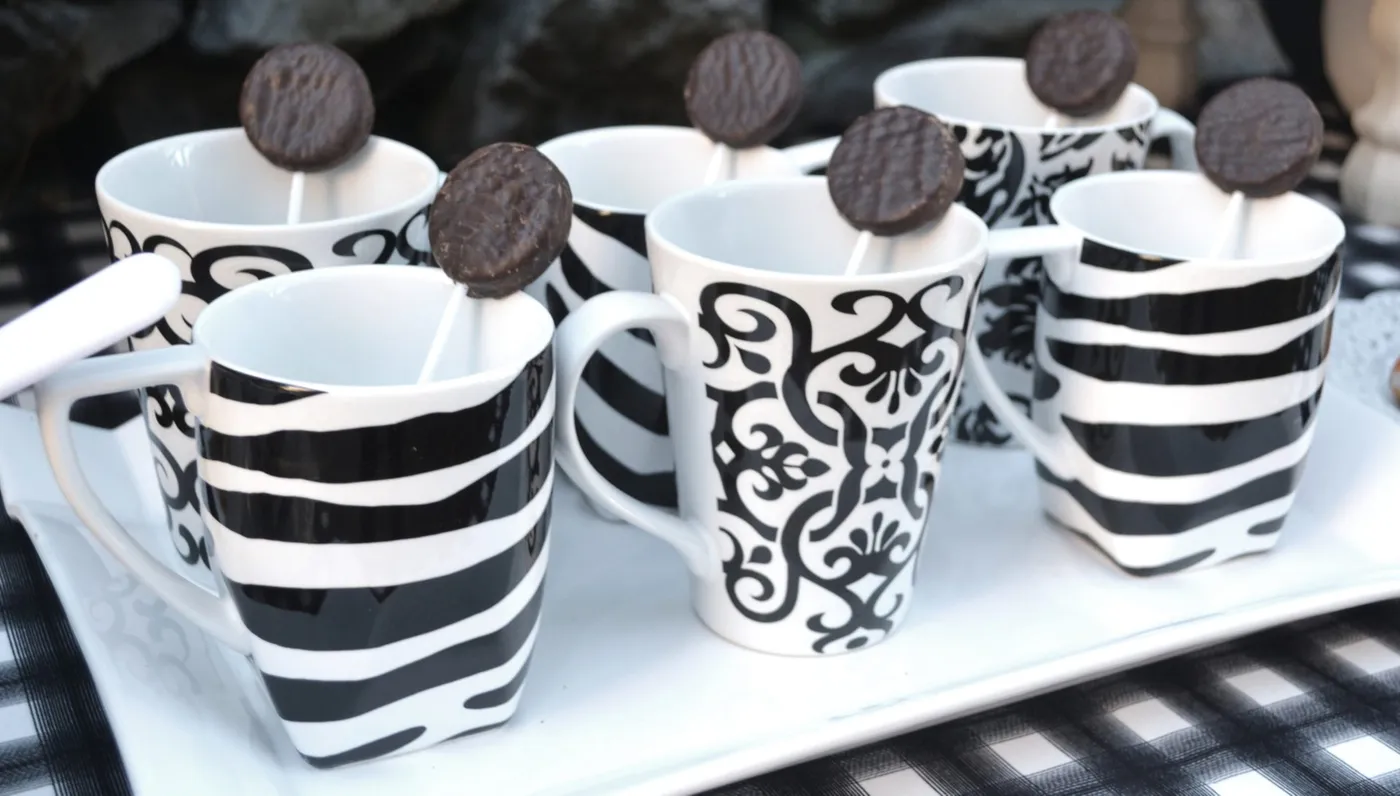
The chocolate disc on a white stick, standing upright in each mug, is what turns a mug collection into a cocoa bar. It’s a stirrer and a serving of chocolate in one, it won’t melt until the cocoa hits it, and it means nobody has to open a bag of chips with wet hands.
9. Blue Foil Chocolates and Toasted Coconut Ramekins
Glass ramekins run four for $5 at Dollar Tree, and Walmart’s store-brand mini marshmallows and chocolate chips are indistinguishable once they’re in a bowl. The blue foil chocolates are the one splurge worth keeping — they add the color that makes the rest of the spread feel intentional. You can build this whole arrangement for about $35.
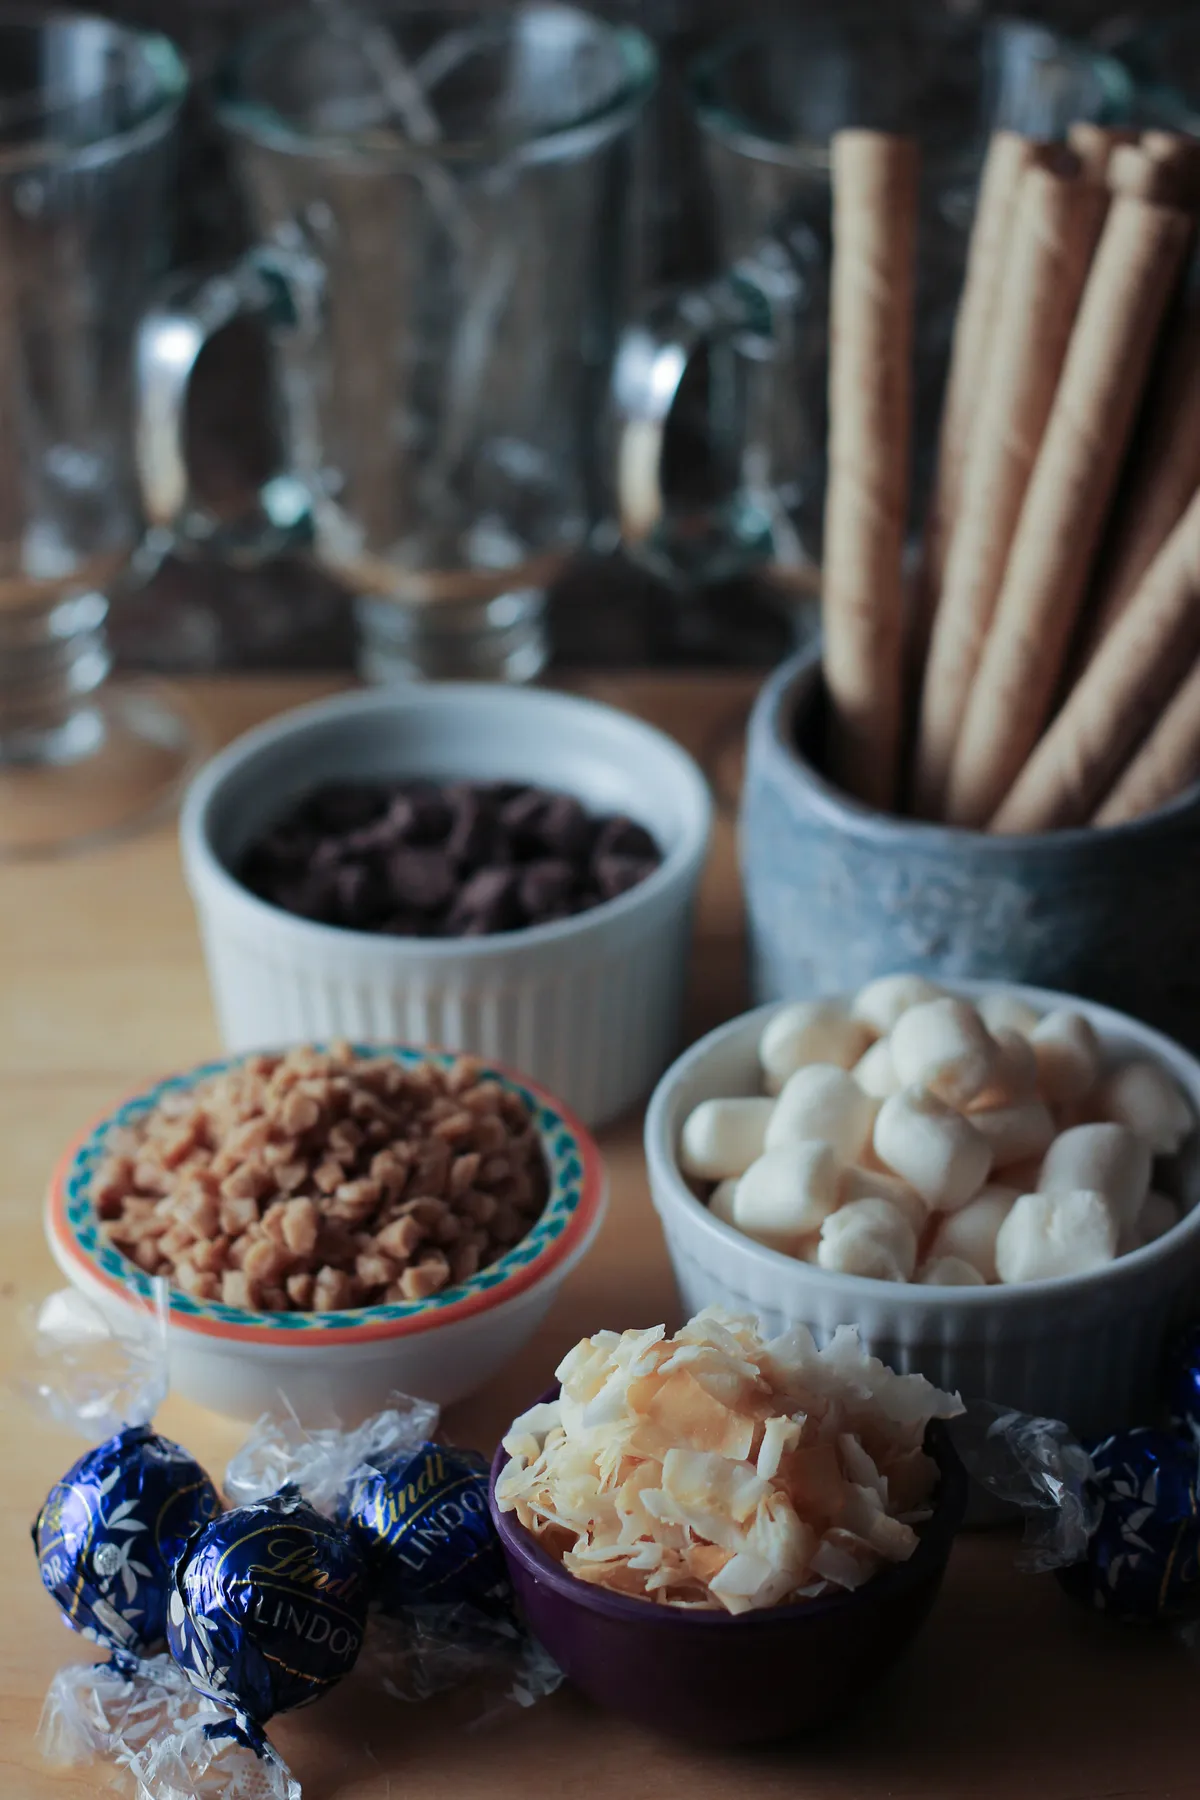
The blue is the reason this works. Warm wood, white bowls, brown chocolate — that’s a safe palette that would disappear into the background. Two blue accents, the foil chocolates and the textured ceramic holder, give the eye somewhere to land and make the toasted coconut flakes look deliberate instead of leftover. Setting up for two instead of ten? See Idea #22.
10. Damask, Zebra, and Gingham on One Tray
The black-and-white gingham tablecloth is the element doing the heavy lifting. Damask and zebra on their own are loud; against a small-scale check they suddenly read as a collection instead of a costume. Pull the cloth and you’ve got three novelty mugs on a plain table, which is a different, lesser thing.
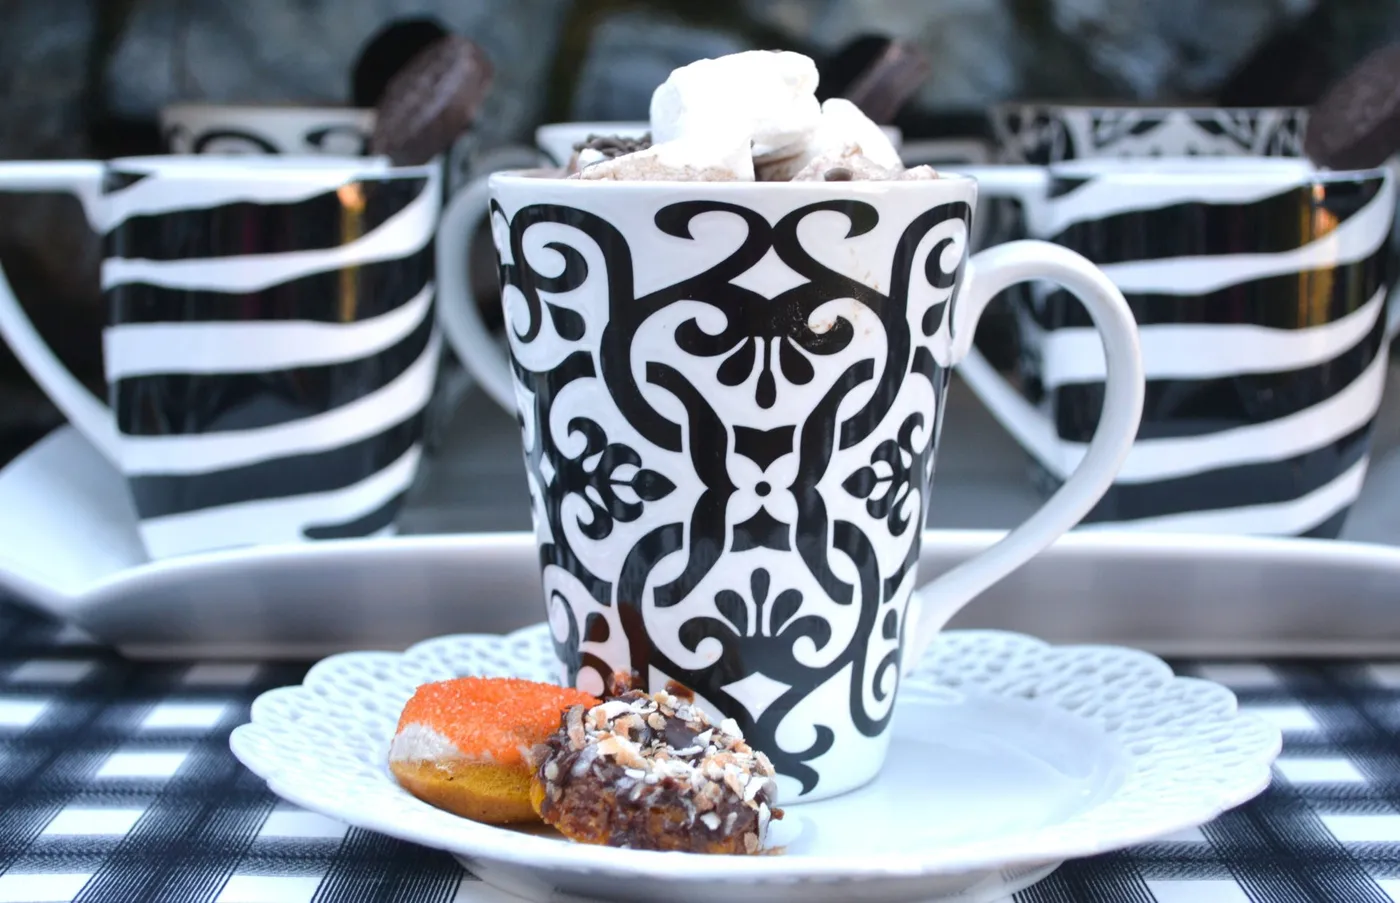
Three patterns in one vignette is a tightrope. The rule that saves it: one pattern small (the gingham), one medium (the zebra), one large and ornate (the damask) — and every color held to black, white, and chocolate brown. Also, those mini donuts are adorable for about two hours. Buy them the morning of, not the night before.
11. The Chalkboard Coffee Bar Console
- Measure the wall — a chalkboard panel under 36 inches wide starts to look like a mistake.
- Confirm an outlet within 3 feet for the single-serve machine.
- Mark the floating shelves 18 inches above the console so a mug still clears the first one.
- Let chalkboard paint cure a full 3 days before writing anything on it.
- Budget at least $60 for the board area if you’re painting it yourself.
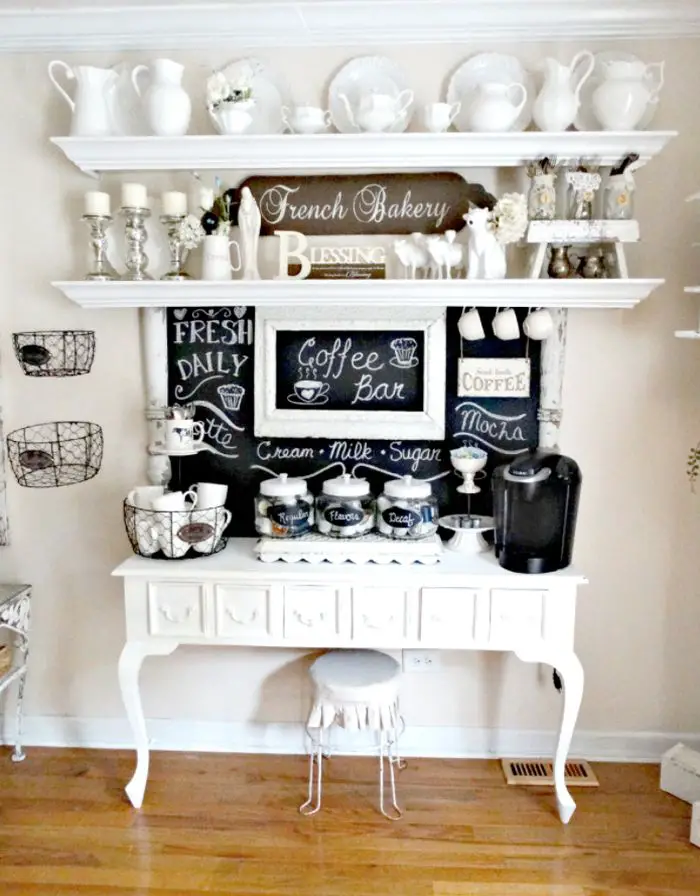
Season a new chalkboard before you write on it — rub the side of a piece of chalk across the entire surface, wipe it off, repeat. Skip that and your first drawing ghosts on the board forever. Use a chalk marker for crisp lettering, but never a permanent marker; it does not come off, and you will find that out the hard way.
12. Footed Glass Mugs with a Chocolate Sphere
- Footed glass mugs, set of 4: $24–$50
- Chocolate spheres or hollow truffle shells: $12–$28
- Wafer roll cookies: $4–$8
- Whipped cream, nuts, coconut flakes: $10–$18
- Light wood serving surface: $20–$45
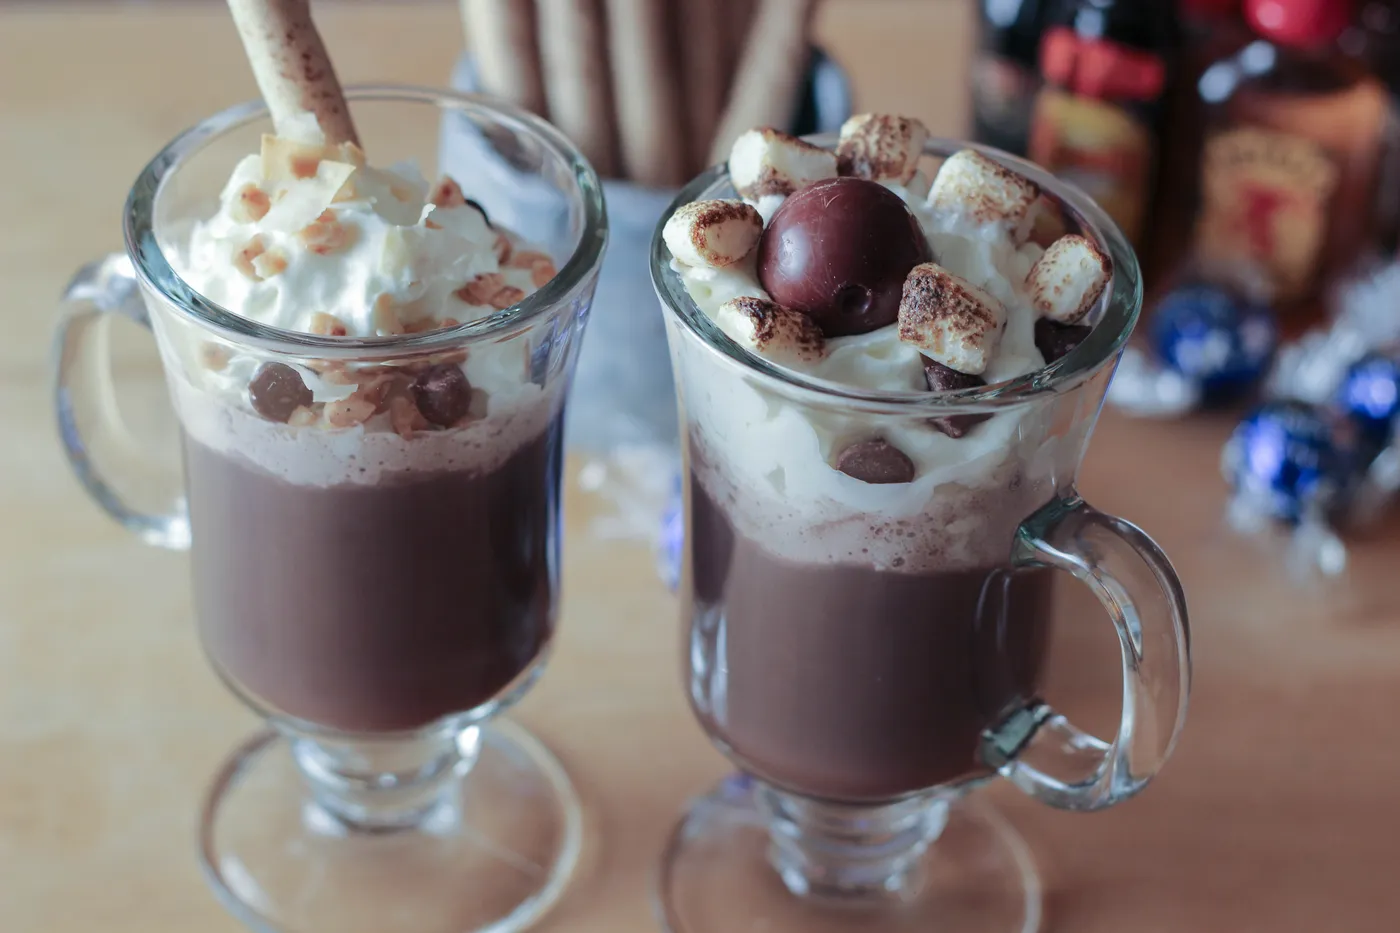
Total: roughly $70–$149. Budget alternative: a bar of good dark chocolate broken into squares instead of spheres, and thrifted mugs at $2 each — about $30 all in.
- Warm the mug and pour cocoa that’s at least 160°F.
- Set the chocolate sphere on top and let it sit 30 seconds before anyone touches it.
- Put coconut and nuts on one side, marshmallows on the other — two garnishes per mug, max.
- Tuck the wafer roll in at an angle so it stays above the cream line.
Five minutes of work and about $3 per mug.
13. Teal Mugs Against Red Berry Branches
Teal is the surprise here. Three matching teal mugs against a red berry branch shouldn’t work — cool blue-green next to warm red is a classic clash — but the dark table and the wooden board in between keep them from vibrating. Without the teal you’d have another brown-and-red cocoa bar, and you’d scroll right past it.
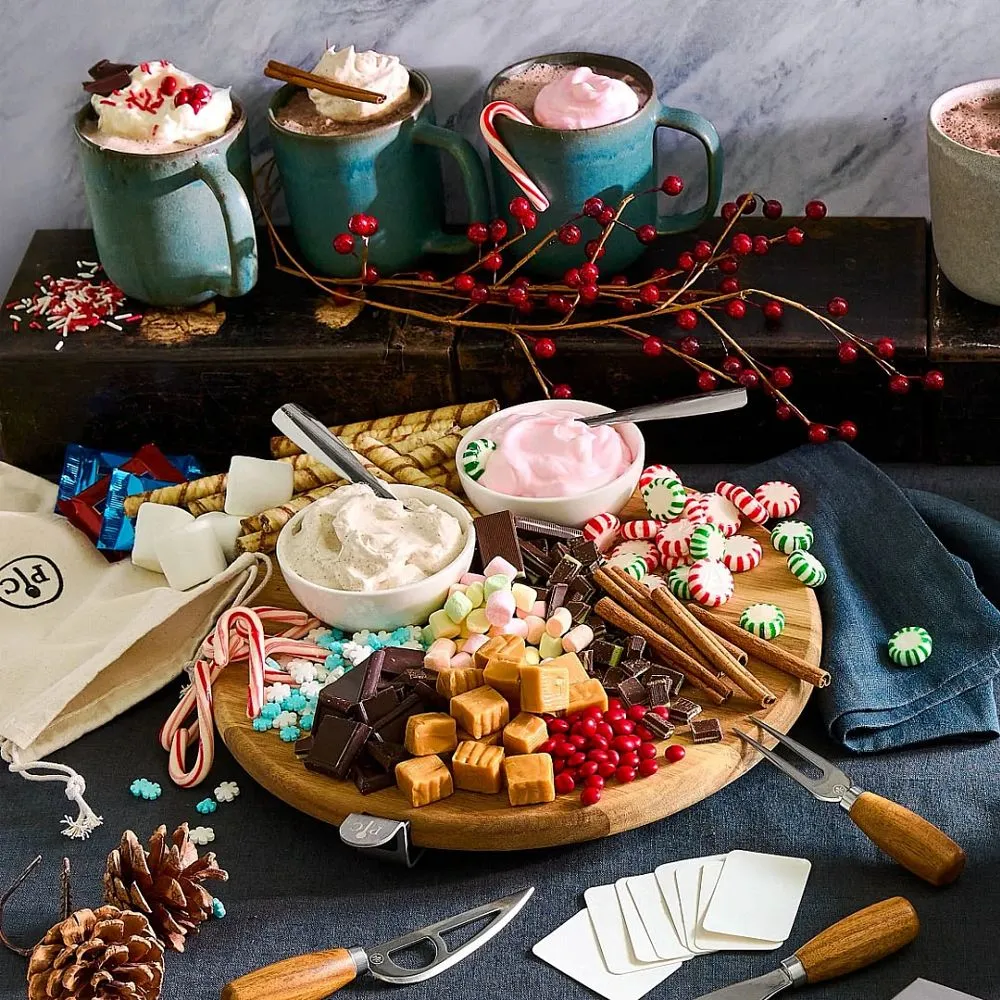
A 16-inch round board holds three 12-ounce mugs and four small topping bowls; go to 20 inches if you’re adding a fourth mug. This works on a 36-inch round table for four and looks better on a 48-inch rectangular one where the board can breathe. Small kitchens: skip the board entirely and let the mugs be the anchor.
14. A Golden Mug Dessert Tray for Two
Gold mugs turn up at Hobby Lobby and Target for $8–$12 each in the fall, and the silver tray is a thrift-store find — check the platter section, usually $6–$15. The pink textured bowl can be any small bowl you already own. Facebook Marketplace is where a matched mug-and-tray set shows up for $20 if you’re patient.
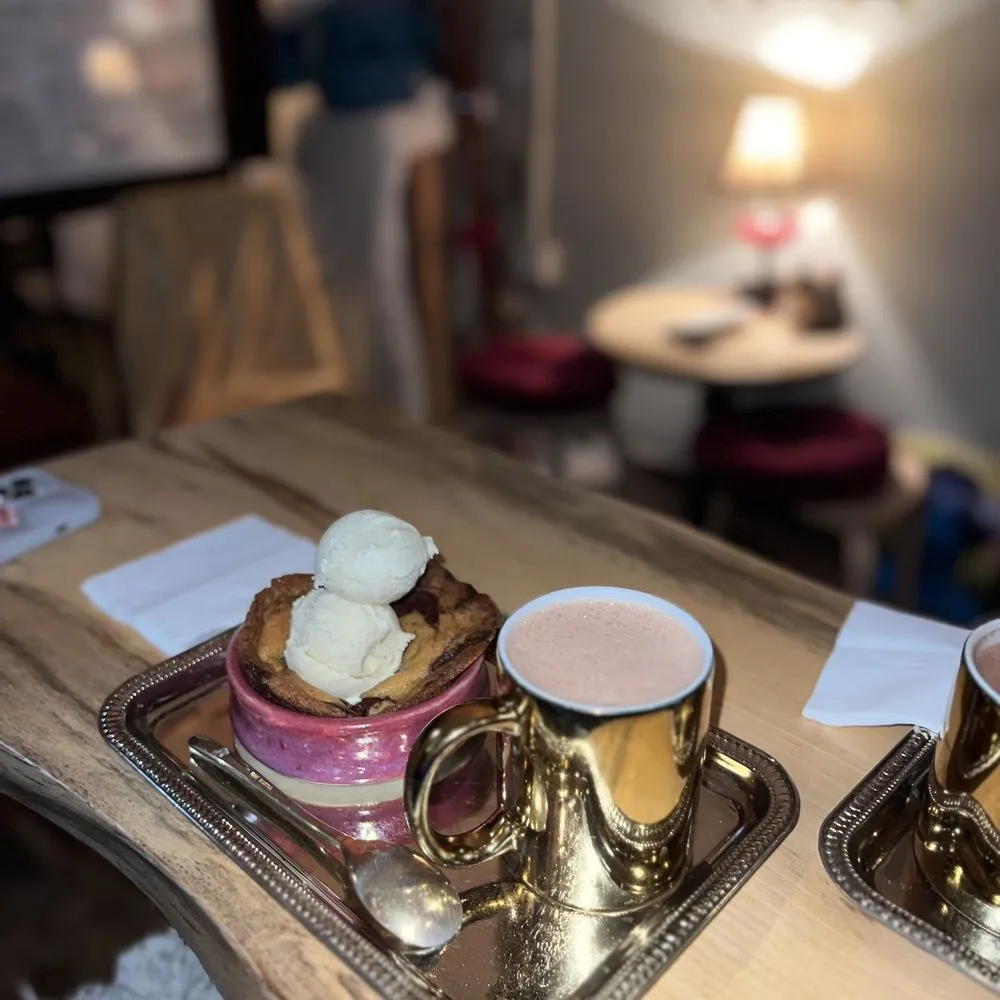
The formula is 60% warm neutrals (wood table, cream dessert), 25% metallic (gold mugs, silver tray), 15% pink. Metallic is the wildcard — a little makes a table look set for company, too much makes it look like a wedding. Swap the gold for matte black and the same setup reads modern instead of vintage.
15. Brownie-Crumble Cocoa with a Syrup Drip
Brownie crumble looks great and behaves badly. It sinks, it goes soggy, and it will absolutely mark your table if syrup drips over the rim. Put the crumble on the whipped cream only, keep the syrup inside the mug, and set both mugs on saucers. Making these for kids? Cut the crumble in half — they’ll eat the marshmallows and leave the rest.
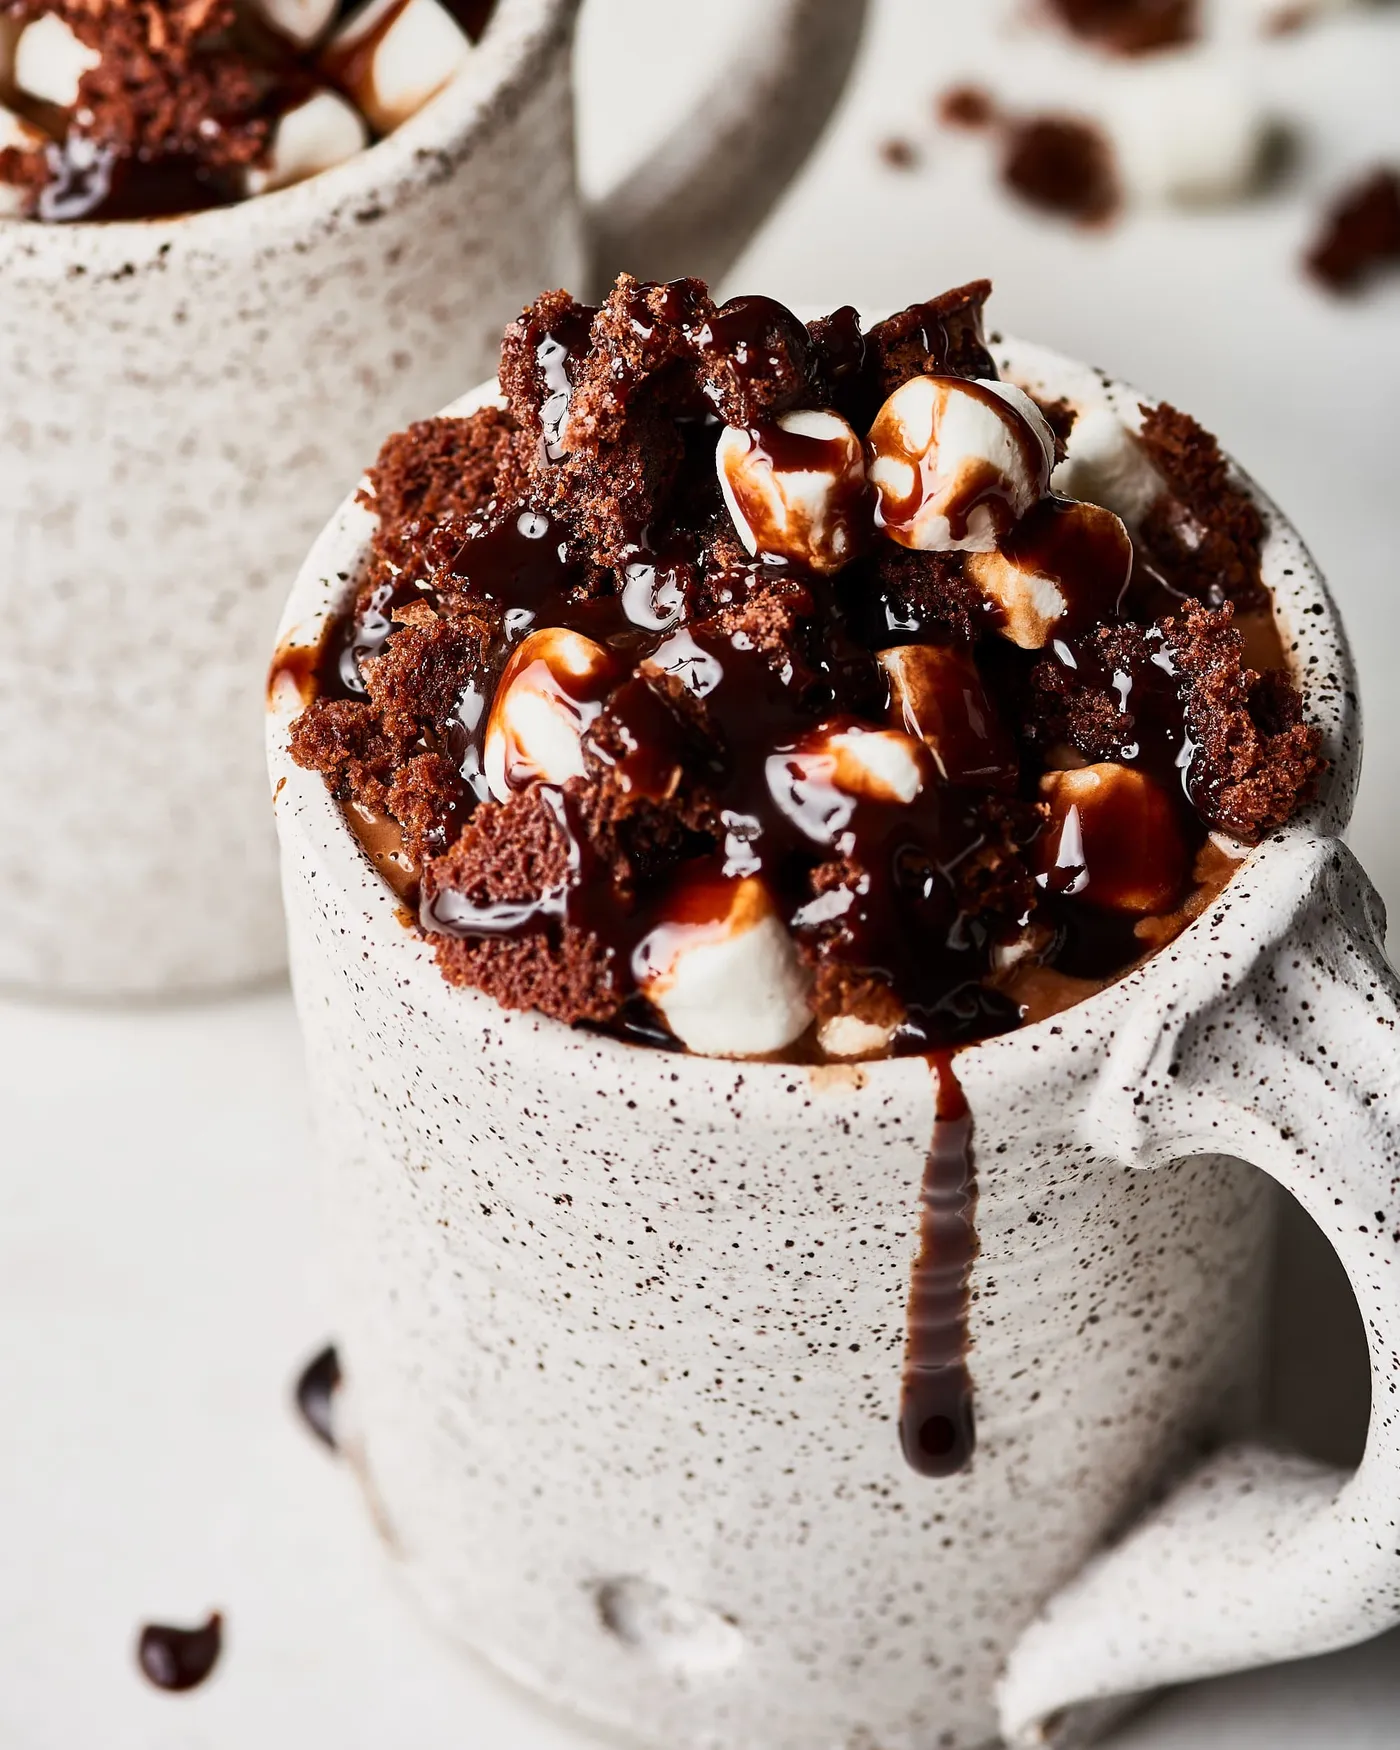
Speckled ceramic was the right call for a drink this dark. A solid white mug would glare and a dark mug would swallow the cocoa; the speckled beige sits between them and makes the syrup look glossy instead of greasy. Texture hierarchy matters too — crumble, then soft marshmallow, then syrup gives you three distinct textures in one sip.
16. The Dark Console Bar with a Light Wood Sign
A console between 48 and 60 inches wide and 15–18 inches deep holds jars, mugs, and a tiered tray without crowding. In a hallway, leave 36 inches of walking clearance — measure that before you buy anything. Nine-foot ceilings are ideal for hanging the sign; at 8 feet, drop it 4 inches lower or it fights the ceiling line.
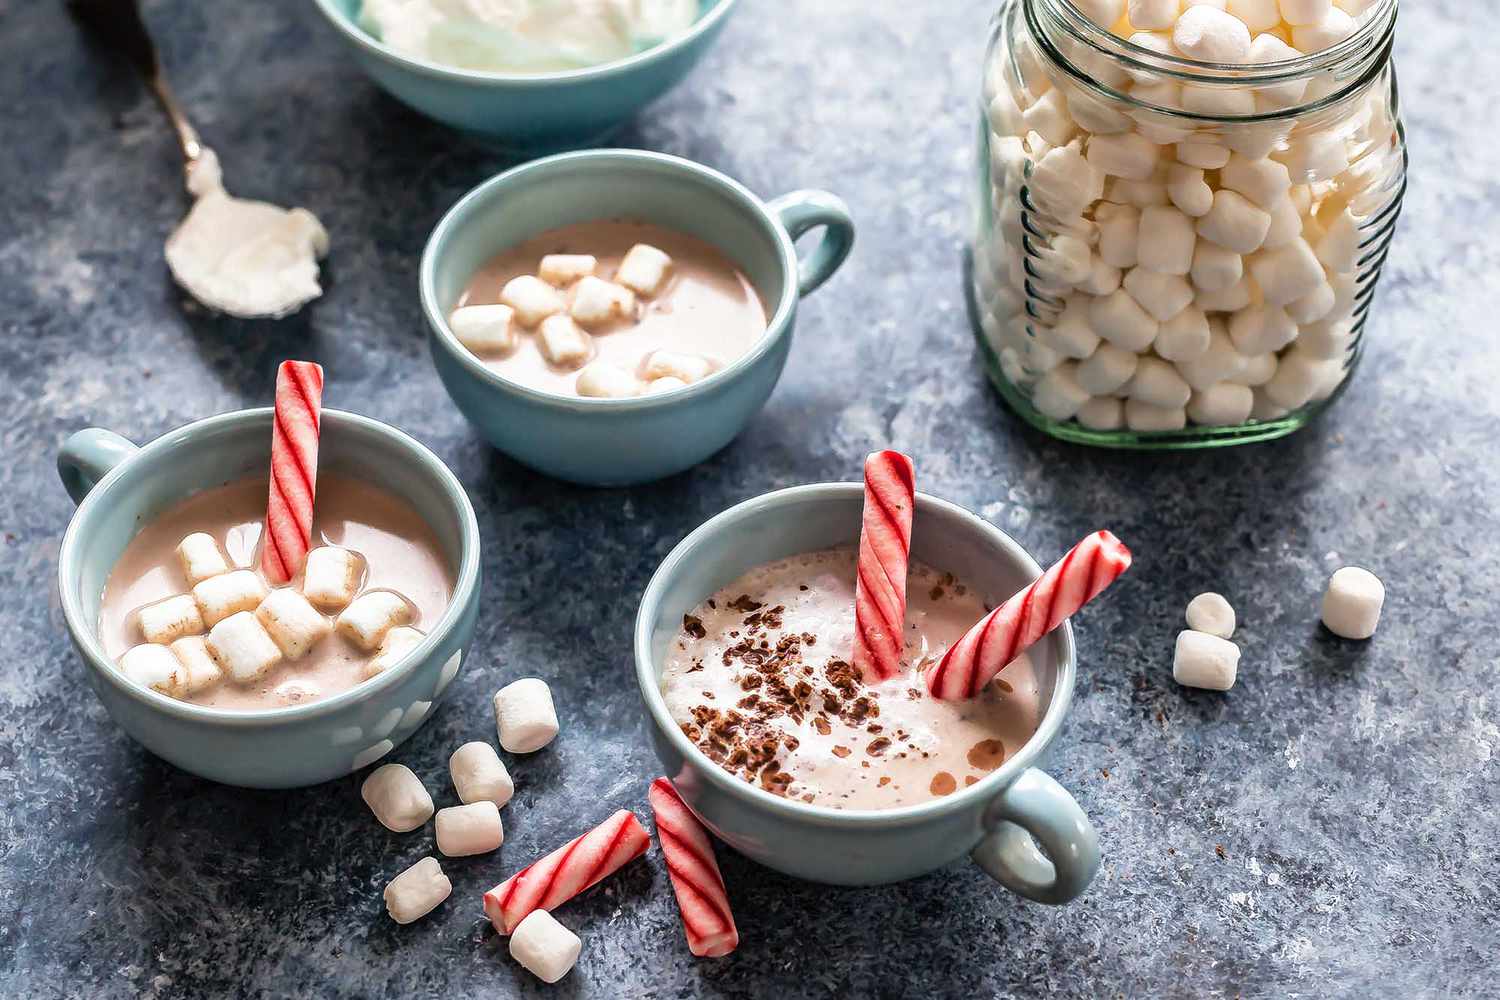
Hang the sign at 60–66 inches from the floor — centered on the eye, not on the wall. Attach the string lights with clear mini clips instead of nails so you can move them next year without patching drywall. Anchor the two heaviest objects, the jars and the tiered tray, at opposite ends of the console; it keeps the whole arrangement from drifting in one direction.
17. A Full Gingerbread Serving Set, Tray and All
The lidded pot shaped like a Christmas tree, topped with a star knob, is the piece that makes this set feel like something you inherit. A tray and a mug alone are nice; a covered pot means the cocoa stays hot on the counter while people serve themselves, which is the actual job. Take it away and the charm is still there but the function isn’t.
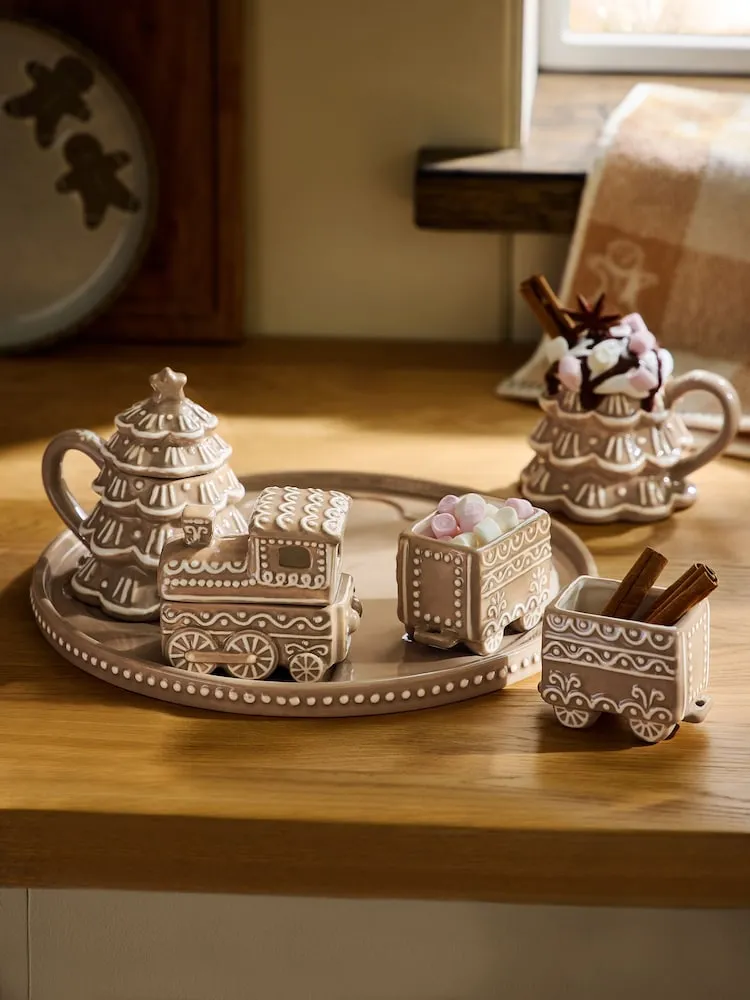
- Center the lidded pot — it’s the tallest piece and everything reads off it.
- Set the tree mug at 4 o’clock with the handle facing whoever’s pouring.
- Nest the mini train containers into the leftover space at the front edge.
- Scatter cinnamon sticks and star anise beside the pot, not on top of it.
- Leave one clear inch at the tray’s rim so the arrangement doesn’t look stuffed.
Fifteen minutes to set up.
18. Shiplap, Red Plaid, and Star Lights
Red plaid throws and shiplap both want attention. Plaid gets washed monthly or it starts to smell like last Christmas — cold wash, hang dry, and blot cocoa immediately with cool water, since hot water sets the stain. Shiplap paint scuffs, so keep a small jar of touch-up paint in the same sheen. Budget about $15 a year for both.
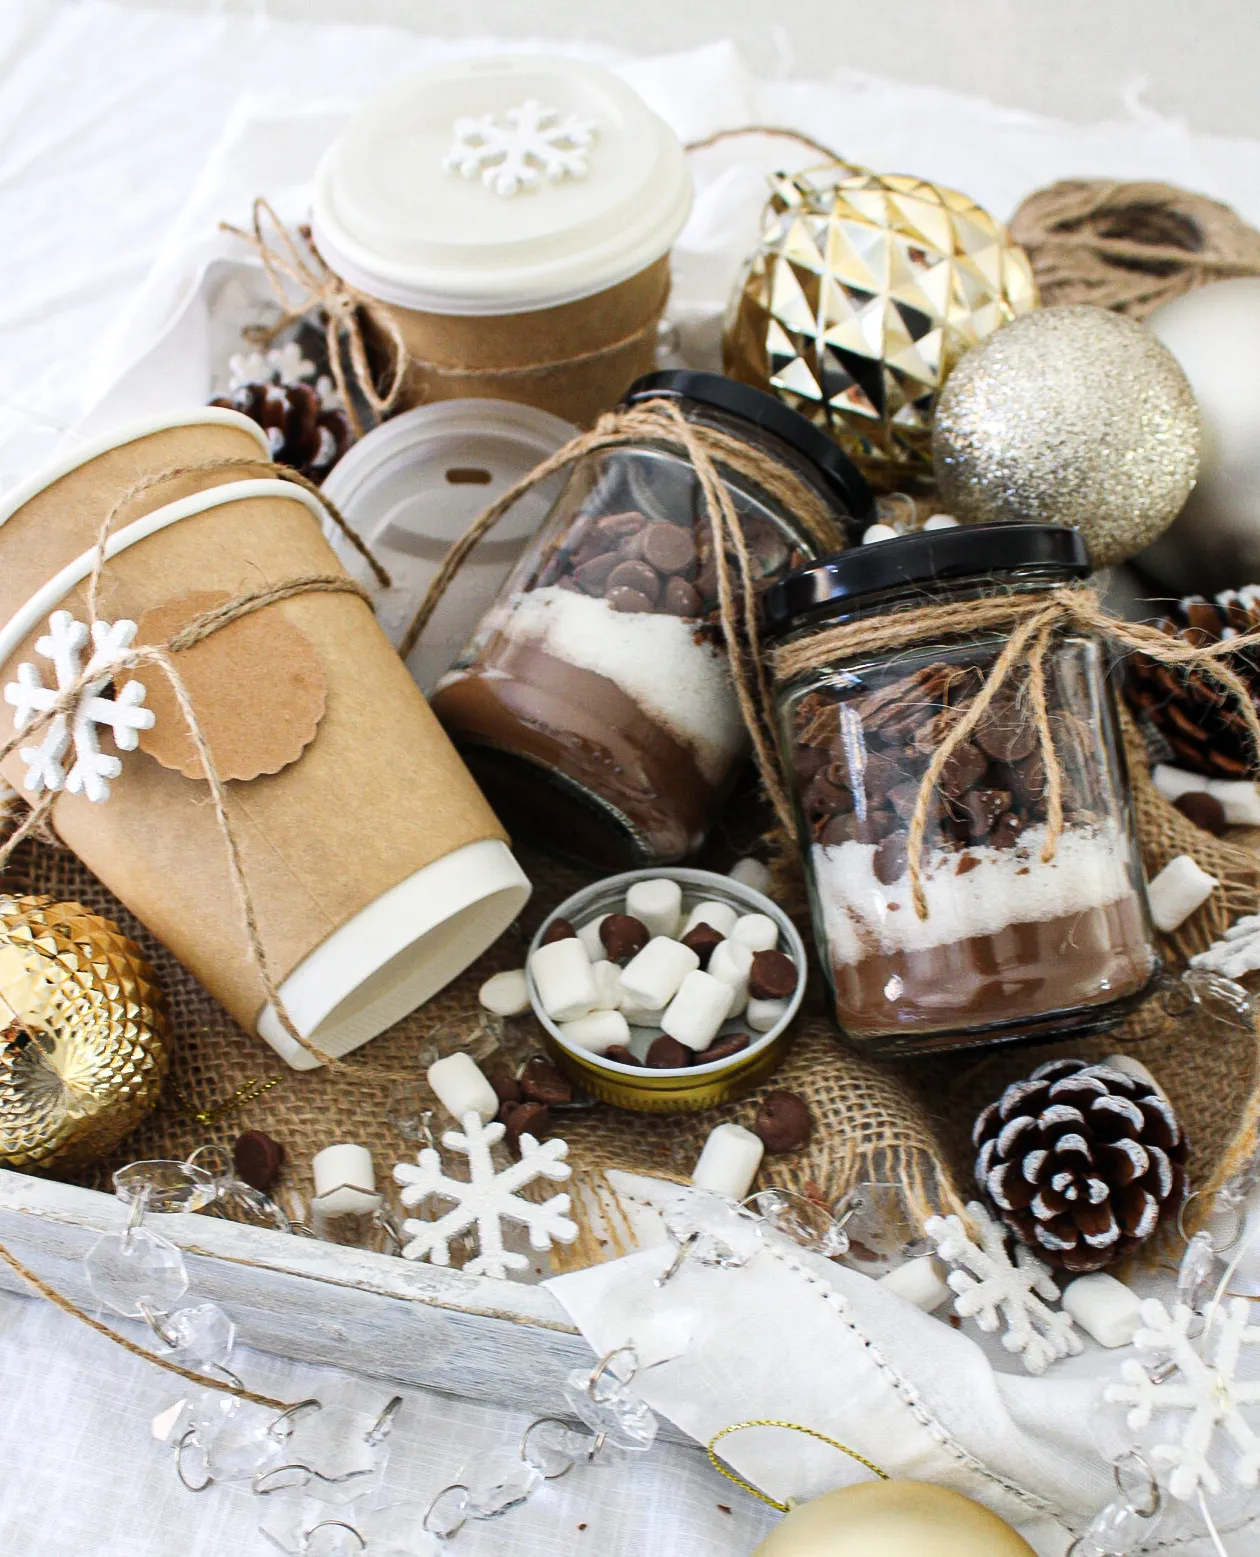
The ratio is roughly 50% white shiplap, 30% dark wood, 15% red, 5% warm light. Red is a seasoning, not a base — once it starts crowding 25%, the wall stops looking wintry and starts looking like a flag. Swap the red plaid for oatmeal and you can keep this setup up through February without anyone blinking.
19. The Window Seat Overlook with a Mug on the Sill
The snowy-window nook is having a real moment — searches for built-in window seats and reading nooks spike every November, and the reason is simple. It’s the one spot in the house that makes bad weather feel like an invitation. People aren’t decorating entire rooms anymore; they’re claiming one window and going deep on it.

A built-in window seat wants to be 18–20 inches high and 20–24 inches deep — deep enough to curl up, shallow enough that you don’t disappear. You need at least a 36-inch-wide window for the nook to feel intentional. Smaller window? Put a bench under it instead; see Idea #16 for a console-based version that works on a blank wall.
20. Red Bowls on a Woven Rattan Tray
A rattan tray runs $25–$40 at HomeGoods, and the glass jars with wooden lids are an IKEA staple at about $4 each. The red ceramic bowls turn up in Target’s dollar section in December, and the white ceramic cake stand is worth checking thrift stores first — they get donated constantly. Whole setup for under $80.
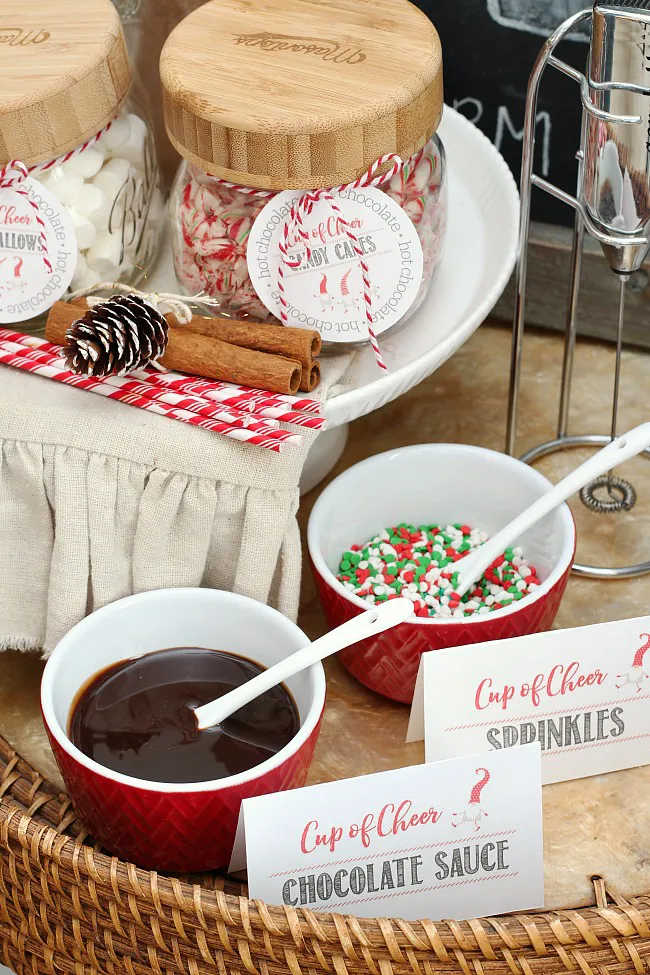
Chocolate sauce seizes the second it hits a cold bowl. Warm the jar in a bowl of warm tap water for five minutes before you decant it, and keep the serving bowl small — three ounces, not eight. Also, put sprinkles in a bowl with a spoon instead of a shaker; shakers clog with cocoa dust and frustrate everyone within a minute.
21. Copper Mugs and an Apothecary Jar of Cookies
- Large glass apothecary jar: $18–$40
- Two hammered copper mugs: $20–$45
- Smaller jar and peppermint sticks: $8–$18
- Faux evergreen sprig and pinecone: $6–$15
- Gold-framed mirror, if you’re adding one: $40–$150
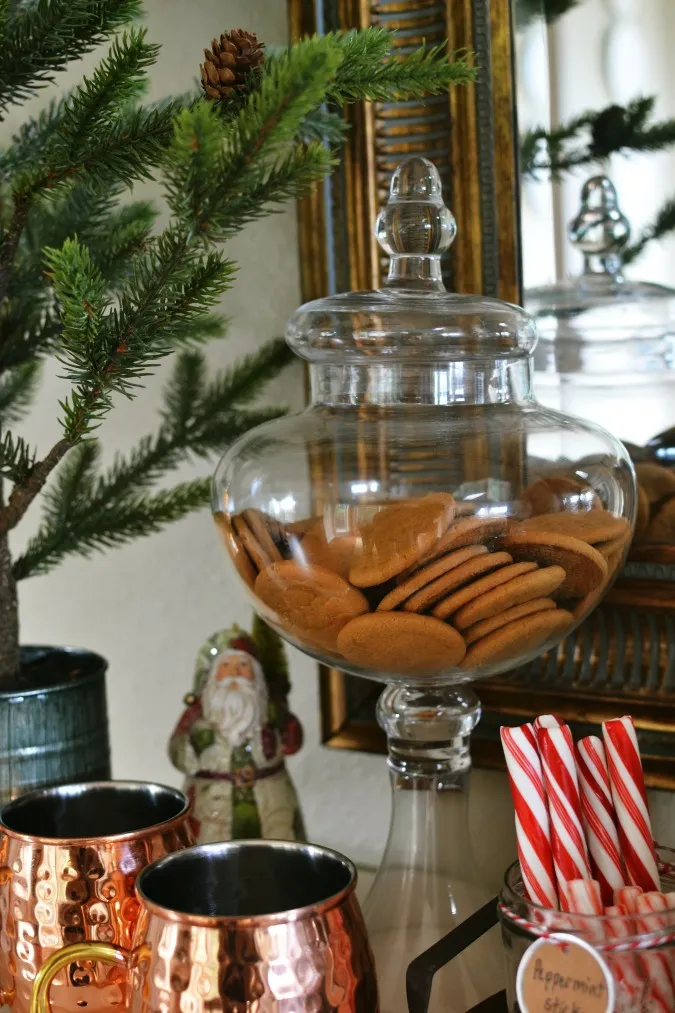
Total without the mirror: about $52–$118. Budget alternative: a plain glass jar from the grocery aisle and two copper-colored mugs from Walmart get you most of the look for around $25.
The apothecary jar full of cookies is the star. It’s tall, it’s clear, and it does what no platter can: it stacks volume vertically in a spot where you have no height to spare. Copper mugs next to glass and cookies make a nice texture counterpoint, but take the jar away and the whole display drops to counter height.
22. Coconut and Nut Two Ways in Clear Glass
Two mugs, two entirely different garnish sets, no toppings bar. One gets toasted marshmallows and chocolate chips — soft, sweet, familiar. The other gets coconut, nuts, and a wafer roll — crunchy, salty, a little more grown-up. It’s the same principle as a restaurant serving two versions of one dish: choice without decision fatigue.
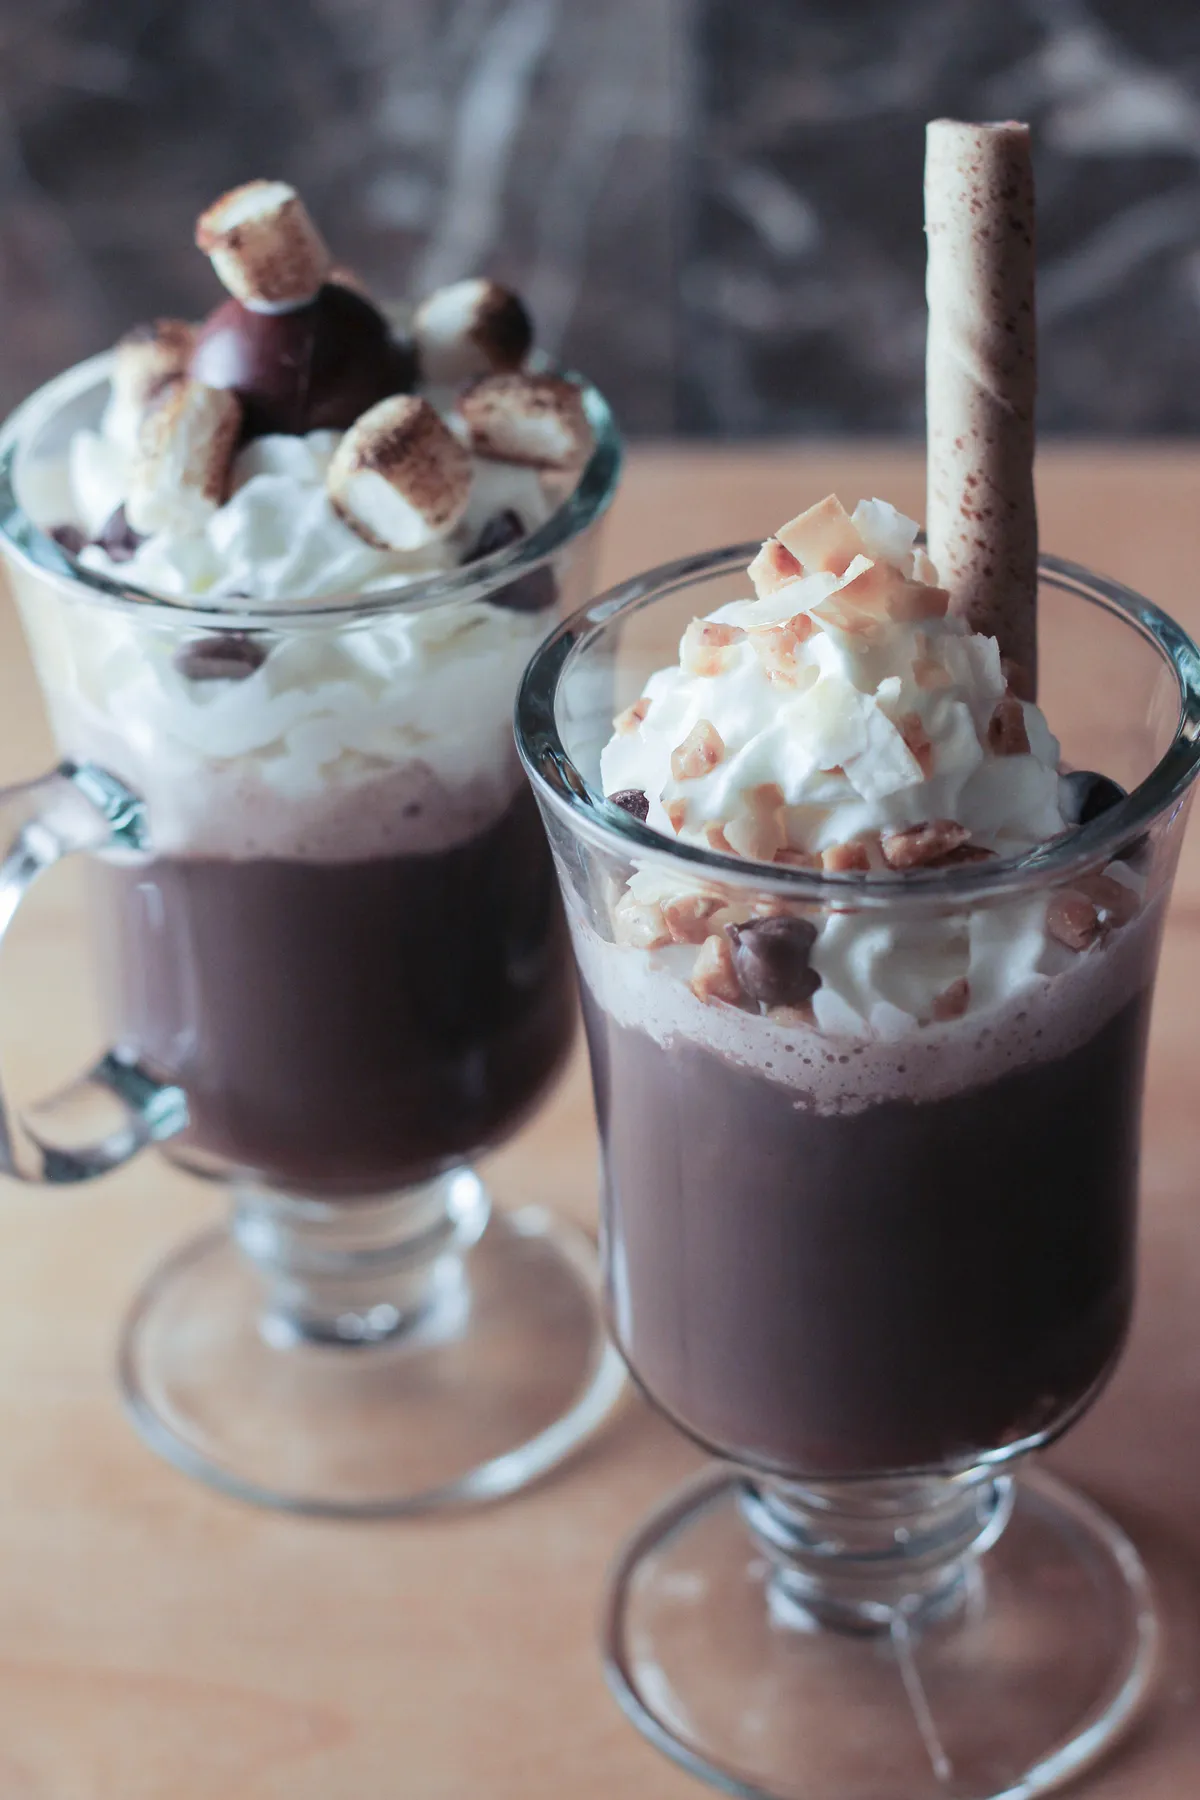
Clear glass mugs are $3–$6 each at Walmart and IKEA. Store-brand shredded coconut and chopped nuts cost a third of the name brands and taste identical once they’re sitting on whipped cream. Skip the expensive chocolate sphere and drop in a square of good dark chocolate at the end — same effect, $2 instead of $8.
23. The Minimalist Shelf Cocoa Station
Two open shelves spaced 12–14 inches apart handle standard mugs and pint jars; go to 16 inches if a beverage machine sits on the counter below. You want at least 30 inches of counter width for the machine plus a mug, and the bottom shelf should sit a minimum of 18 inches above the counter so nothing feels jammed. This is the vertical cousin of the countertop setup in Idea #5.
White subway tile grout is the maintenance bill on this look. Seal it once a year, wipe splashes weekly, and keep a grout pen in the drawer for the line above the cocoa machine — that’s the one that goes brown first. Open wood shelves need a wipe-down every two weeks and a re-oil once a year, about $12 for a can of butcher-block oil.
Center the heaviest jar on the top shelf and build outward in descending height; tall items at the ends make a shelf look unstable even when it isn’t. Leave the bottom shelf’s middle third empty so it can actually be used. And run the machine’s cord behind the backsplash or through a cord channel — a black cord across white tile undoes an otherwise clean setup.
24. Churros, Candles, and Greenery for Cocoa Night
Candles and greenery are lovely right up until a paper cup of churros catches a sleeve. Keep open flames at least 12 inches from anything paper or fabric, and blow them out once people start moving around the table. Churros in plastic cups also go soft in about 30 minutes — that’s your serving window, not an hour, no matter how good the plate looks.
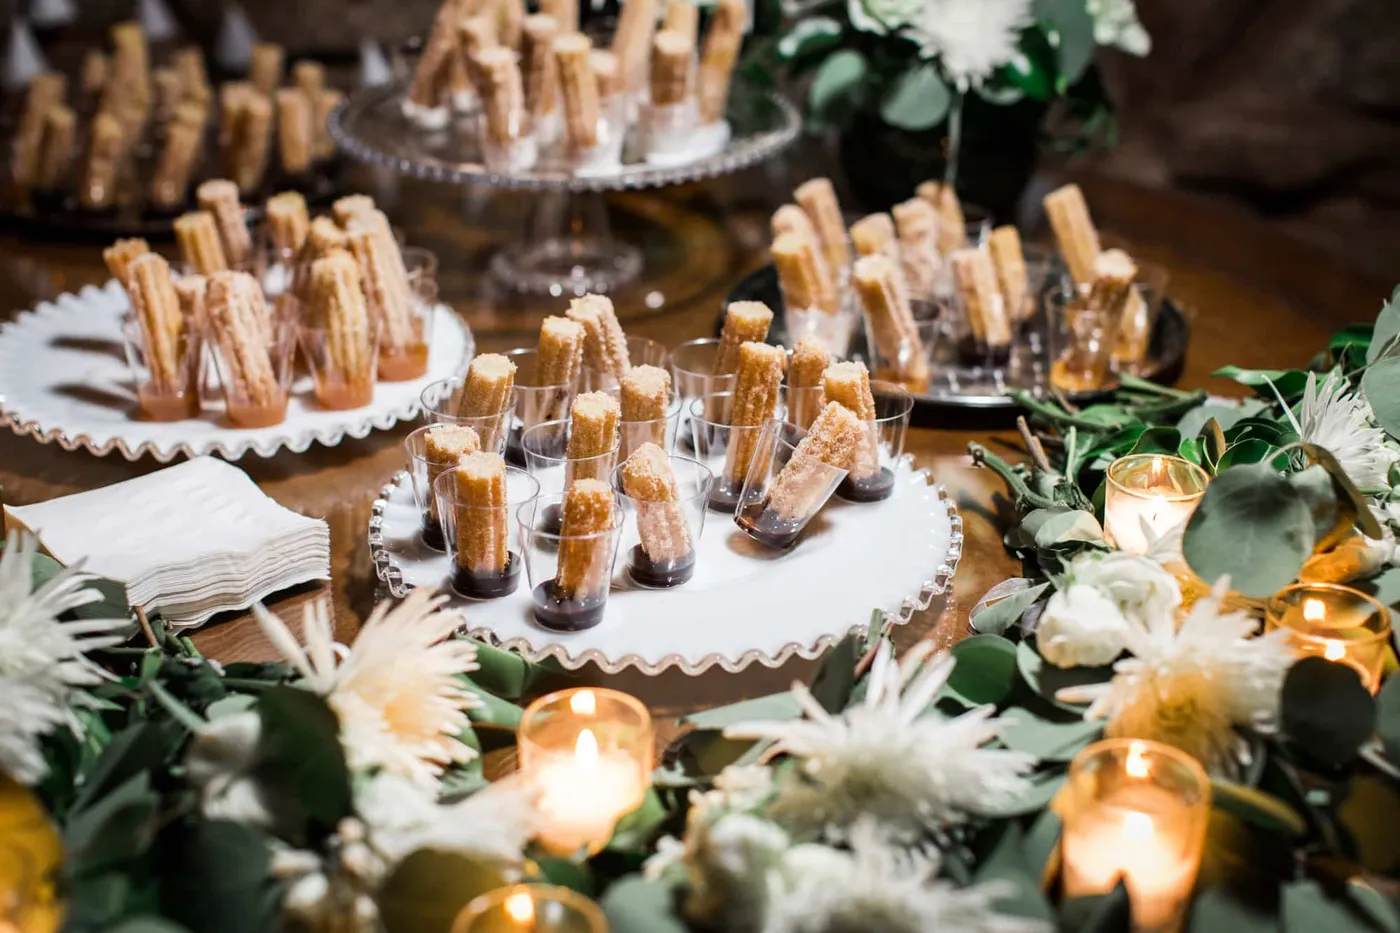
- Stand the cups upright in a tray so they can’t tip.
- Line each cup with a paper napkin to catch oil.
- Fill only halfway and don’t add sauce until serving.
- Keep dipping sauce in separate small cups on the scalloped plate.
- Refresh from a 200°F oven instead of leaving every cup out at once.
Ten minutes of prep.
25. Labeled Apothecary Jars and Pine Branches
- 4 glass apothecary jars: $24–$56
- Chalk labels or sticker labels: $6–$14
- 4 Christmas-themed mugs: $20–$48
- Battery string lights: $8–$16
- Faux pine branches and candy canes: $10–$22
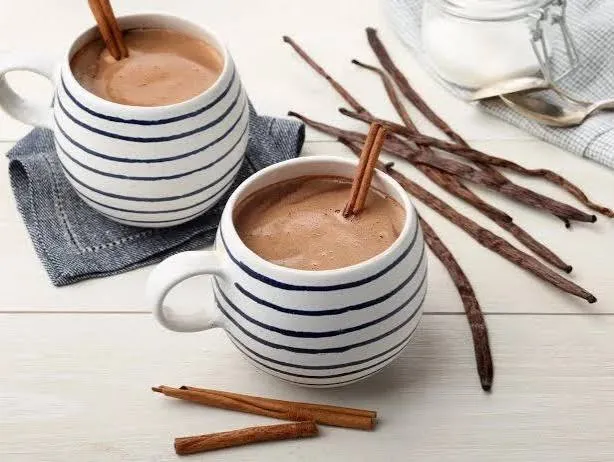
Total: roughly $68–$156. Budget alternative: repurpose mason jars you already own and hand-letter labels on card stock — you’ll spend about $25 on the rest and nobody will know.
Buy jars with a 4-inch mouth. Anything narrower and a measuring cup won’t fit, so people end up scooping with the mug they’re about to drink from — which is how cocoa powder ends up all over your counter. Label with the topping name only, no cute sayings, so a guest can read every jar from three feet away.
26. Beige Gingerbread Ceramics Up Close
The finish is the point: a soft beige-brown ceramic with raised white icing dotted across it, so the decoration reads through shadow instead of contrast. Most gingerbread ceramics are brown with painted white lines. These are dimensional, which is why they look expensive in a close-up and why they still look good sitting on a shelf in January.
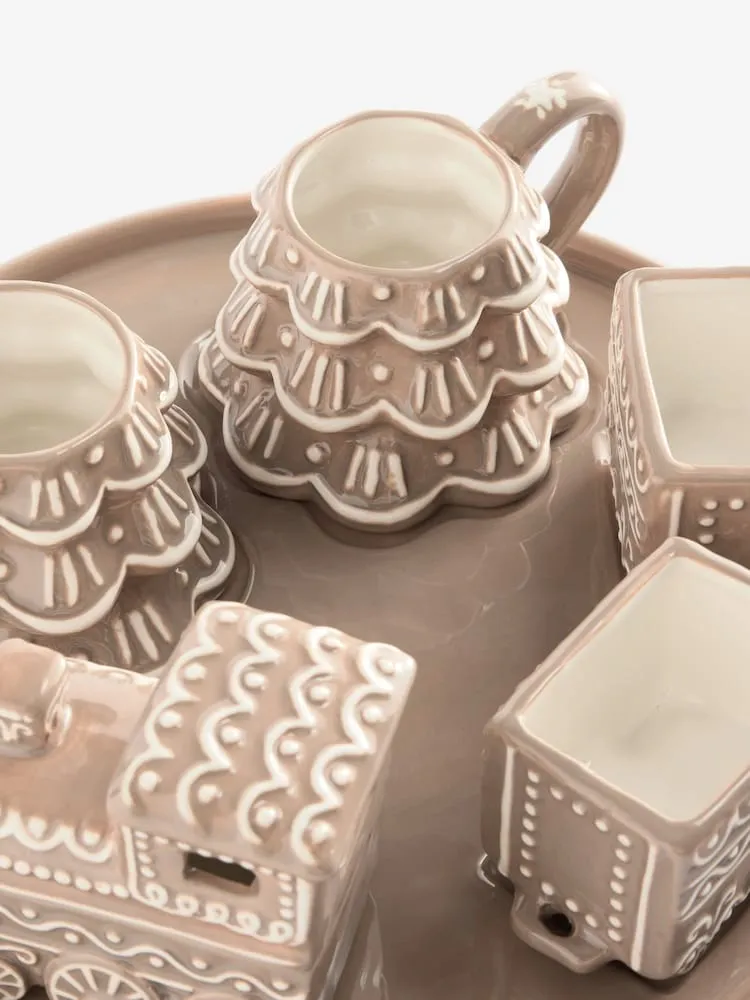
- Count how many pieces you’ll actually use — a five-piece set where you pour from two is storage, not decor.
- Check dishwasher safety; hand-washing a whole set gets old by week three.
- Measure your cabinet or shelf clearance before buying a tall lidded pot.
- Confirm the mugs hold at least 10 ounces or they’ll feel like espresso cups.
27. The White Ceramic Dispenser Station
Run hot water through a ceramic dispenser before the first pour — cold ceramic pulls 10–15 degrees out of cocoa instantly. Keep the cocoa above 140°F, which a slow cooker on warm does without scorching, and loosen the spigot nut a quarter turn if it drips. A caramel-colored drip trail down a white counter is the fastest way to make a clean setup look careless.
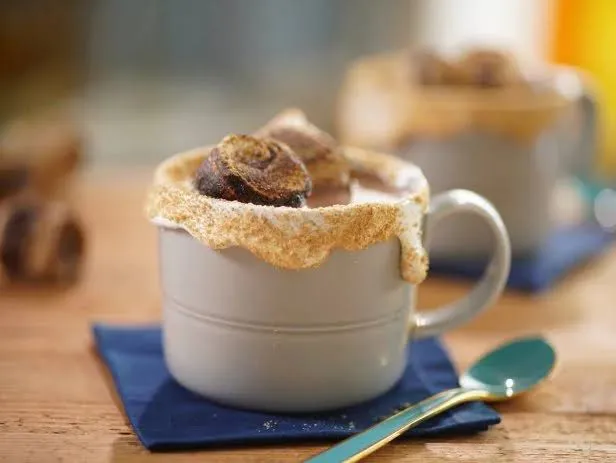
Everything on the counter and shelves is white or light wood, so the setup reads as one object instead of five. The white ceramic dispenser is the focal point — the tallest thing, and the only item with an actual job. Symmetric shelf styling on either side of it does the rest of the work, and the eye never has to hunt for a center.
28. Sea Salt Caramel and Pirouette Sticks
Read the toppings as a palette: about 60% browns (caramel, chocolate cookies, cocoa), 25% white (whipped cream, marshmallows), and 15% red and green accents (sprinkles, candy canes). That’s the same formula as a good holiday table. Swap the caramel for raspberry sauce and you should drop the green entirely, or the two will fight for attention.
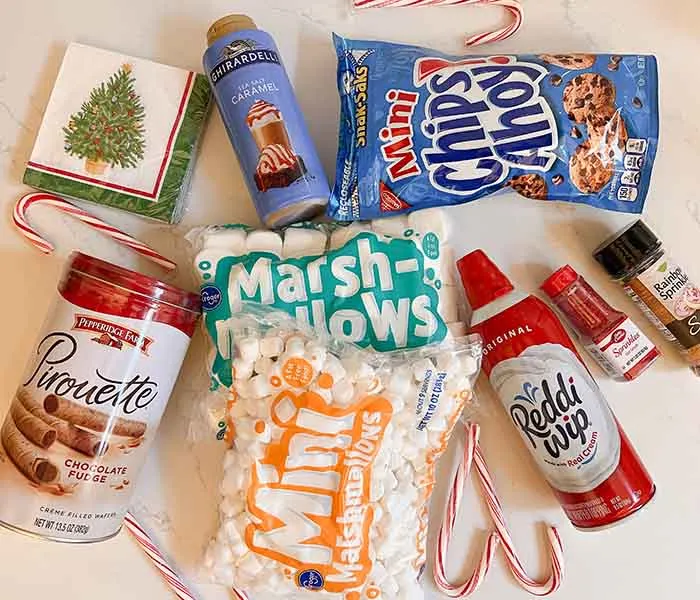
Sprinkles and mini cookies are a Dollar Tree win at $1.25 a bag, and nobody at a cocoa bar is checking labels. Walmart’s store-brand marshmallows and caramel sauce cost about half the name brands and disappear into the same drink. Buy wafer cookies in the multipack and skip the individually wrapped ones — you’ll pay 30% less for the identical thing.
29. A Black-Rimmed Tray on a Red Textured Placemat
- Lay the red placemat down first — it’s your boundary.
- Center the black-rimmed tray on it, leaving an even border all around.
- Put the tallest jar in the back third so nothing blocks the bowls.
- Arrange bowls in front, jars behind, napkins off to the right.
- Fan the Christmas tree napkins against the tray’s edge, never on top of the toppings.
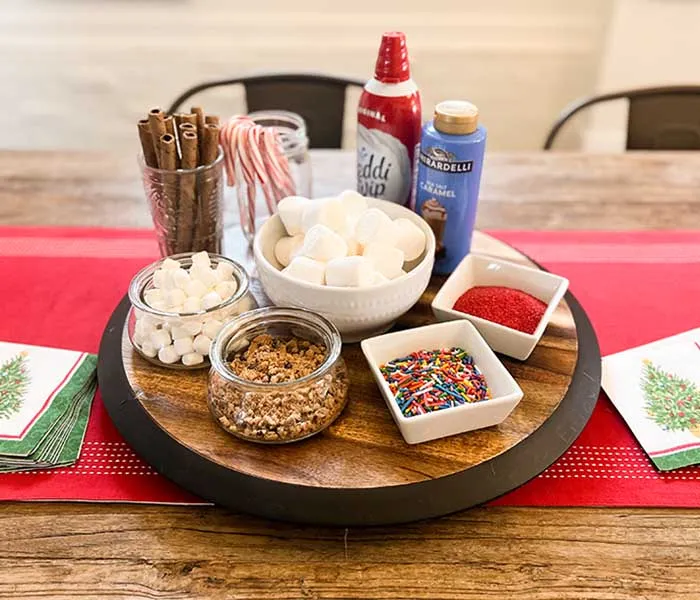
Fifteen minutes.
A 14-inch round tray holds four bowls and two jars. If your table is 36 inches round, that’s the ceiling — anything bigger and you lose your dinner plates. On a 48-inch table, go to 18 inches. This is the setup to pick when you’re feeding four, not fourteen; for a crowd, see Idea #3.
Red placemat plus red candy canes plus red bowls can tip into candy-cane overload fast. Keep red to one layer — the placemat — and let everything on the tray stay wood, white, and clear glass. Also, a textured placemat traps cocoa powder. Shake it out, spot clean, and don’t machine wash it weekly or it’ll pill by February.
30. The Board-Based Cocoa Bar Setup
Treating a cocoa bar like a charcuterie board is the cheapest upgrade you can make. Use the cutting board you already own, borrow bowls from the kitchen, and spend your money on toppings instead of containers. Dollar Tree glass, Walmart marshmallows, and a $6 bag of wafer rolls gets you a board that looks curated for under $30.
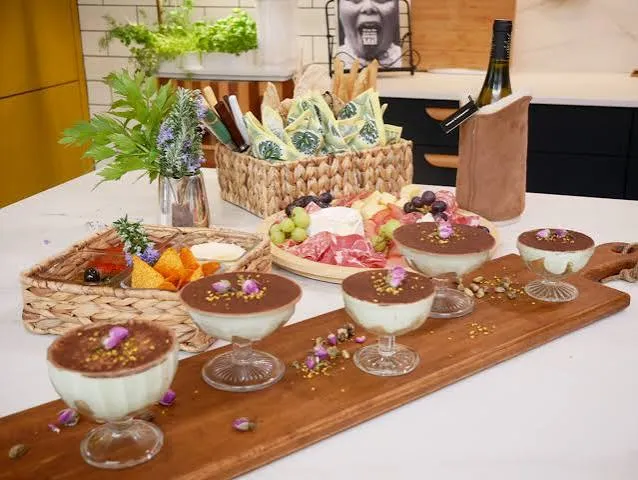
Grazing-style serving isn’t going anywhere. The board format moved from dinner parties to dessert and drinks because it lets people serve themselves without forming a line at the counter. In 2026 the cocoa bar and the charcuterie board are basically the same idea in two different outfits, and both of them photograph beautifully from above.
31. Candy Canes in a Jar Beside Stacked Cups
Buy 12-inch candy canes for a standard 9-inch jar — 6-inch minis disappear and look like an afterthought. Stand them upright with the curl facing out and pack them snug, because loose canes lean and the whole jar reads sloppy. A few grains of uncooked rice in the bottom of the jar absorb moisture and keep them from going sticky in a humid kitchen.
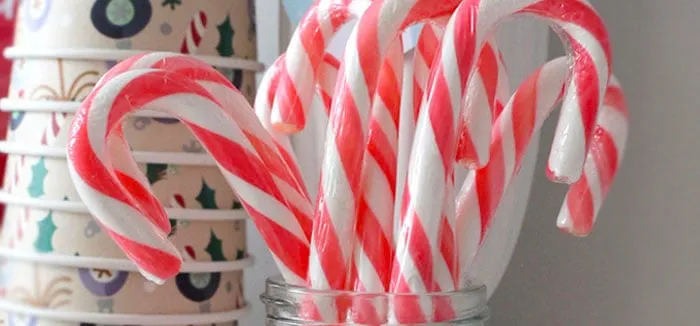
Candy canes go tacky the moment humidity climbs, usually within a week of opening, and once they’re sticky they’re done — toss them. Paper cups with holly prints are usually uncoated, so they’ll soften if cocoa sits in them; keep those for dry items or single use. Plan on replacing the canes weekly through December, roughly $6 a bag.
32. Cocoa on the Coffee Table by the Fire
The coffee table does the work here — an oval dark wood top on a gold base, holding two mugs in red and dark green that echo the tree and the stockings across the room. The chessboard and candle tray are what make it feel lived-in instead of staged. Symmetry between the two armchairs, asymmetry on the table: that’s the entire composition.
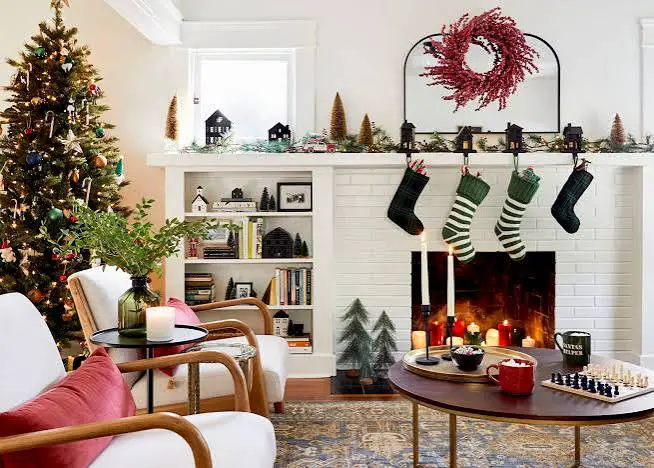
- Decorated tree and lights: $150–$600
- Garland, stockings, and holders: $40–$120
- Two mugs and a gold candle tray: $25–$70
- Candles: $12–$30
- Oval wood coffee table with gold base: $180–$700
Total with furniture: roughly $407–$1,520. Skip the table if you already have one and you’re looking at $227–$820 for the rest.
33. Hazelnut Chocolate on a Chunky Knit
- Check your surface — chunky knits shed on dark wood and pill against rough tray edges.
- Make sure the tray is at least 10 inches across so a mug and chocolate both fit.
- Store hazelnut chocolate at 65–68°F or the cocoa butter blooms white.
- Confirm the mug is microwave-safe before reheating a half-finished drink.
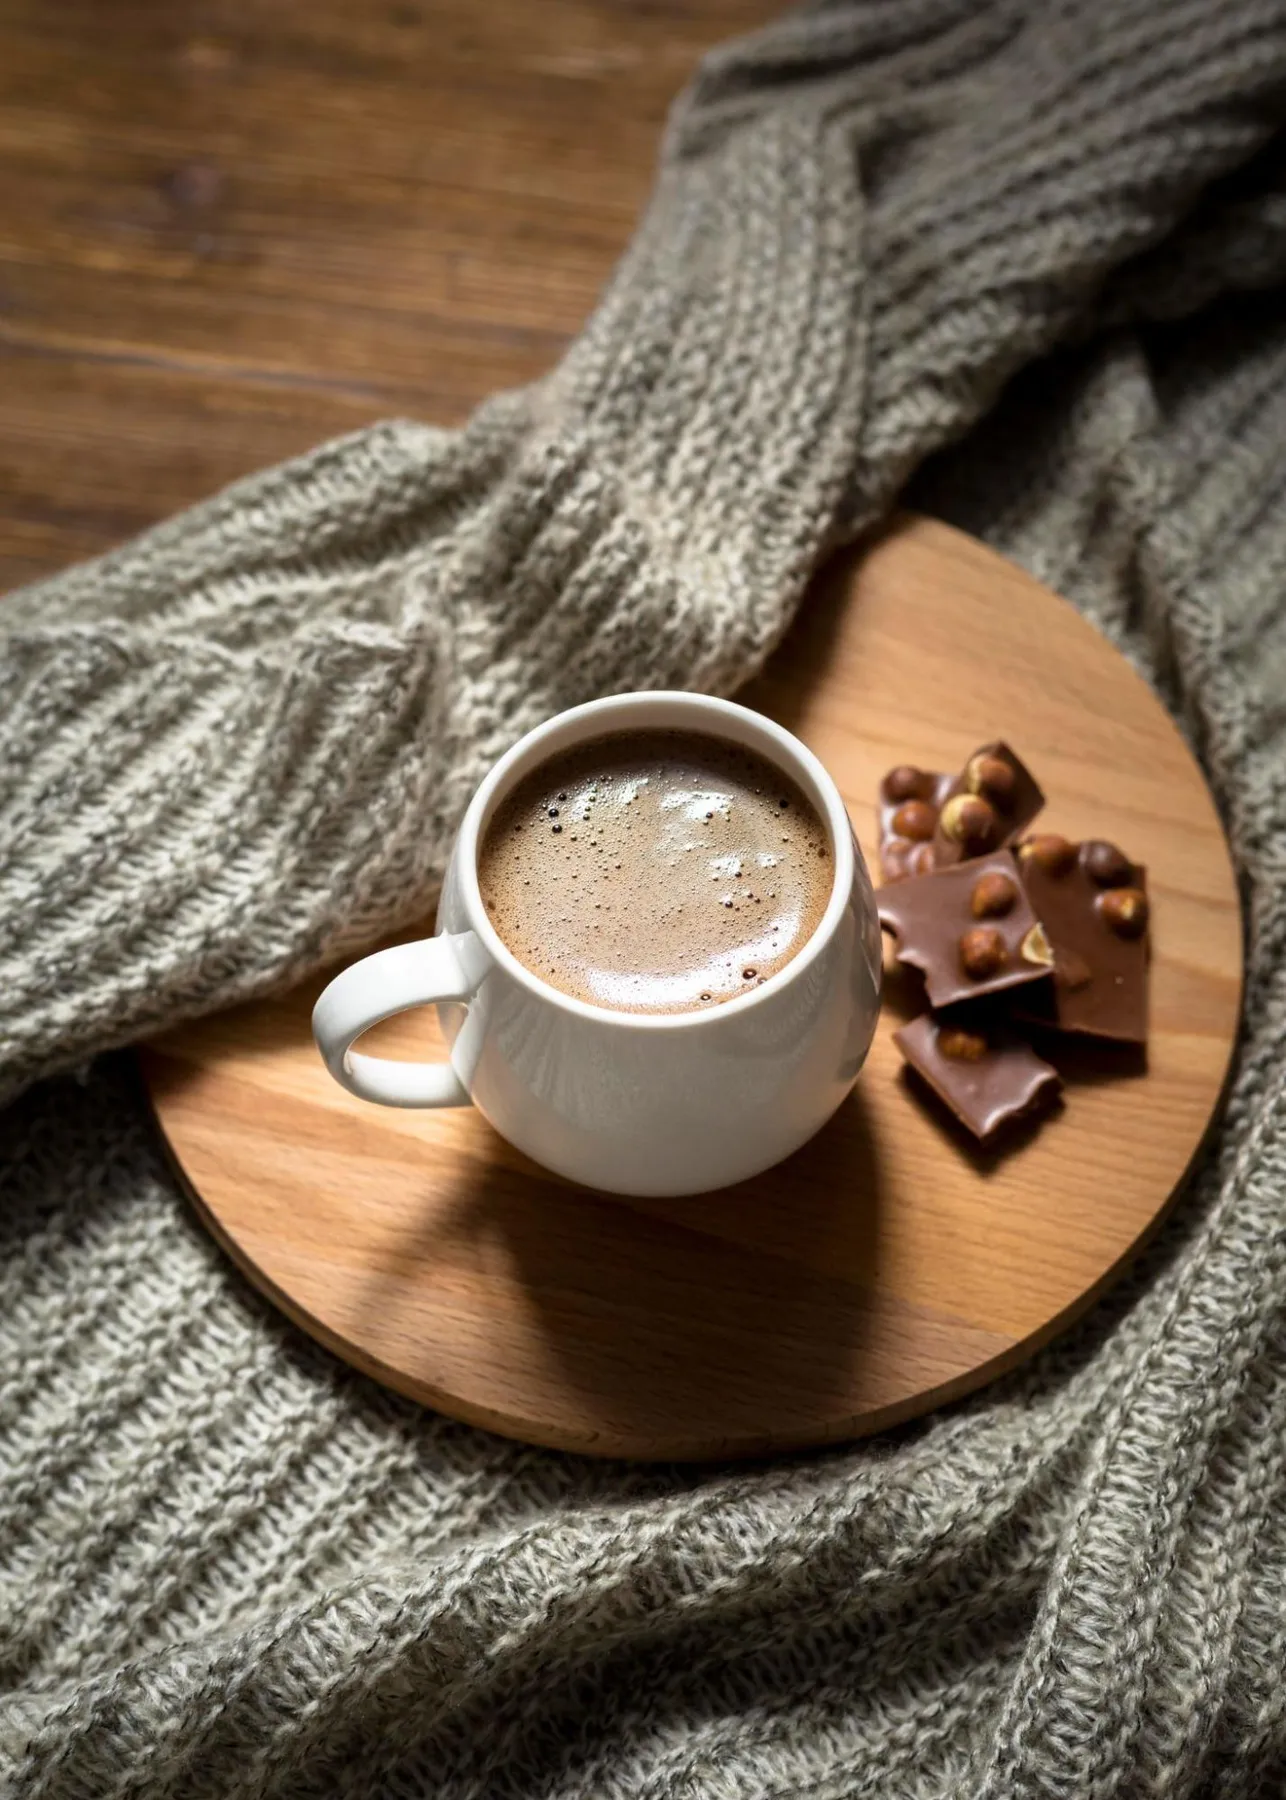
Chunky knit blankets are the highest-maintenance textile in this entire article. They pill, they snag on tray edges, and they hold onto cocoa smells. Hand wash or use a mesh bag on cold, lay flat to dry, and de-pill with a fabric shaver twice a season. Chocolate with whole hazelnuts keeps about four months in a cool cupboard — after that it’s the nuts going rancid, not the chocolate.
34. Caramel Drizzle and a Jar of Crunchies
- Clear glass mug: $5–$12
- Small wooden tray: $15–$35
- Caramel sauce in a glass jar: $6–$12
- Crunchy topping (toffee bits or crushed pretzel): $4–$8
- Whipped cream: $4–$6
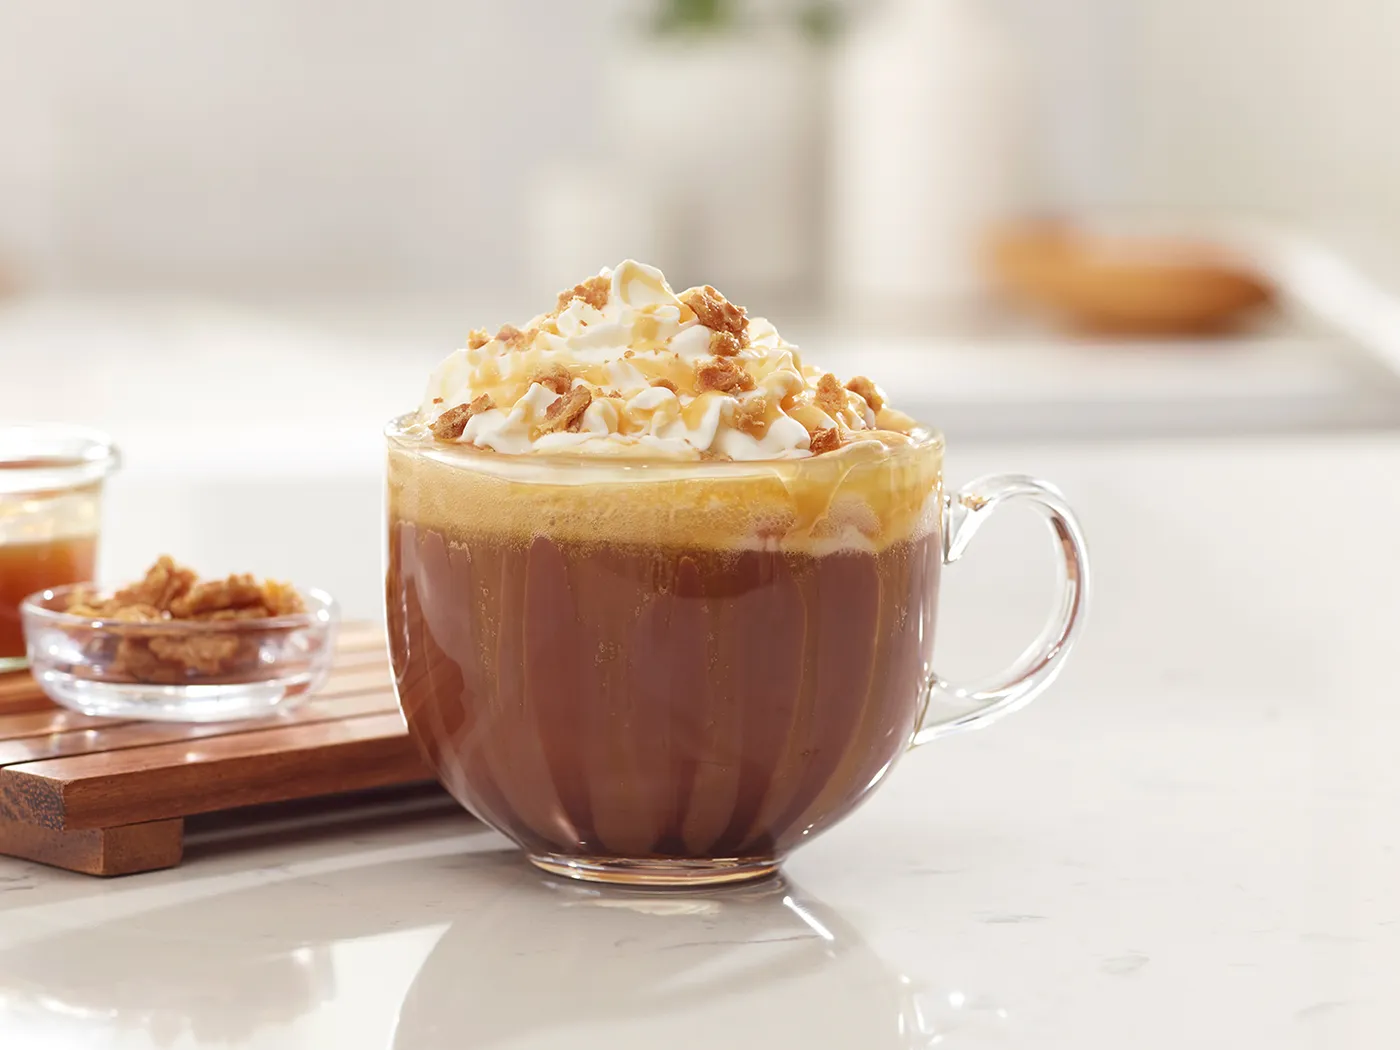
Total: about $34–$73. Budget alternative: skip the tray and use a saucer — you lose the styling, keep the drink.
The palette on a white counter is 70% white, 20% caramel and gold, 10% deep brown. It’s a small formula, and it’s why the photo looks calm instead of busy. This is Idea #6 with the mess contained — same caramel, one mug instead of a whole blanket. Change the caramel for hot fudge and you should swap the white surface for slate.
Warm Mugs, Cold Nights, Zero Fuss
You don’t need a matching set or a fully decorated house — you need one good surface, a handful of toppings, and cocoa that’s still hot when someone pours it. Pick one idea from this list, steal the parts that fit your kitchen, and let the rest go.
📌 Pin this to your holiday board so it’s waiting for you the next time the forecast turns.